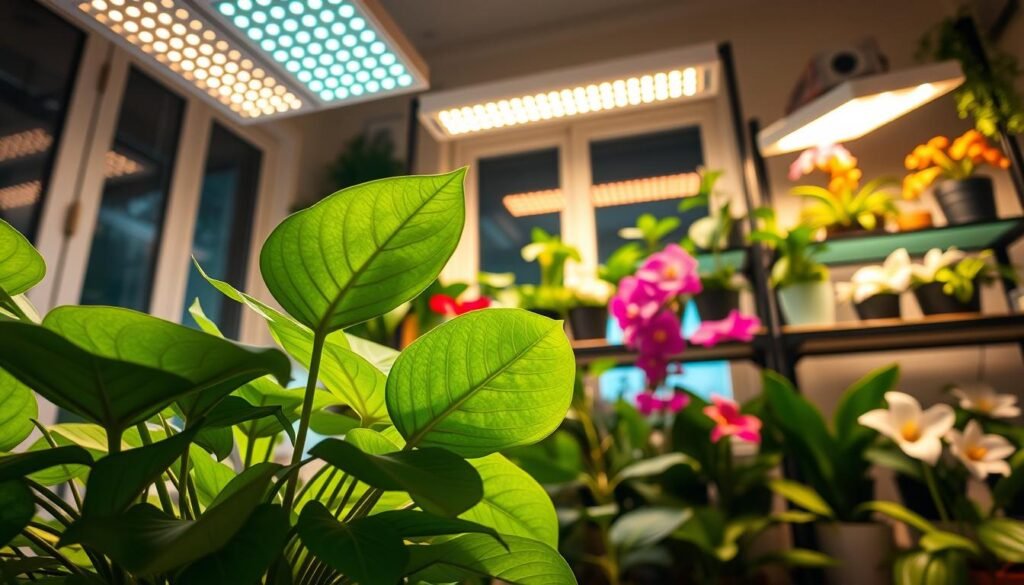

If natural sun is weak or seasonal, a purpose-built lamp can help your bloomers set buds and stay compact. This guide defines what “grow lights for indoor flowers” means in a home setting and shows practical, safe steps to pick and place the right gear.
You’ll learn simple light terms like PAR, PPFD, and spectrum, plus the best distance and daily hours to run a grow light without burning leaves.
We cover common problems—leggy stems, few buds, and scorched leaves—and give rules of thumb that work in apartments and houses. Expect clear advice on form factors such as bulbs, bars, and clamp fixtures, and helpful features like timers, dimmers, and adjustable stands.
Note: more wattage does not always mean better results. Plants need both bright periods and dark recovery. Placement, spectrum, and a regular on/off cycle matter as much as raw power.
Key Takeaways
- Choose plant-usable spectrum and check PAR/PPFD ratings.
- Match fixture type and placement to the room and the species.
- Use timers and dimmers to mimic day/night cycles.
- Watch for heat and IP ratings to protect pots and surfaces.
- Follow simple distance and hour rules to avoid burns and stretch.
Why indoor flowering plants need more than natural light
Flowering houseplants rely on steady, plant-usable light to make the sugars that fuel buds and blooms. Photosynthesis turns carbon dioxide and water into carbohydrates, the energy a plant uses to grow and to open flowers. Because blooms are energy-intensive, many bloomers need stronger or longer light than foliage-only varieties.
How light powers photosynthesis and blooming
Your plants need light energy to build food. When light is ample, plants make more energy and can put resources into buds. In dim rooms, plant growth slows and buds may never form.
Signs your houseplants aren’t getting enough bright light
- Leggy stems reaching toward a window.
- Pale green to yellow leaves and wide spacing between nodes.
- Older leaves dropping first and few or no flower buds.
What too much light looks like indoors
Excess light can scorch leaves. You may see bleached patches, curled edges, or stress that halts growth even though the lamp seems helpful.
Also note: lower light reduces water use, so routine watering can cause root problems that cut flowering. The solution is matching intensity, spectrum, placement, and hours to the room and the plant—not guessing.
Light lingo buyers see on boxes and product pages
Product pages are full of technical terms—let’s translate them into clear buying criteria you can use today.
PAR and photosynthetically active radiation in plain English
PAR refers to the slice of the spectrum plants use, roughly 400–700 nm. This is photosynthetically active radiation, the wavelengths that drive photosynthesis. PAR tells you quality of light, not total output.
PPF vs PPFD and what “μmol/m²/s” is telling you
PPF (photosynthetic photon flux) is the total stream of plant-usable photons a fixture emits each second. Use it to compare fixtures.
PPFD measures how many of those photons land on leaves: μmol/m²/s. This value falls with distance and across the coverage area, so PPFD at a given height is especially useful.
Lumens, lux, and human brightness vs plant needs
Lumens and lux measure human-visible brightness. They help with rough checks but can miss red and blue photons plants prefer. Don’t rely on lumens alone when choosing a grow light.
Watts and energy use vs actual light output
Watts tell you energy use, not plant-usable output. Modern LEDs can use fewer watts while delivering higher photosynthetic photon flux. Watch PPF and PPFD first, watts second.
Shopping takeaway:
- Prioritize PPFD at a recommended height, then check PPF and PAR range.
- Use lumens or lux only for quick, human-focused checks.
- Look at watts to estimate running cost, not plant performance.
| Spec | What it measures | How to use it when buying |
|---|---|---|
| PAR | Plant-usable wavelengths (400–700 nm) | Confirm the spectrum is within the active radiation range |
| PPF | Total photosynthetic photon flux (μmol/s) | Compare fixture output size-to-size |
| PPFD | Photons reaching leaves (μmol/m²/s) | Best indicator of what your plants actually receive |
| Lumens / Lux | Human-visible brightness / intensity | Use for rough checks, not plant performance |
| Watts | Energy consumption | Estimate running cost; compare efficiency with PPF |
Spectrum basics for blooms: full spectrum vs red blue grow lights
Light color — not just brightness — steers how a plant grows and flowers. Spectrum is the color mix a fixture emits, and flowering success depends on having enough plant-usable wavelengths, not only a bulb that looks bright to people.
What “full spectrum” really means
Full spectrum usually describes a white light with a high CRI (often >90) that renders colors close to daylight. These bulbs include both blue and red bands plants use, so they work across growth stages and keep rooms pleasant to the eye.
Pink/purple “burple” fixtures: pros and cons
Pink or purple setups concentrate red blue wavelengths. That makes them efficient at delivering plant-usable photons. They can look harsh in living spaces, so many homeowners prefer white-balanced lighting instead.
Blue vs red: shaping habit and encouraging buds
Bluer mixes promote compact, leafy growth and reduce stretching. Red-heavy output supports bud formation and flowering or fruit set. Modern fixtures often blend diode types, giving a balanced spectrum with boosted red where needed.
- Buyer shortcut: choose full spectrum white if you want one unit for mixed house collections and room appearance.
- Pick red/blue mixes when optimizing a dedicated plant area and maximizing flowering efficiency.
| Spectrum type | Typical effect | Best use |
|---|---|---|
| Full spectrum (white) | Balanced blue + red, pleasant color rendering | Mixed collections, living rooms, all stages |
| Red-heavy | Encourages bud set and flowering | Flowering stage, fruiting plants |
| Blue-heavy | Promotes compact, vegetative growth | Young plants and compact habit |
| Red/blue (burple) | Efficient photon delivery; intense appearance | Dedicated grow areas where decor matters less |
Match the grow light to your flower type and your room’s light level
Match your fixture power and height to the species and the room’s natural brightness.
Start by evaluating your window: note how many hours of usable sun it gives and whether that light is bright or shaded. That tells you if the lamp will be supplemental or the main source.
Low, medium, and high targets
Use these PPF/PPFD buckets when listings are vague:
- Low: ~50–150 μmol·m⁻²·s⁻¹ — okay for many low-light plants and shaded spots.
- Medium: ~150–250 μmol·m⁻²·s⁻¹ — solid for most flowering houseplants on a shelf or bright window.
- High: ~250–450 μmol·m⁻²·s⁻¹ — what most bloomers need to set buds reliably.
Why flowering plants need more
Blooming requires energy. Flowering houseplants use more photosynthate to form buds than foliage-only types. Intensity falls quickly with distance, so a high-output fixture placed too far will not meet the level a plant needs.
Quick species guidance
African violets and many begonias reach good growth near ~80 μmol in home setups. That puts them in the low-to-medium band and makes them good candidates for desk bars or shelf lamps.
| Plant type | Good home target (μmol·m⁻²·s⁻¹) | Best fixture approach |
|---|---|---|
| Low-light plants (foliage) | 50–120 | Soft white bulb or modest bar; supplemental only |
| Flowering houseplants (casual) | 150–250 | Medium-output bar or panel at recommended height |
| High-demand bloomers / seedlings | 250–450 | High-output fixture close to canopy; adjust as they grow |
Tip: seedlings need strong, close, consistent light. Low-light setups won’t start healthy seedlings that will later bloom.
How to choose grow lights for indoor flowers
The right fixture keeps leaves healthy, saves energy, and makes flowering much more reliable.
Start by matching technology and form to your space and species. LEDs are the top pick for most homes. They use less energy, run cool, and come in many shapes. Fluorescent lights still help when budget is tight or you want gentle output on a shelf.
LED vs fluorescent and other bulb types
Choose LEDs if you want long life and low heat. They cost more up front but often save on electricity and replacement bulbs.
Fluorescent bulbs work for short plants and tight racks. Expect more frequent swaps and slightly higher running costs.
| Type | Strength | When to pick |
|---|---|---|
| LED | Efficient, low heat | Most rooms, long-term use |
| Fluorescent | Lower upfront cost | Budget shelves, gentle output |
| Standard bulb | Convenient | Maintenance light for low-light plants |
Form factors and useful features
Use bulbs in existing lamps, clamp fixtures for shelves, bars for racks, and pendants to cover several pots. Tripod or gooseneck designs add flexibility.
“A timer and a dimmer are small purchases that prevent big problems.”
Practical tip: treat watts as a cost metric, not a performance number. Look for coverage specs and a built-in timer or plan to add one so your plants get consistent daily cycles.
Placement fundamentals: distance, angle, and coverage
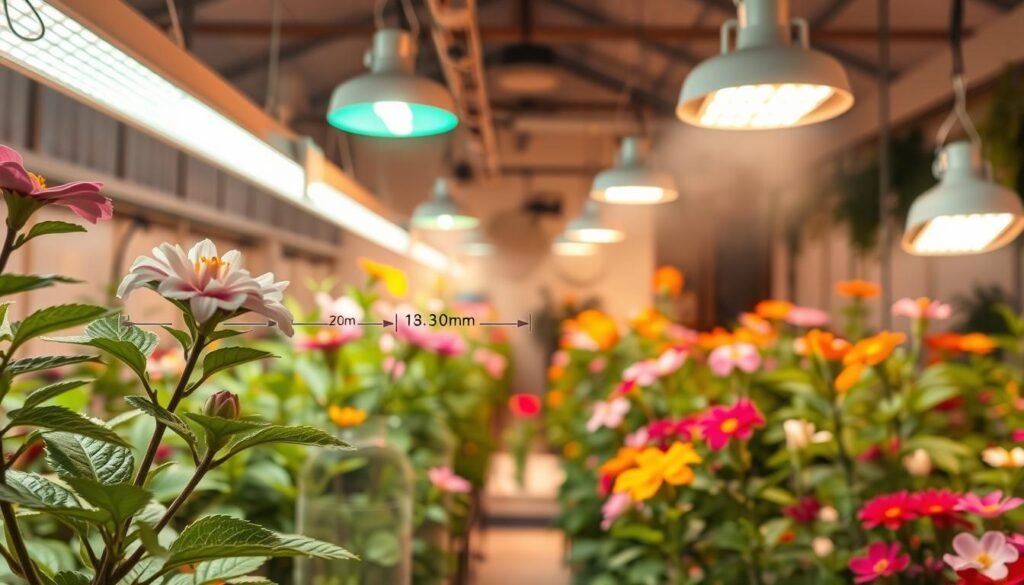
Correct positioning of a lamp shapes how much usable light each leaf actually receives. Distance has the biggest effect on intensity: a few inches change PPFD dramatically. Angle and beam spread decide how evenly that intensity covers the canopy.
Distance rules of thumb by stage and type
Use these starting points and adjust by watching plant response.
- Seedlings: 4–6 inches; raise often as they stretch.
- Flowering houseplants: 6–12 inches to boost bud set without stress.
- Foliage houseplants: 12–24 inches for even, gentle coverage.
LED guidance: why higher-output fixtures sit farther
High-output LED sources produce high PPFD even at distance. They may feel cool but still deliver intense photons.
Start ~30 cm away (about 12 inches). Very powerful panels often need 60 cm–1 m to avoid bleaching.
Beam angle and optics explained
Wide beams (45°–120°) spread light over more pots but lower intensity. Narrow beams (5°–45°) concentrate light and reach deeper into tall canopies.
Think of optics like a flashlight lens: focused optics let you hang the unit higher while keeping strong light on the leaves.
“Distance is intensity — move the source a few inches and you can shift from weak growth to leaf burn.”
| Feature | Effect on coverage | Best use | Practical tip |
|---|---|---|---|
| Close distance | High intensity, small footprint | Seedlings, single pots | Raise frequently as plants grow |
| Moderate distance | Balanced intensity and spread | Most flowering houseplants | Check leaves for bleaching or stretch |
| Far distance | Lower intensity, wider area | Multiple pots under one source | Use narrower optics if canopy is tall |
| Narrow beam optics | Higher reach and depth | Tall plants or targeted spots | Rotate pots so sides receive light |
Quick setup habit: measure and re-check placement weekly. Plants grow fast and the ideal distance changes with height.
Grow light hours for flowering houseplants
Treat the day as a math problem: add hours of strong window sunlight to the lamp time to reach a total that matches the species’ needs.
Target daily light hours and why darkness matters
Many houseplants need at least 12 good hours of usable light each day. Flowering houseplants usually do best with 14–16 hours total.
Don’t skip the night: plants require roughly 8 hours of darkness to reset hormones and finish metabolic work that supports bud set.
Recommended duration by plant category
- Seedlings: 16–18 hours/day.
- Foliage houseplants: 12–14 hours/day.
- Flowering houseplants: 14–16 hours/day.
Supplementing daylight
Schedule supplemental light to fill gaps rather than run all day. If a pot gets three hours of strong natural light, add 11–13 hours from the lamp to hit a 14–16 hour target.
Example: morning window sun (6–8am) + midday-to-evening lamp (10am–8pm) gives an uninterrupted night and a consistent daily total.
“Built-in timers that only offer 4/8/12 hours may limit flowering plants; plan a smart plug or programmable timer when you need 14–16 hours.”
Watch plants weekly. If buds stall but foliage looks healthy, change hours or move the fixture a few inches and adjust slowly.
Day vs night schedules and avoiding 24/7 lighting
Setting a steady day/night rhythm is one of the simplest ways to keep houseplants healthy and productive. Mimicking daylight hours usually gives the best results for typical home collections.
Can you run a grow light at night? Yes — many apartment owners do this to match chores, lower daytime heat, or take advantage of off-peak rates. The key is a consistent cycle that tells plants when to be active and when to rest.
“Confusing plants” usually means interrupted dark periods or abrupt shifts in schedule. Sudden changes harm hormone signals and slow bud set more than whether the lamp runs in the morning or late at night.
A practical rule: pick a daily start time and stick to it so plants get steady cues. Aim for the recommended photoperiod and avoid running fixtures 24/7.
“More hours do not automatically mean more blooms — constant light can cause stunted growth and tissue stress.”
| Schedule type | Typical hours | Risk |
|---|---|---|
| Short day | 10–12 hours | May delay flowering in long-day species |
| Flowering target | 14–16 hours | Good balance; supports bud set |
| Continuous | 24 hours | Stunted growth, tissue damage |
If a plant looks stressed under long hours, shorten the photoperiod before changing water or fertilizer. Pair your schedule with a slightly warmer “day” and cooler “night” to match natural cues and help plants thrive.
Timers and automation that make indoor blooms consistent
Automating daily light cycles removes guesswork and keeps buds forming on schedule.
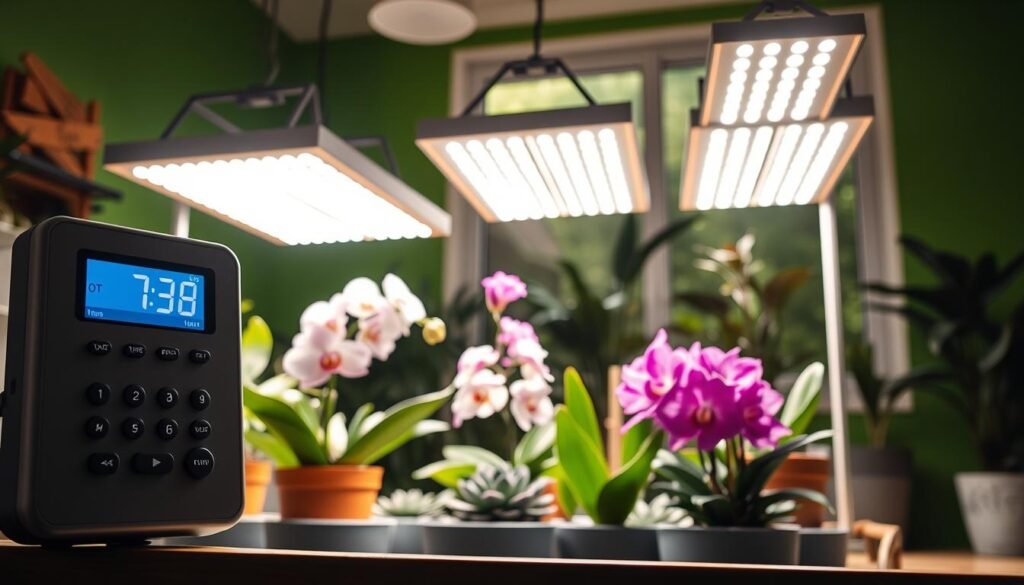
Consistent hours matter because missed days or random time shifts confuse plant hormones. That inconsistency is a top reason houseplants grow but do not set regular buds.
Plug-in timers, built-in units, and smart plugs
Built-in timers are easy to use but often limit you to fixed blocks like 4/8/12 hours. Plug-in outlet timers are cheap and flexible. Smart plugs offer custom schedules, app control, and seasonal edits.
| Option | Strength | Best use |
|---|---|---|
| Built-in timer | Simple | Casual setups |
| Plug-in timer | Inexpensive | Basic automation |
| Smart plug | Custom | Travel and seasonal edits |
Setting a realistic cycle
Align the on/off schedule with your household so darkness falls when you dim room lights. Aim for 14–16 hours total when a grow light is the main source.
Buying tip: if a favorite LED fixture lacks a timer, budget for a smart plug. Automation saves energy and keeps day length steady during trips or season shifts.
“Small automation changes often deliver the biggest gains in bud reliability.”
Best setup styles for apartments and homes
Pick a setup that fits your floor plan and your daily routine—small rigs can give big results in tight spaces. Choose a style that matches how you use rooms and how much visual impact you’ll tolerate.
Desktop and shelf setups
Desk lamps, tripod or gooseneck fixtures and slim bars work well for small flowering pots and seedlings. Use a close, adjustable grow light or an LED shelf bar to keep a tight canopy evenly lit.
Hanging pendant and ceiling-hook setups
Ceiling hooks or swag mounts let a single light source cover a cluster of pots. This clears floor space and gives even coverage over several plants without bulky stands.
Under-cabinet and wall-mounted options
Slim bar-style LEDs or low-profile bulbs fit under shelves or cabinets. These are ideal in kitchens or narrow nooks where you want a directed beam and minimal clutter.
Dedicated plant zones
When you need higher intensity, set up a plant shelf, basement corner, or a small tent. Larger fixtures and stronger lights can then be used without lighting up the whole living room.
Practical warning: bigger fixtures increase glare and may need higher mounting. Plan to raise the unit as pots grow so houseplants stay healthy and your eyes stay comfortable.
What brightness to shop for when listings don’t include PPFD
When a PPFD number is missing, you can still judge a lamp by stacking clues from the product page and a simple at-home check. Use several signals together rather than relying on one spec.
Quick listing clues that help estimate usable output
Look for three things: a stated spectrum range that covers 400–700 nm, a recommended hanging height, and a clear coverage footprint at that height.
If a unit claims wide coverage but asks you to hang it very close, it likely has low intensity per area.
How to sanity-check claims with a light meter
Measure lux at the leaf surface in the center and at the edges to see if coverage is even. Foot-candles and lux are usable at-home checks, but remember they don’t equal PAR/PPFD.
Use lumens or lux to compare placements and to confirm you re-create a working setup after moving pots. Record the height and readings so you can repeat the same distance and level later.
“Stack clues — spectrum, coverage, height and a quick lux check — to avoid buying an underpowered bulb for flowering plants.”
| Clue | What it shows | How to use it |
|---|---|---|
| Spectrum | Whether the light source covers plant-usable bands | Prefer listings that include 400–700 nm or “full spectrum” |
| Recommended height | Implied intensity at that distance | Short recommended height + large footprint = low per-area output |
| Coverage footprint | Area receiving usable light | Match footprint to your pot layout and re-test with a lux meter |
Heat, humidity, and IP ratings for safe indoor lighting
Don’t ignore warmth and damp air: they shape fixture performance and the risk around sinks and sprays.
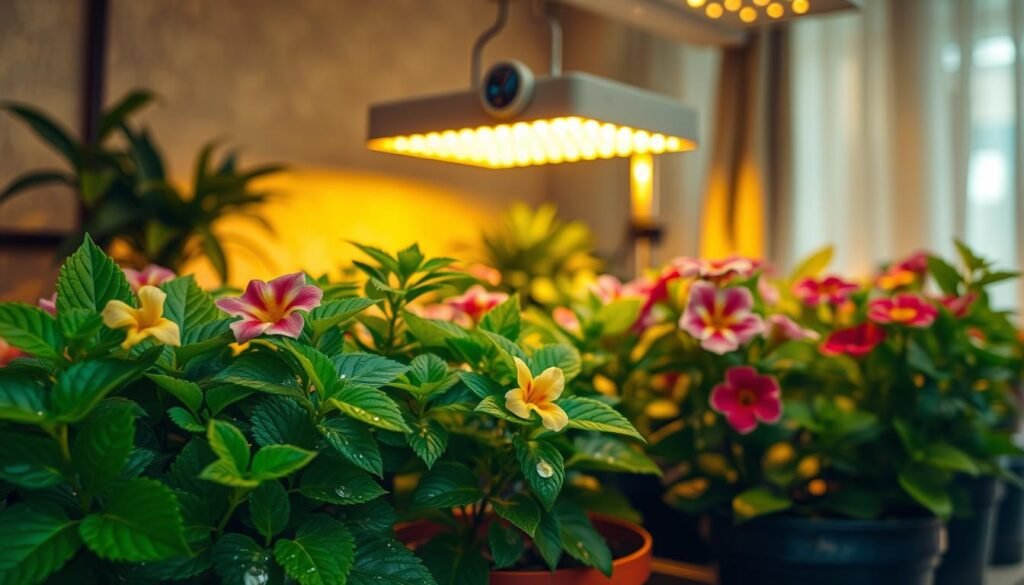
LED heat vs fluorescent and why distance still matters
LEDs run cooler than older bulbs and HPS options, so they waste less energy as heat. Still, powerful led panels can raise leaf temperature and stress plants if hung too close.
Fluorescent lights emit more diffuse warmth and usually need less clearance, but they age faster and can flicker as they heat. Check watts and vendor distance guidance before mounting.
IP ratings explained for splash-prone areas
IP tells you protection levels: the first digit covers solids (1–6); the second covers liquids (0–8). Many household fixtures sit around IP20–IP40 and are not splash-proof.
“An IP number is about ingress, not humidity tolerance.”
Safety basics: power off before handling bulbs and fixtures
Always switch power off and unplug before adjusting a bulb or light source. Never touch electrical parts with wet hands.
Quick tips: mount higher near sinks, add drip loops to cords, keep power strips off the floor, and replace damaged cords immediately.
| Topic | What to watch | Practical action | Why it matters |
|---|---|---|---|
| Heat | Leaf scorch, warm canopy | Raise distance 6–12 in. | Prevents stress and extends fixture life |
| Humidity | Condensation, reduced airflow | Use fans; avoid direct sprays | Protects electronics and plants |
| IP rating | Second digit (liquids) | Choose IP44+ near sinks | Reduces water ingress risk |
| Handling | Live connections | Power off, dry hands, secure cords | Prevents shocks and short circuits |
Cost to run grow lights in the United States
Your electric meter, not the box label, decides how much a lamp will add to your utility bill.
Watts measure energy use, not how much usable light a plant gets. Modern LED fixtures deliver more usable photons per watt than older bulb types, so they usually lower monthly cost.
How wattage and efficiency affect your bill
Buyers pay for energy and time. Higher watts mean more electricity when the unit runs long hours. Efficiency changes the math: a 40-watt efficient unit can beat a 100-watt outdated lamp in both results and cost.
Estimating monthly cost by hours per day and bulb watts
Use this simple US formula to estimate monthly cost:
(watts ÷ 1000) × hours per day × 30 × rate ($/kWh)
Example: a 60‑watt bulb running 8 hours/day uses about 14.4 kWh/month (0.06 × 8 × 30). Multiply by your local rate to get dollars.
“Compare results per watt, not just sticker price — a better fixture can save money over time.”
| Fixture | Watts | Hours/day | kWh/month |
|---|---|---|---|
| 60W standard bulb | 60 | 8 | 14.4 |
| 40W efficient LED | 40 | 14 | 16.8 |
| 100W older panel | 100 | 16 | 48.0 |
Quick tips: use a dimmer to reduce run cost, or pick a higher-quality fixture and run it fewer hours for better results. If you plan multiple units, add total watts so the final monthly cost does not surprise you.
Common mistakes that stop indoor flowers from blooming
A few simple placement and timing mistakes are the most common reasons houseplants stop blooming. Fixes are often quick once you know what to check.
Placing the lamp too far away
PPFD drops fast with distance, so a room that feels bright can still be weak at leaf level. Measure or move the grow light closer and watch leaf response rather than trusting human brightness.
Wrong daily hours or no real dark period
Many bloomers need about 12–16 total hours and roughly 8 hours of true dark. Inconsistent schedules or 24/7 lighting often stall buds even when foliage looks fine.
Spectrum and height mistakes
Using blue-heavy settings forever keeps plants leafy and delays buds. A red‑blue mix helps bud set, but intensity and total hours must be correct.
Not raising the lamp and overwatering
As plants grow, raise the fixture to avoid scorch. Low-light stress reduces water use; overwatering then causes root issues that kill bud formation.
“Measure distance weekly, automate hours, and tweak intensity slowly.”
| Mistake | Effect | Quick fix |
|---|---|---|
| Too far / trusting brightness | Low PPFD at leaves | Move closer; re-measure |
| Inconsistent hours or no dark | No bud formation | Use a timer; set 12–16 hours |
| Wrong spectrum | Leafy growth, few buds | Shift to balanced red+blue |
Troubleshooting: quick fixes for weak growth and poor blooms
Small changes to placement and timing usually revive weak growth within days.
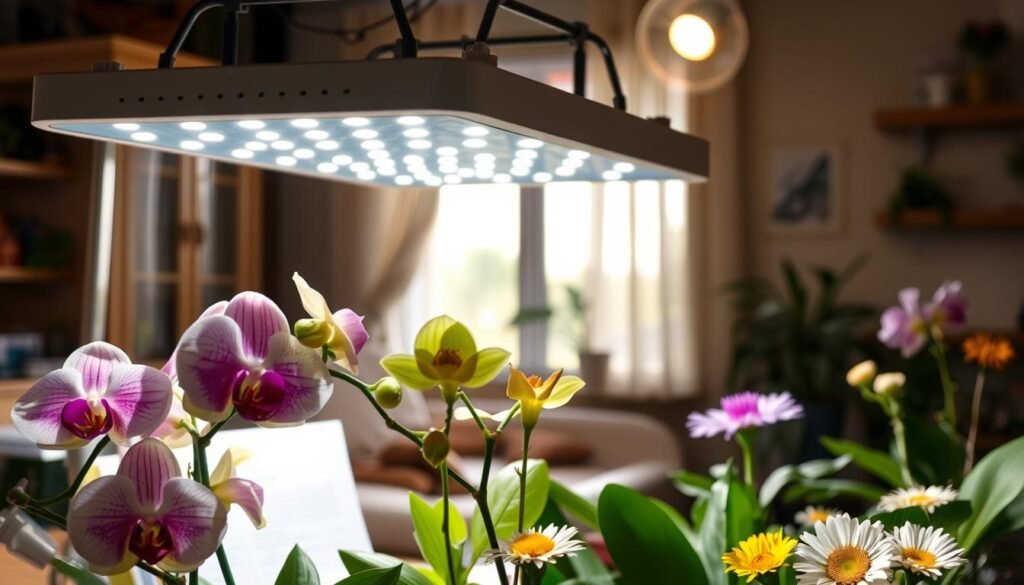
Leggy stems and pale leaves
Symptom: long internodes and washed-out color.
Raise intensity by reducing the distance between lamp and canopy, but stay within safe ranges. Improve coverage so each leaf gets even illumination.
Use a timer to add consistent hours and prevent stretching at night.
No flower buds or dropped buds
Check total daily hours first. Aim for a flowering-friendly schedule and confirm the light source delivers enough PPFD at leaf level.
Then verify the spectrum is balanced or has adequate red support to trigger bud set.
Scorched, bleached, or curled leaves
Move the fixture farther away or dim the unit. Wide the coverage to reduce hotspots and avoid direct strong window sun plus a close lamp.
“Adjust one variable at a time, wait 7–10 days, then judge new growth.”
| Issue | Quick fix | When to try |
|---|---|---|
| Leggy / pale | Reduce distance; add hours | First sign of stretch |
| No buds | Increase hours; check spectrum | After 2–3 weeks of no bud set |
| Scorch / bleach | Raise distance; dim | Visible leaf damage |
Confidence tip: most issues correct by dialing placement and routine, not by replacing the plant.
Conclusion
A simple, repeatable light routine makes the difference between leafy plants and regular buds.
Buy what you can place at the right distance, run the recommended hours, and tweak as pots grow. The big three for reliable blooms are intensity at the leaf level (placement), a steady photoperiod with true dark, and a usable spectrum (often full white with red support).
Shop for clear coverage and a listed hanging height, then pick a form factor you will actually use daily. Add a timer—built‑in, plug‑in, or smart—to keep schedules consistent and protect energy and cost budgets measured in watts.
Practical next step: pick one flowering houseplant, set the lamp to 14–16 hours, start at a conservative distance, and adjust weekly based on leaf response and bud progress.