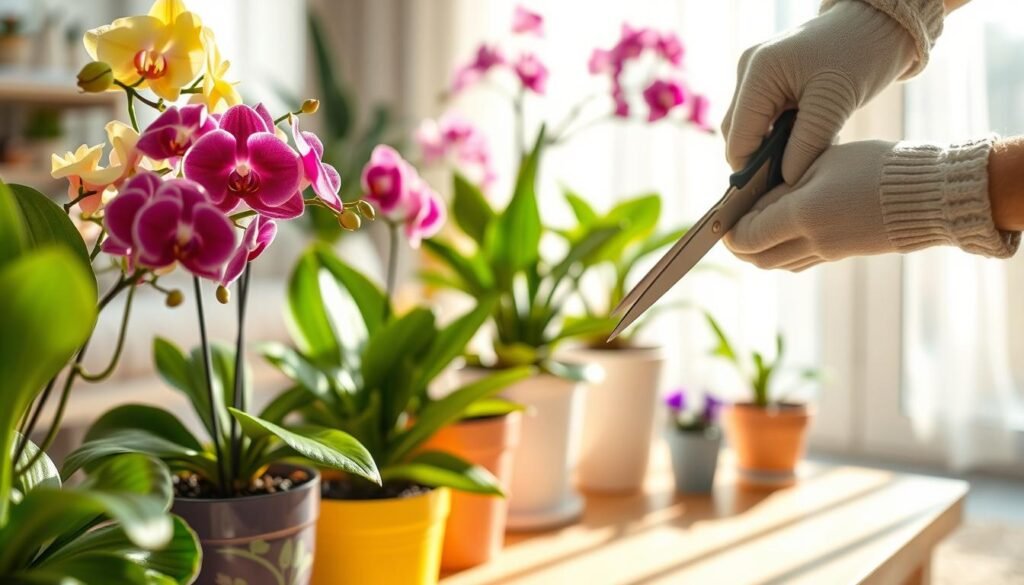

This short guide helps you trim indoor bloomers so they stay healthy and keep next season’s flowers.
Pruning and shaping have long helped a plant by removing dead or diseased bits, controlling size, and sparking new growth. For apartment and home settings, clean cuts and sharp tools matter most.
Timing is key: avoid cutting buds when the goal is blooms, and learn where nodes sit so each cut helps rather than harms. Small, regular maintenance like deadheading keeps a shrub or pot tidy. Larger reshaping works best in late winter or early spring.
What you’ll learn: spotting buds and nodes, choosing safe cut points, limiting removal so the plant retains energy, and simple aftercare steps to reduce stress. This blog focuses on common indoor varieties found in U.S. homes and offers a clear, beginner-friendly safety promise: prune any time for disease, but follow the plant’s cycle when shaping for flowers.
Key Takeaways
- Use clean tools and make sharp cuts for quick healing.
- Protect buds; timing affects next season’s blooms.
- Spot nodes and choose cut points that encourage new growth.
- Limit removal so the plant keeps energy for flowering.
- Deadhead often; plan larger reshaping in late winter or spring.
Why Pruning Matters for Indoor Flowering Plants
Targeted cuts can shift a plant’s resources away from weak growth and toward new buds. This gentle redirection of energy encourages new growth and supports fuller, more consistent blooms without stressing the pot.
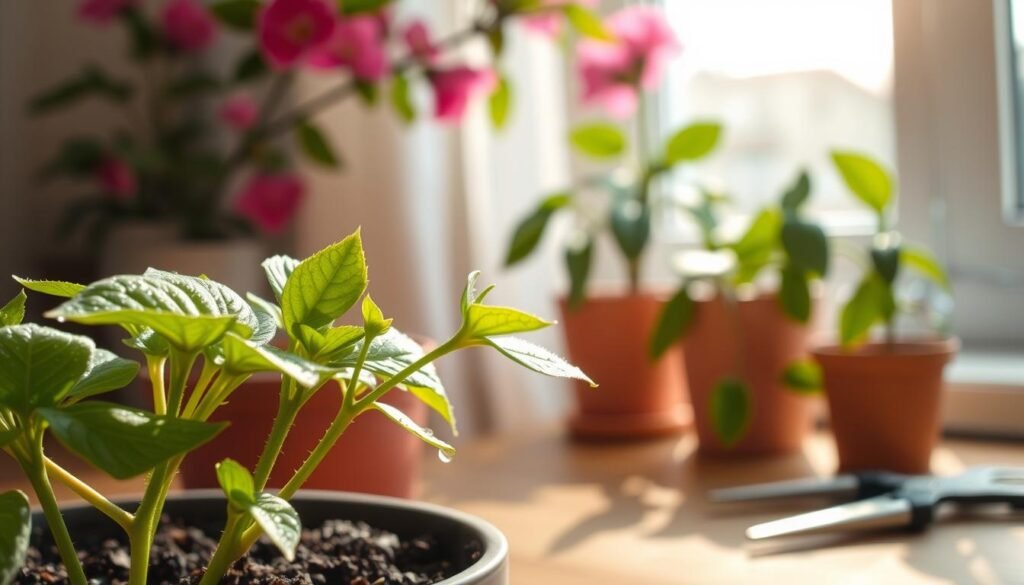
Redirecting energy into stronger stems and buds
Removing spent or crowded parts channels reserves into healthier shoots. That process builds sturdy stems and reliable flower sites instead of feeding damaged or shaded areas.
Improving health with better air and light
Indoor plants often get uneven light, which causes legginess and fewer blooms. Selective cutting evens the canopy so light reaches inner leaves.
Thinning also boosts air movement through foliage, lowering fungal risk and removing pest hiding spots.
Managing size shape for a comfortable home
For small U.S. apartments, shaping keeps plants tidy without constant stress. Make careful, limited cuts that balance form and function. The goal is targeted improvement, not constant trimming.
Pruning vs. Shaping: What You’re Actually Doing When You Cut
A cut has a clear purpose: remove unhealthy parts or guide growth into a pleasing form. Knowing which goal you have helps you pick the right spot and the right amount of removal.
Pruning for health focuses on removing dead, damaged, or diseased material. Take out yellowing leaves, mushy stems, or any parts that show rot. This cleanup boosts air flow and lowers risk of disease, so the plant can recover with less stress.
Practical pruning examples
- Remove a soft, brown stem at its base rather than tearing it out.
- Cut away a yellow leaf that shades healthy foliage.
Shaping for structure
Shaping trains the form. Shorten an overly long stem to encourage branching. Thin crowded shoots so light reaches inner foliage. The aim is balance, not perfection.
- Shorten a long runner to prevent legginess and encourage fuller growth.
- Step back and edit; avoid sculpting away future blooms.
Remember: health pruning can be done when needed. Shaping cuts should respect bloom timing. Name your goal before you cut and let the garden guide your decisions.
When to Prune to Protect Next Season’s Flowers
Simple timing choices let a plant heal fast and store energy for the next bloom cycle.
Active growing season advantages: In spring and summer a houseplant heals cuts quickly. New growth appears faster and stems regain strength. This makes light, regular trimming a safe way to shape and support future blooms.
Late winter or early spring for bigger changes: Major cutting back and reshaping work best in winter early or late winter. Longer daylight helps recovery and avoids a long stall in growth when the season turns.
Post-bloom recovery window: After flowers fade is a prime time for tidying. Remove spent blooms and weak stems so the plant rebuilds reserves and readies buds for the next cycle.
When to act outside the ideal time: If you spot disease, rot, or pest damage, remove affected parts at once. Emergency cuts protect the whole plant and are worth doing any time.
Readiness checklist
- Leggy stems that shade inner growth
- Dead tips and broken stems
- Faded blooms and crowded interior shoots
Practical warning: Avoid heavy cutting just before a known bloom push. You may remove the exact stems that would carry flowers next season.
| Timing | Why | Best action | Risk if mistimed |
|---|---|---|---|
| Spring–Summer | Active growth speeds healing | Light trims, deadheading | Low—fast recovery |
| Late winter / winter early | Prep for new season, restructure | Major cutting back, reshape | Medium—avoid freezing drafts |
| Post-bloom | Recovery and bud setup | Remove spent blooms, tidy stems | Low—helps next cycle |
| Any time (emergency) | Remove disease, rot, breakage | Cut away damaged tissue | None—protects plant health |
How to prune flowering houseplants without losing flower buds
A quick inspection of nodes and buds prevents accidental removal of next season’s flowers. Pause, turn the pot, and look for small bumps where leaves meet a stem. Those bumps are the node line and often hold future blooms.
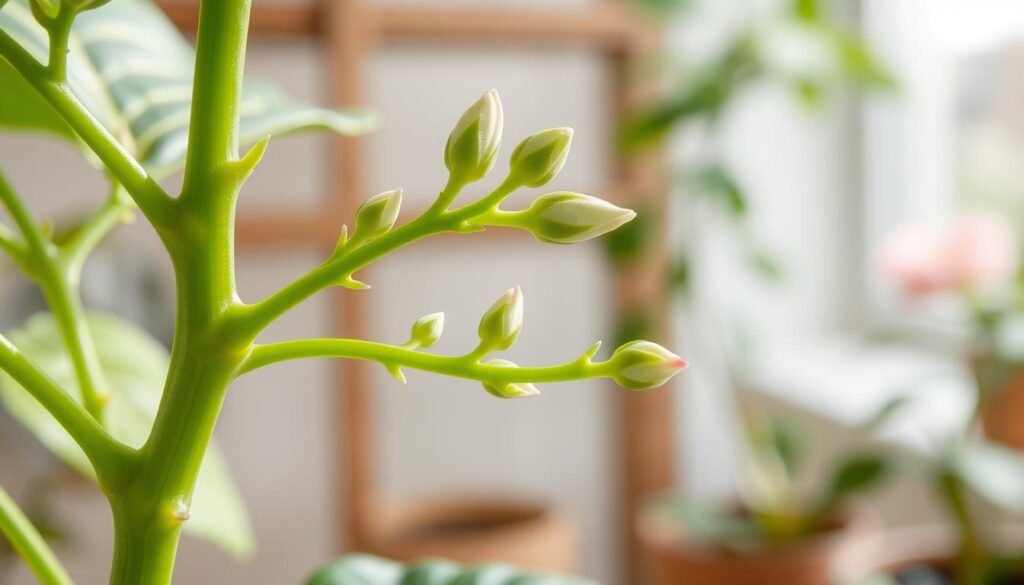
Spotting buds, nodes, and future blooms
Identify a node as a raised point where a leaf joins the stem. Buds appear as tiny swellings near that spot. If you see swelling, wait—those are likely future flowers.
Where to cut for regrowth
For new branching, make a clean snip just above a leaf node. That cut encourages a side shoot and more flowering stems later.
Where to cut for dead blooms
Remove spent flowers by cutting just behind the faded bloom where its stalk meets the stem. This stops seed effort and frees energy for new buds.
How much to remove at once
Rule of thumb: limit removal to about 25% of foliage per session. Avoid cutting back more than ~30% at once; heavier trims can slow recovery and cause bud drop.
“Pause and scan before every cut — it saves next season’s blooms.”
Tools and Prep for Clean Cuts and Healthy Recovery
Clean tools and a short prep routine protect stems and speed recovery. A little planning makes each snip safer and helps plants heal fast.
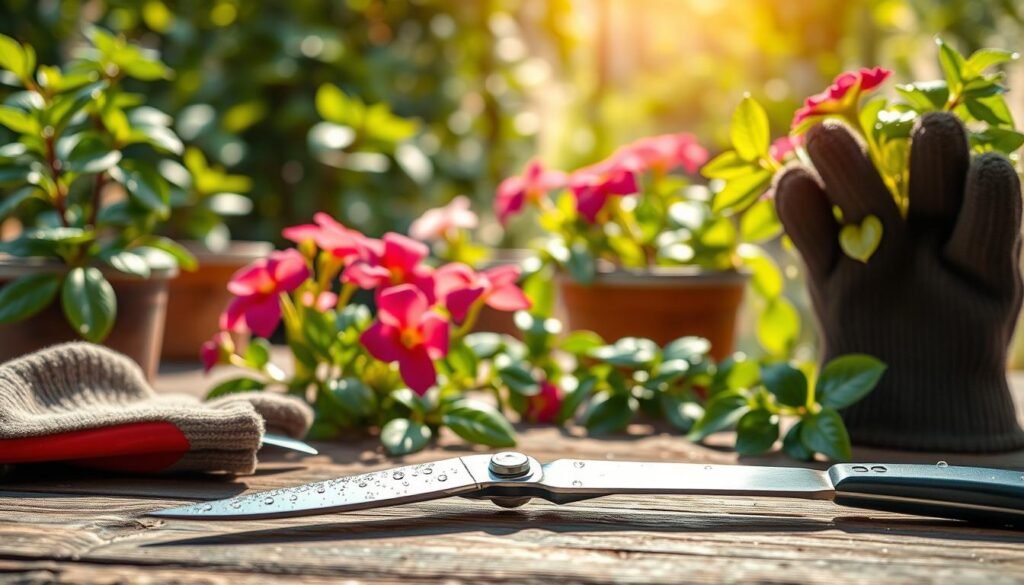
Pick the right blade for the task
Use pruning shears for thicker, woody stems and switch to precise scissors or fine‑tip snips for delicate blooms and deadheading. Fiskars shears are a common, accessible option that many gardeners trust.
Keep blades sharp
Sharp tools make clean cuts and avoid crushed stems. A crisp edge closes wounds quickly and lowers the chance of rot or disease entering the tissue.
Sanitize between plants
Wipe blades with rubbing alcohol or a diluted bleach solution between each plant. This simple step cuts pest and pathogen spread in shared pots and indoor garden spaces.
- Quick prep: inspect blades, remove sap, test a snip on a scrap stem.
- Safety: store tools away from kids and pets and never place dirty blades on food prep surfaces.
| Task | Recommended tool | Why it matters |
|---|---|---|
| Thick woody stems | Pruning shears | Clean, strong cuts for fast healing |
| Delicate flower stalks | Sharp scissors or fine‑tip snips | Precision without crushing |
| Between plants | Rubbing alcohol / diluted bleach | Reduces spread of pests and disease |
Pruning Methods That Encourage More Blooms
A few targeted cuts can coax fuller form and repeat flowering without stressing a pot.
Pinching tips
Pinch just above a node to spur branching. This small move creates more stems and supports more blooms over time.
Deadheading
Remove spent blooms to stop seed set and redirect energy back into buds. That physiological shift often triggers repeat flowering.
Thinning crowded shoots
Open the center by removing a few interior stems. This improves air movement and light penetration, reducing fungal risk and improving shape.
Hard pruning with caution
Some plants like hibiscus tolerate heavier cuts. Still, avoid removing more than about 30% at once; split big corrections into two sessions for steady recovery and new growth.
Rejuvenation pruning
For tired specimens, remove oldest growth first and shorten weak stems so fresh shoots can take over. This reset often restores vigour and future blooms.
| Method | Effect | When to use | Caution |
|---|---|---|---|
| Pinching | More stems, bushier shape | Active growth | Pinch above node only |
| Deadheading | Repeat blooms, less seed | After flowers fade | Trim close to stem |
| Thinning | Better light & air | Any time for crowding | Remove few stems at once |
Aftercare: What to Do Right After Cutting Back
After a trimming session, the minutes and days that follow matter more than the cut itself. Give your plant a calm, stable spot and simple care steps so it recovers well and readies for fresh growth.
Light adjustments
Move the pot into bright, indirect light for several days. That reduced sun stress helps wounds close and supports steady recovery of new growth.
Watering after cutting back
Keep the soil lightly moist but never soaked. Light watering reduces root stress and lowers the chance of rot or disease while the plant heals.
When to resume fertilizing
Avoid feeding immediately. Wait about 7–10 days or until you spot clear signs of new growth, then use a diluted feed to avoid burning tender shoots.
First-week monitoring
- Upright stems and fresh tips show healthy recovery.
- Drooping, yellowing, or leaf drop signal stress; reduce water and move to gentler light.
- Check cut parts for mush or rot; remove any suspect material and discard in the trash.
Handling cuttings and hygiene
Propagate only healthy cuttings from vigorous shoots. Toss any soft or diseased parts rather than composting them.
Sanitize tools between plants to stop pests and disease spread. Clean blades make aftercare safer for your whole indoor collection.
“Gentle light, light watering, and a short wait before feeding protect recovery and support steady growth.”
Plant-by-Plant Pruning Tips for Common Flowering Houseplants
Treat each pot like a unique garden: small, timely edits yield more reliable flowers. Below are quick, species-specific notes so you can trim with confidence without losing next season’s blooms.
African violet
Pinch faded blooms and tidy spent stalks. Avoid cutting into the crown; damage there can stall growth and kill the rosette.
Hibiscus
Lightly cut back after blooms fade. Save heavier shaping for spring so stems recover while days lengthen and new buds form.
Orchid
If the spike stays green, cut above a node to encourage another bloom. If the spike has browned or the plant is young, remove it near the base so energy shifts into a new shoot.
Peace lily and anthurium
Remove spent blooms and yellow leaves at the base with clean cuts. This keeps soil line decay low and preserves healthy foliage.
Begonia and impatiens
Pinch regularly to prevent legginess and drive branching. Short, repeated edits make more bloom-bearing tips without heavy loss.
Kalanchoe
Deadhead faded flowers first, then cut back after the display ends. That two-step routine readies the plant for the next season’s cycle.
“Small, species-aware edits protect buds and help plants recover faster.”
Conclusion
A steady, gentle approach to editing growth gives most pots stronger stems and more reliable blooms.
Main takeaway: You can shape an indoor plant and control size without sacrificing next season’s flowers by using clean, sharp tools, choosing the right time, and making conservative cuts.
Two simple defaults work well for many plants: deadhead spent blooms promptly and make a clean cut just above a leaf node when you want branching.
For bigger changes, do major shaping in late winter or early spring and handle post‑bloom cleanups so recovery fits the cycle. Sanitize tools between pots and limit removal to roughly 25% per session.
Final note: Trim small amounts, watch how your plant responds, and the next season’s display will improve with each careful edit.