
Bringing a new plant into your home can be exciting. Even healthy-looking plants may carry hidden pests or eggs that show up later. Isolating a new arrival keeps your collection safe and makes problems easier to catch early.
This short, calm routine is built for indoor flower growers who want fewer surprises. Over seven focused days, you’ll check leaves, soil, and stems, clean what needs it, and decide if repotting is wise.
The plan is practical, not scary. It protects the whole group of houseplants and saves time compared with treating an outbreak after pests spread. Even experienced growers miss hidden issues, so a steady process helps everyone.
After the first week, keep watching for a longer period before rejoining the main display. The guide that follows covers setup, inspection steps, cleaning, repotting signals, and sensible spray tips for confident release.
Key Takeaways
- Isolate each new plant briefly to watch for pests and signs of stress.
- A simple 7-day routine helps you inspect, clean, and act fast.
- Quarantine protects the entire collection and saves effort later.
- Repotting, cleaning, and targeted sprays are covered in the process.
- Follow a calm checklist so even seasoned growers avoid surprises.
Why quarantining new plants protects your whole houseplant collection
A short isolation period shields an entire collection from tiny threats that often travel home with a purchase. This step isn’t about distrusting the store; it’s about protecting the rest of your plants. Even perfect-looking specimens can carry eggs, tiny larvae, or suppressed outbreaks that show up later under different light or humidity.
Hidden hitchhikers from nurseries and big-box retailers
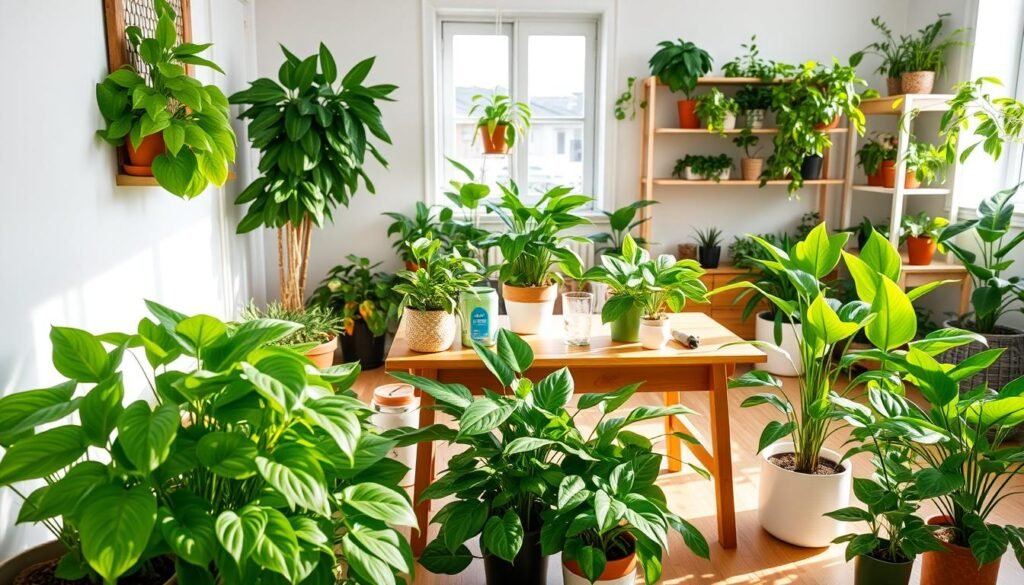
Retail racks and nursery trays move plants in bulk. That close contact and shipping stress can hide pests until the plant adjusts at home.
Thrips and mealybugs may be hard to see, and eggs often sit in the potting mix or under leaf folds. Once conditions change, those quiet problems can flare.
Common problems this step helps catch early
- Spider mites, thrips, mealybugs, whiteflies: look for speckled leaves, fine webbing, sticky residue, or distorted new growth.
- Leaf spots: fungal or bacterial spots spread via splashes, shared trays, and close leaf contact.
One isolated plant is manageable. Letting an infestation reach many pots means lost time, extra expense, and stressed parents who care for the collection.
How to set up a quarantine spot at home without stressing the new plant
Pick a visible spot you pass every day. That small habit makes daily checks simple and keeps minor problems from growing unnoticed.
Separate room or compact distance buffer
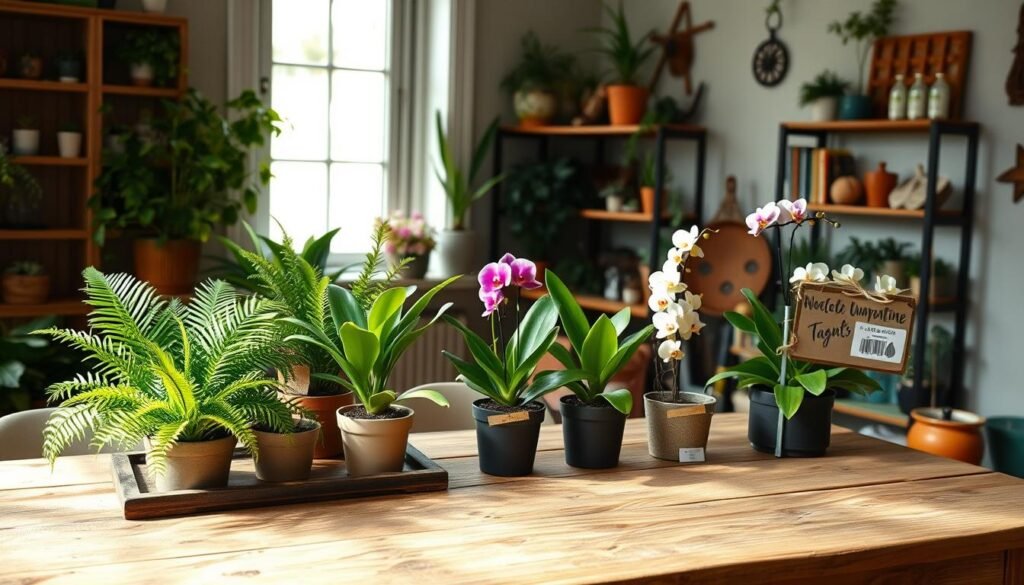
If you have a spare room, use it. A different room is best for minimal spread and peace of mind.
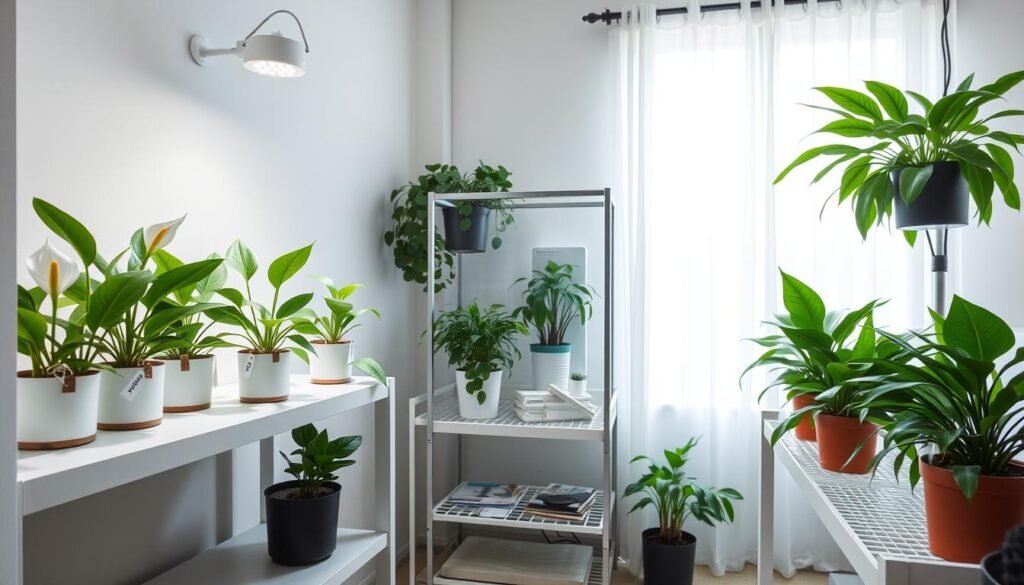
When space is tight, keep 3–6 feet between the newcomer and other pots. A physical barrier, like a shelf or folding screen, helps reduce contact.
Clear container setups for small spaces
A clear plastic container or bin works well as a temporary container. Place the plant inside and prop the lid slightly ajar for airflow.
Position that bin where you can match the future light and sunlight the plant will get. This helps it acclimate so you can judge true health.
Tool and hand hygiene
Separate pruners and watering cans when possible. If tools must be shared, spray them with a hydrogen peroxide mix and wipe dry before use.
Avoid shared humidifiers and common humidity trays; these spread spores and mites among people’s plants. Clean hands and clean gear make care safer for the whole collection.
How to quarantine new houseplants with a simple 7-day routine
Start your seven-day routine with a calm, focused check that spots tiny problems early. Place the plant apart where you pass daily so inspections become a habit. Use bright daylight and a magnifying glass for tiny pests that hide on leaf undersides.
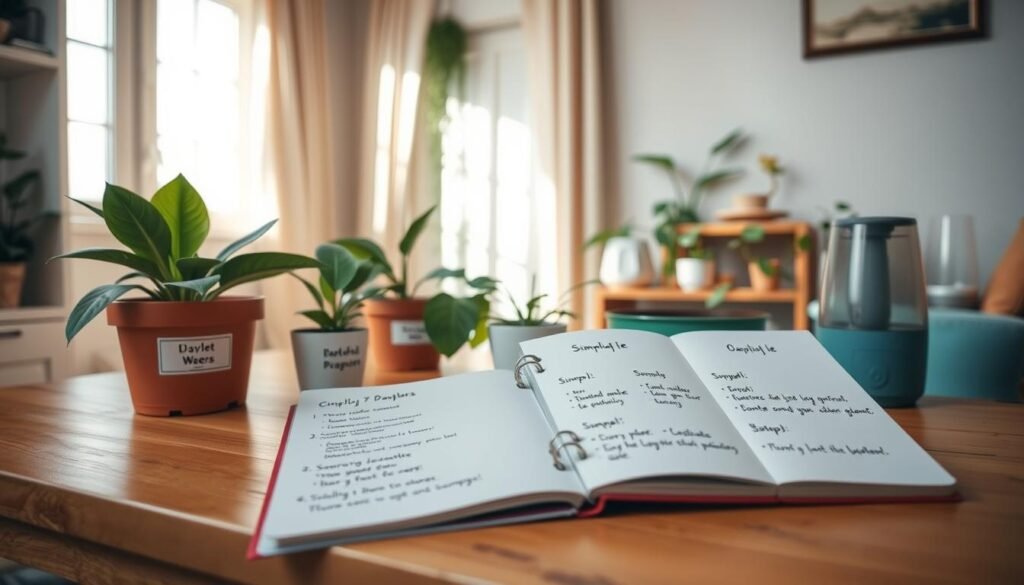
Day one: isolate and inspect
Move the plant away from others immediately. In daylight, scan top and bottom of leaves, stems, and soil surface. A magnifier helps find eggs or fine webbing.
Day two: clean and reset
Remove dust with a gentle shower or a soft wipe. Trim clearly damaged yellow leaves to reduce stress. Let the plant dry before returning it to its spot.
Day three: check soil and aeration
Examine soil level, drainage, and compaction. Use a chopstick to aerate compacted areas without repotting. Good aeration reduces root-rot risk and helps water move through.
Day four: watch for delayed signs
Look for webbing, black specks, sticky residue, or fresh damage on new growth. These signs can appear after travel stress as eggs hatch or mites move.
Day five: repot decision
Repot only if roots crowd drainage holes, soil smells, or drainage is poor. Waiting often lowers transplant shock unless clear triggers demand action.
Day six: targeted preventative spray
Spray only when risk is high or you spot clues. Spot-test first. A gentle neem oil mix (1 tbsp neem oil + 1 tsp dish soap + 1 quart warm water) works for many pests.
Day seven: final check and schedule
Inspect top to bottom one more time. Set a simple schedule: quick checks every week for two more weeks, then monthly. This helps catch thrips hatch cycles and delayed issues.
| Day | Focus | Quick action | Signs to watch |
|---|---|---|---|
| 1 | Isolation & daylight inspection | Magnify leaf undersides; separate | Eggs, tiny webbing |
| 3 | Soil & drainage | Gently aerate with chopstick | Compaction, poor drainage |
| 5 | Repot decision | Wait unless clear root issues | Roots out of holes, foul smell |
| 6 | Preventative treatment | Spot-test neem mix; spray if needed | Sticky residue, specks |
Do a thorough inspection: leaves, stems, and soil (where pests hide)
A careful eye on leaves and soil saves time and prevents bigger problems later.
Inspect in daylight, standing close enough to see tiny dots and threads. Start with the visible leaf surface, then lift each leaf and check the underside. Move next to the petiole, follow the stem, and finish by scanning the soil surface.
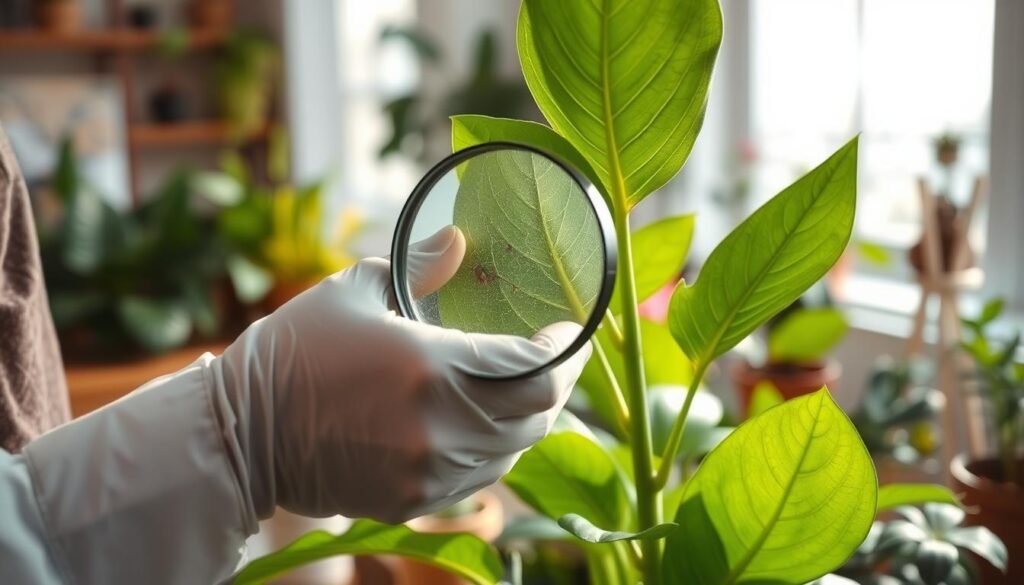
The inspection order that catches the most problems
- Leaf surface: look for stippling, sticky film, or obvious spots.
- Undersides: fine webbing from spider mites hides here.
- Petiole and stem: check joints for cottony mealybugs.
- Soil surface: spot black dots from thrips or tiny whitefly pupae.
What normal looks like after a move
A couple yellow leaves or slight droop are common after transport. These are not automatic red flags.
Fast-worsening damage, new stippling, or a sticky residue are warning signs and need action.
Pest and disease clues to watch for
Spider mite webbing looks like fine threads under leaves. Thrips show as dark specks on new growth and soil. Mealybugs form cottony clusters in joints. Whiteflies flutter if disturbed.
“Finding an issue early is not failure — it’s exactly why quarantine exists.”
When leaf spots appear
Fungal spots may be pale or white; bacterial spots often have dark centers with a yellow halo. Remove and destroy affected tissue quickly to reduce spread.
| Area | What to look for | Immediate action |
|---|---|---|
| Leaf surface | Stippling, sticky film, pale spots | Wipe gently; isolate if severe |
| Underside | Fine webbing, eggs | Use magnifier; treat if webs found |
| Stem & petiole | Cottony clusters, soft rot | Remove affected tissue; clean tools |
| Soil surface | Black specks, white pupae | Top-dress or treat surface; monitor |
Soil, roots, and containers: prevent problems before they start
Roots and the mix they sit in often tell the real story of a plant’s health. A pot can look fine above the rim while the soil hides compaction, poor drainage, or root stress.
Quick aeration with a chopstick
Gently probe the soil every 1–2 inches with a clean chopstick. Move the stick in small circles to break compacted pockets without ripping roots.
This improves oxygen flow and helps water move through rather than pool at the base.
Watch for hidden plastic root plugs
Probe a few inches down near the center. If you feel or see a thin plastic mesh, that is a root plug. Only investigate deeper when you suspect an issue.
If the mesh is present and roots look bound, plan a careful repot.
When repotting is justified
- Roots out drainage holes: clear sign of root binding and limited growth.
- Soil stays compacted or water drains straight through: may mean hydrophobic mix or poor structure.
- White salt spots or a top-heavy pot: salts stress roots or risk tipping.
Pick the right pot size
Choose a new container about 2 inches wider than the current pot. Avoid overpotting; too much fresh soil holds moisture and raises root rot risk.
Most new plants do best after a short settling period. Monitor weekly for growth and adjust care only when triggers appear.
| Check | Method | What it signals |
|---|---|---|
| Compacted soil | Chopstick probe every 1–2 in | Poor oxygen; slow water movement |
| Plastic root plug | Probe a few inches down | Artificial barrier; consider repot |
| Water behavior | Pour test or observe drainage | Water drains straight through or pools |
| Roots at holes | Inspect base or lift plant slightly | Root-bound; needs larger pot |
If you find pests or disease during quarantine: a simple treatment workflow
Finding a bug or spot on a newcomer calls for a clear, low-stress treatment ladder you can trust. Start small, act fast, and aim to get rid of most problems with gentle steps first.
Mechanical removal first
Rinse the plant in the sink for a gentle wash. Support delicate stems and hold leaves so you don’t tear them.
Use a damp cloth, tweezers, or cotton swabs to pick off visible pest bodies and eggs. A little vegetable oil on a swab helps lift stubborn clusters.
DIY spray and basics
Mix 1 tbsp neem oil + 1 tsp dish soap + 1 quart warm water. Spray both leaves and soil surface. Repeat as needed. Neem may leave light residue, but it will help get rid of many common bugs.
When store-bought products fit
For persistent infestations, use labeled options like Garden Safe Brand Houseplant and Garden Insect Killer or Arbor Bio Insecticide. Treat once a week or every other week during a three- to four-week quarantine for best control.
Containment rules that matter
Keep leaves from touching other pots. Don’t share tools between plants. Treat the soil surface when eggs or larvae are likely hiding. These steps cut spread and buy you time.
Quarantine care basics: light, water, and what not to do yet
Gentle, steady conditions make it far easier to tell if a plant is settling in or showing stress. Aim for a predictable spot that matches the future light level. That reduces shock when the time comes to move the plant back with the collection.
Watering during quarantine
Watch the soil and water only when the species needs it. Keep notes on each watering cycle; root rot often appears after a few wet cycles, not on day one.
Too much water plus low light is a common mistake—people often give extra water because they worry. Let the mix dry a bit between fills unless the species prefers constant moisture.
Skip fertilizer at first
Less is more with feeding. Many growers pot with nutrients or use slow-release mixes. Waiting a couple months prevents burned roots and hides fewer problems.
Expect a leaf or two to fall as the plant adjusts. Steady care and matching light will encourage healthy growth over time.
| Focus | Action | Why it matters |
|---|---|---|
| Light | Match future placement | Reduces transplant shock |
| Water | Observe, record, water sparingly | Detect root rot after several cycles |
| Fertilizer | Delay 6–8 weeks | Avoid nutrient burn; let soil reserves feed |
| Expectation | Accept minor leaf drop | Normal adjustment; watch for steady growth |
How long to quarantine plants and when it’s safe to move them out
Allow a settling period so subtle pests or root trouble have time to appear.
Minimum guideline: hold each new plant apart for two weeks as a baseline. Many experts agree this span catches the fastest hatching cycles.
Best practice: extend the wait to three or four weeks for higher-risk species such as ferns, calatheas, begonias, and big-box purchases.
Why extra weeks matter
Thrips eggs hatch in roughly 7–10 days. Root rot often appears after several watering cycles. More time gives these issues room to reveal themselves.
High-risk checklist
- Purchased at a big-box store
- Species prone to pests (calatheas, ferns, begonias)
- Visible marks, sticky residue, or recent treatment
Final release inspection
Do the last check in bright sunlight with a magnifier. Inspect leaf tops and undersides, petioles, stems, and the soil surface.
| Guideline | Duration | Why it matters |
|---|---|---|
| Baseline | two weeks | Catches quick hatching pests |
| High-risk | 3–4 weeks | Allows slow signs and root issues to show |
| Final check | Day of release | Sunlight inspection with magnifier |
Gentle transition tip: once moved into the main room, keep leaves from touching others for a few days and perform quick weekly checks for early signs. This extra care cuts risk and protects your wider collection of houseplants.
Conclusion
A calm habit of checking leaves and soil gives you real confidence in each plant you bring home.
The seven-day routine is a fast start that helps catch obvious pests early. Follow it, then keep a simple inspection rhythm over the next few weeks for peace of mind.
Keep care steady: match light, water carefully, clean dusty leaves, and change soil only when the signs are clear. Prevention beats reaction—one isolated pot is easy to manage, while an outbreak across a room can be a long, costly project.
If you ever doubt the result, extend the quarantine, re-check in bright light, and only spray when visible signs or risk justify it. Build this habit and your garden care will feel calmer and more certain.