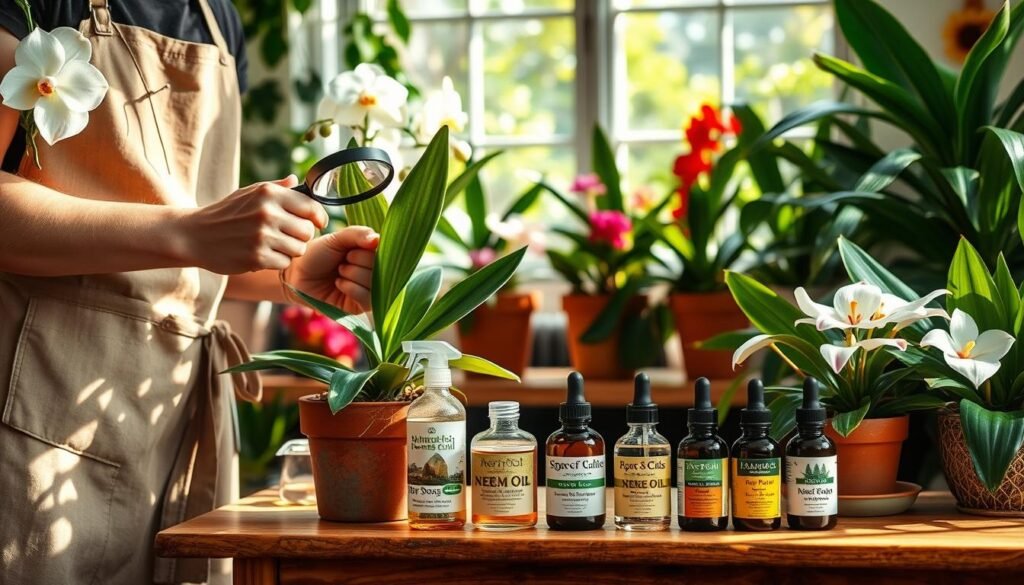

Protecting blooms means more than spraying at the first sign of trouble. Choose healthy plants whose light, humidity, and temperature match your home. Good care cuts infestations and lowers the need for chemicals.
Early checks and simple habits stop most issues. Inspect new arrivals and quarantine anything suspect. Many small outbreaks respond well to leaf washing, gentle pruning, repotting with sterile soil, sticky cards, and hand removal.
Expect some problems—bugs are common indoors—but they usually stay small if you act fast. This guide moves from prevention first, to gentle measures, to targeted products, and ends with when to discard a plant. Follow label directions and keep ventilation and household safety top of mind.
Key Takeaways
- Match plant needs to your room to reduce outbreaks and chemical use.
- Quarantine new or affected plants to stop spread quickly.
- Start with nonchemical fixes: rinses, pruning, repotting, and sticky cards.
- Protect blooms by using gentle methods and checking often.
- Use products only as a last resort and follow label and safety steps.
Why flowering houseplants need a different pest-control approach
Delicate buds and open flowers react to treatments far differently than tougher foliage. Petals bruise and discolor sooner than leaves. That makes heavy-handed methods risky when blooms are present.
How blooms get damaged
Thin petals and young buds show speckling, browning edges, or sudden bud drop after a harsh spray or DIY mix. Many oils and soaps can burn tender tissue, especially on moisture-stressed plants.
Safer treatment rules
Treat insects and mites mainly on leaves and stems and physically shield blooms when you can. Remember most sprays and pyrethrins work only on contact, which tempts over-spraying the flowers.
Water a houseplant a day or two before applying anything. Apply out of direct sun and keep the plant shaded until surfaces dry. When possible, use repeat, gentle coverage rather than one strong dose.
- Spot-test products on a single leaf first.
- Target undersides where tiny mites hide.
- Protect buds with a loose wrap when treating foliage.
Set your plant up to resist pests before you ever spray
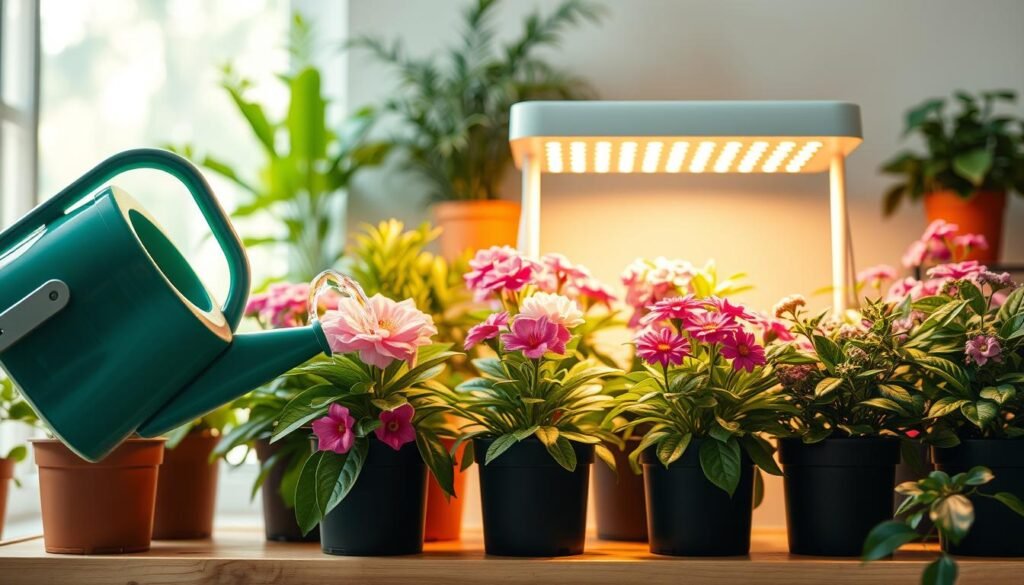
Prevention is the most flower-friendly approach. Start by choosing a species that matches your room’s light, temperature, and humidity. Right plant, right place means less stress and faster recovery from minor feeding.
Match to light, temperature, and humidity
Place plants where they get the level of light they need. Keep them away from hot vents and cold drafts. Stable temps and steady humidity protect buds and reduce recurring issues.
Watering and soil basics
Water at the soil line, not on petals or leaves. Let the surface dry between waterings. Overwatering and poor drainage invite root rot and attract fungus gnats.
Drainage and sanitation
Use pots with drainage holes and empty saucers. Remove fallen leaves and deadhead spent blooms. Wipe dusty leaves with a damp cloth; avoid leaf-shine or milk wipe-downs.
Potting and repotting hygiene
Always use sterile indoor potting mix. Do not use garden soil or old open bags left outdoors. Clean pots and rinse roots when repotting to cut soil-borne problems.
“Healthy care routines reduce how often you need sprays near buds.”
| Factor | Good Benchmark | Why it matters |
|---|---|---|
| Light | Bright indirect or specified level | Prevents stress and keeps blooms strong |
| Watering | Soil line watering; dry top 1 inch | Stops root rot and reduces gnats |
| Potting mix | Sterile indoor mix only | Limits soil-borne larvae and disease |
Spot pests early without disturbing flowers
A two-minute scan of each plant will reveal many problems while flowers stay safe.
How to inspect tops and undersides of leaves
Use a routine: scan stems, look at leaf tops, then check the undersides. Do this without touching blooms so petals stay protected.
Use a 10x hand lens or a smartphone magnifier. Some mites and eggs are nearly invisible to the naked eye.
Signs to watch for
Symptom checklist: fine webbing, stippling or speckling, sticky honeydew, black sooty mold, and small whitish cast skins.
Also inspect container rims, crevices, saucers, and the bottom of pots where insects can hide or hitch a ride.
Use sticky traps and quarantine
Yellow or blue sticky traps help track flying insects like whiteflies, thrips, and fungus gnat adults. Traps are a monitoring tool, not a cure.
Isolate new or affected plants in a separate room for one to two weeks. Check them during each watering to catch infestations early.
| Check | What to look for | Why it matters |
|---|---|---|
| Leaf tops | Discoloration, holes, stippling | Shows active feeding and overall health |
| Undersides | Eggs, mites, webbing | Many insects lay eggs there; treatments miss them otherwise |
| Containers | Residue, crevice hiding spots | Harbors larvae and winged hitchhikers |
Bud-safe pest control for flowering houseplants
Start with gentle measures that keep blooms intact and focus on where insects hide.
Begin with nonchemical steps. Wash leaves, wipe stems, remove clustered insects by hand, and prune affected growth. A “minor infestation” means a few clusters on stems, light webbing, or a small number of insects spotted during a quick scan.
If the problem stays or returns after one or two wash cycles, or if sticky cards show more flying adults, step up.
When to step up to sprays or soil treatments
Choose the gentlest product first: insecticidal soap, potassium fatty acids, or a plant oil. These are contact-based, so technique and repeat applications matter more than higher concentrations.
Use Bt israelensis drenches for larvae in potting mix, or consider a targeted systemic if sap-feeding insects keep returning. Limit sprays and prefer soil-applied options when possible to protect blooms.
How to protect blooms while treating leaves and stems
Cover flower clusters with a loose paper shield or a clean plastic bag while you treat foliage. Focus sprays under leaves and at stem junctions, not on petals or buds. Remove coverings once surfaces are dry.
- Escalation ladder: wash/wipe → prune/repot → least-harsh product.
- Indoor safety: controlled spraying and wipe-downs reduce exposure for people and pets.
Mechanical controls that work fast and won’t scorch petals
A careful rinse and some precise handwork can reset a troubled plant in one session. Start with the gentlest option and protect blooms while you work.
Wipe-downs and rinse-offs: sink, shower, and damp cloth methods
Use a damp paper towel to wipe leaves, changing towels often to avoid spreading eggs. Small plants fit in a sink; larger ones do best in a shower.
Fast reset: shield flower clusters with a loose cup, tilt the pot, and aim short bursts of water at the undersides of foliage.
Forceful water sprays that won’t break stems
Give short, directed spray bursts under each leaf. Support stems with one hand near the base to prevent snapping flowering spikes.
Repeat every few days to catch newly hatched aphids and spider mites as they reappear.
Hand removal: tweezers and cotton swab dipped in alcohol
Use tweezers for clustered mealybugs and scale. Follow with a cotton swab dipped in 70% isopropyl to clean crevices and vein lines.
Keep a small bowl of alcohol and fresh swabs ready; swab dipped wipes remove residue and reduce return visits.
Pruning and hygiene to protect the rest
Prune the most heavily infested leaves and stems to lower the overall infestation and improve access for rinses.
- Wash hands and rinse tools after handling affected plants.
- Avoid brushing plants against clothing until they are fully clean.
- Monitor new growth closely—tender tips often host the first return.
Tip: A repeat rinse that targets undersides plus careful hand removal often clears an issue without any sprays.
Targeted treatment plans for the most common flowering-plant pests
Work methodically: identify the culprit, isolate the plant, and aim treatment at leaves and stem junctions rather than the flowers.
Spider mites
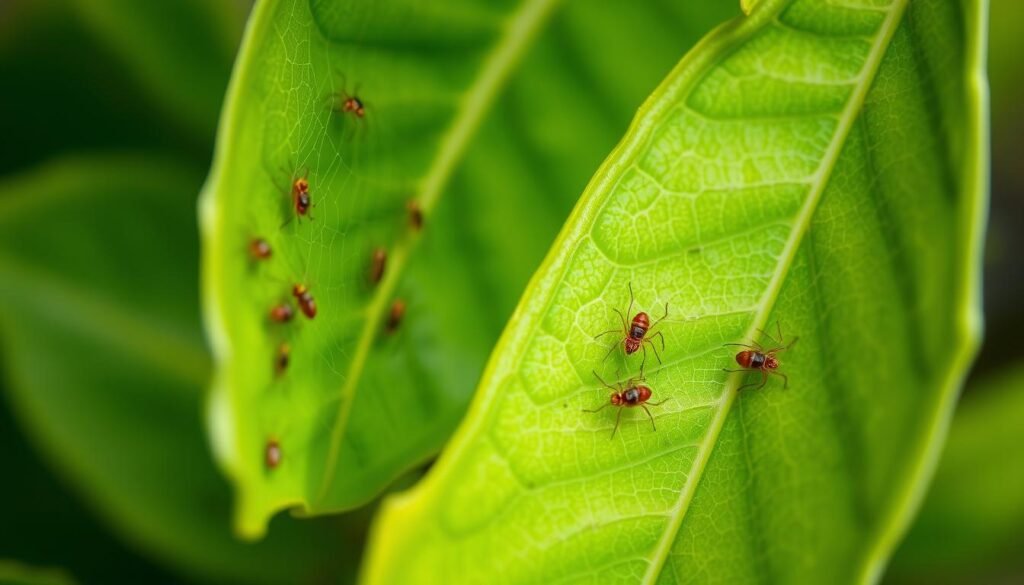
What you’ll see: tiny spider-like mites, fine webbing, and stippling on leaves.
First step: raise humidity, rinse undersides, and repeat sprays every 5 days (2–3 rounds).
Thrips
What you’ll see: streaked, silvery or distorted blooms and tiny slender adults.
First step: place yellow or blue sticky cards to confirm adults, then treat leaves and repeat at 7-day intervals.
Aphids
What you’ll see: clusters near buds and sticky honeydew on leaves.
First step: gentle forceful wash-off aimed at stems and undersides; repeat until honeydew stops.
Whiteflies
What you’ll see: flying adults and immatures glued to leaf undersides.
First step: target immatures on the undersides with oil sprays or a soil systemic and use repeat treatments to break the life cycle.
Mealybugs and scale
What you’ll see: cottony sacs, shells along veins and stem junctions.
First step: remove by hand or swab with alcohol, then follow with repeat treatments or a targeted systemic if needed.
Note: Always isolate affected plants and avoid touching nearby foliage during any treatment to prevent spread.
| Organism | Visible sign | Safe first action |
|---|---|---|
| Spider mites | Webbing, stippling | Rinse undersides; repeat every 5 days |
| Thrips | Silvery streaks on blooms | Sticky cards; treat leaves; repeat at 7 days |
| Aphids | Clusters at buds; honeydew | Forceful wash-off; protect petals |
| Whiteflies | Adults fly; immatures under leaves | Target immatures; use oil or systemic |
| Mealybugs & scale | Cottony sacs; shells on veins | Manual removal; repeat treatments |
Soil pests and fungus gnat control without harming roots or blooms
A simple shift to dryer surface soil is often the most flower-safe way to reduce gnats at home. Fungus gnats and their larvae live in overly moist potting media. They thrive near the surface where organic matter stays damp.
Drying strategy: let the top 1 inch of soil dry before you water again. Check by touch or with a moisture meter. This breaks larval survival without stressing healthy plants.
Adults vs. larvae: different tactics
Yellow sticky traps catch adults and signal whether numbers are falling. Traps do not stop larvae in the mix.
Bt israelensis drenches
Bt israelensis targets larvae in the potting mix. Apply as a soil drench, let excess drain, and repeat per label to match the gnat life cycle. It won’t remove flying adults on windows or near lights.
When to repot
Repot if larvae return, the mix smells sour, or drying fails to cut adult counts. Use a clean pot, sterile indoor potting mix, and rinse old soil off roots before resetting the plant.
Tip: Combine surface drying, sticky traps for monitoring, and Bt drenches when needed—repot only when sanitation and simple changes don’t help.
Choosing sprays and products that are effective and flower-friendly
Favor low-residual options when flowers are present so petals stay unmarked and colors remain bright.
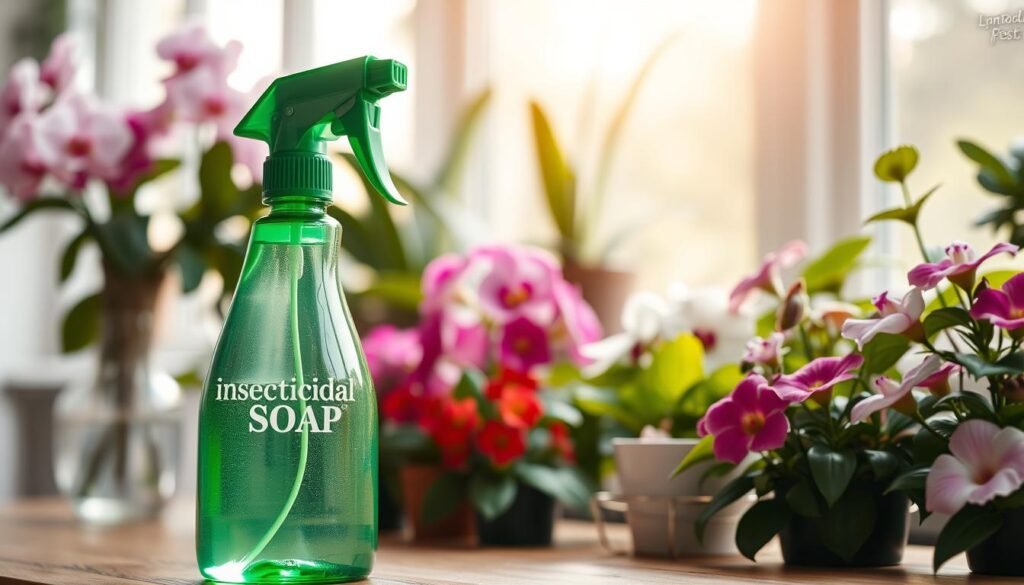
Insecticidal soap and potassium fatty acids
Use labeled insecticidal soap products rather than dish soap. These work on contact and need direct coverage to kill soft-bodied insects like aphids and mealybugs.
Soaps leave no long residue, so repeat applications are usually required. Avoid strong mixes and don’t spray moisture‑stressed plants; leaf burn and bloom damage can occur.
Horticultural and plant oil extracts
Plant oils (canola, clove, sesame, cottonseed, garlic) smother insects when thoroughly applied, especially under leaves. Coverage matters more than brand.
Spot-test first — some species react to oil sprays. Repeat treatments break life cycles of scale and mealybugs.
Neem, pyrethrins, and systemics
Neem oil / azadirachtin disrupts growth and is helpful for repeat infestations like thrips and whiteflies. It has short-to-medium residual action and needs follow-ups.
Pyrethrins give a fast knockdown but no long-term residue; expect multiple sprays to manage returns. Imidacloprid and other systemics provide months of suppression and suit hard-to-reach insects, but avoid using them on plants that may go outside when bees are active.
“Pick the least risky effective option and treat leaves and stems, not petals.”
| Product type | Best use | Flower safety |
|---|---|---|
| Insecticidal soap | Aphids, mealybugs | High if labeled; repeat |
| Plant oils | Scale, whiteflies | Good with spot-test |
| Systemics | Hard-to-reach infestations | Use cautiously (bee risk) |
Application technique that protects buds, people, and your home
Small procedural steps cut risk to buds, people, and the rooms where you keep plants. Start with a spot-test: treat two or three leaves and wait 48 hours to check for leaf or bud reaction before treating the whole specimen.
Timing and placement matter. Do treatments out of direct sun and not while the plant is moisture‑stressed. Water a day or two before to reduce burn risk and improve uptake.
Indoor spraying safety and the bag method
Ventilate the room and protect nearby surfaces. Keep kids and pets away until everything is dry.
Containment tip: loosely cover the bloom cluster with a clean bag or paper shield. To limit drift, enclose the whole plant in a clear plastic bag, seal the base, cut a small hole for the nozzle, spray—paying special attention to leaf undersides—and then tape the hole closed until dry.
Repeat schedule and tracking
Pests hatch in waves, so many products need repeat applications. Space treatments by the expected life cycle—often 5–14 days—and mark dates on a calendar or phone note.
“Thorough underside coverage is the technical key; missing undersides is why many infestations return.”
| Step | Why it helps | Timing |
|---|---|---|
| Spot-test 48 hrs | Detects leaf/bud sensitivity | Before full application |
| Bag containment | Reduces drift and home exposure | During indoor sprays only |
| Target undersides | Reaches hidden eggs and mites | Every application |
| Repeat per life cycle | Stops new hatchlings | 5–14 days as needed |
When to cut losses to protect the rest of your indoor plants
Sometimes the kindest act is removing a single specimen to save the rest. If repeated treatment fails and damage keeps spreading, a calm disposal protects nearby growth. Treat the choice as a practical step, not a failure.
Signs an infestation is too advanced
Clear indicators include heavy leaf loss, repeated rebound after multiple treatments, visible insects on several plants, or infestations of mites that are hard to eliminate in a home setting.
If more than two neighboring plants show the same severe signs, act quickly to prevent further spread.
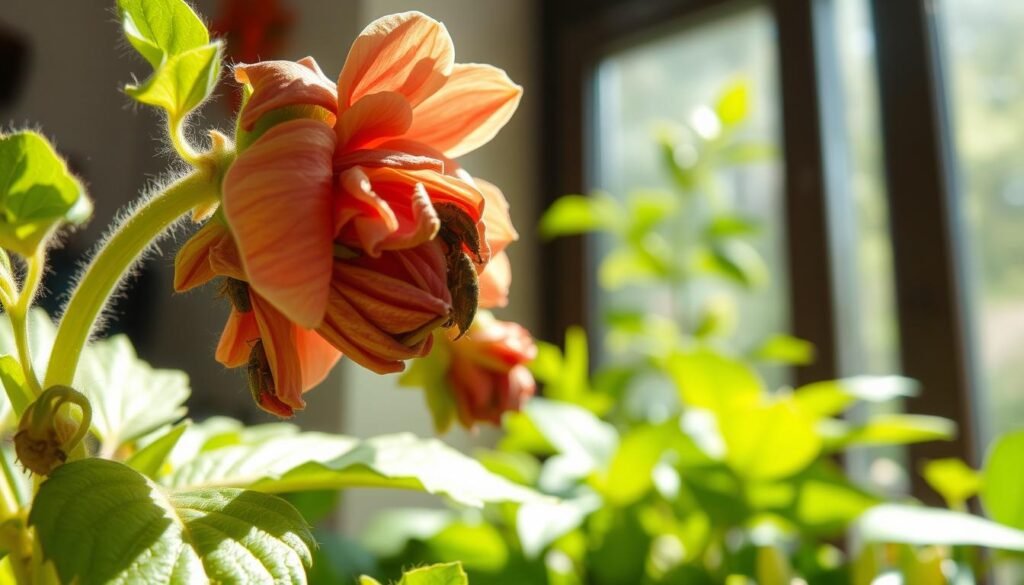
Isolation, disposal, and cleanup steps
Immediately separate the affected plant. Reduce handling and stop leaves from touching others.
- Bag the whole plant and soil securely.
- Remove fallen debris and discard it with the pot.
- Wipe nearby shelves, pots, and saucers with soapy water and rinse tools with isopropyl.
Tip: Do not reuse potting mix from a discarded specimen; soil can hide eggs and tiny garden hitchhikers.
| Action | Why it helps | When to do it |
|---|---|---|
| Isolate immediately | Stops spread to other plants | At first sign of severe rebound |
| Bag and discard | Removes sources of future infestations | When damage is heavy or mites persist |
| Sanitize tools & surfaces | Prevents reintroduction | After disposal and weekly checks |
Wait a week before reintroducing nearby specimens. Monitor with sticky traps to confirm flying adults are gone. This measured approach preserves the rest of your collection.
Conclusion
A steady rhythm of checks and cleanings keeps most small outbreaks from growing.
Prevention and early detection make the biggest difference. Match light and temperature, use sterile soil and good drainage, and water at the soil line to keep plants healthy.
Start with gentle steps: rinse, wipe, hand-remove, and prune. Shield buds while treating leaves and focus on undersides where many insects hide. Repeat inspections and treatments to match life cycles.
Pick one simple habit today—sticky traps, weekly underside checks, or tighter watering—and build it into a maintenance rhythm. Healthy plant care reduces visits by pests and keeps blooms looking their best.