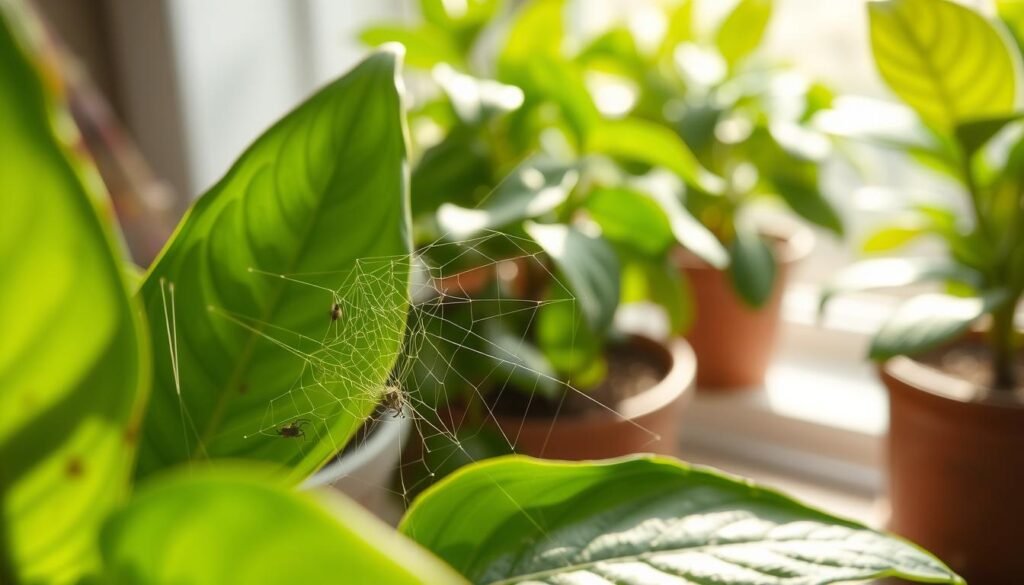

Surprising fact: up to 70% of houseplant outbreaks trace back to a single new purchase that carried eggs or tiny adults.
That’s why gardeners keep hearing mixed advice about tiny leaf pests. You might see conflicting tips and feel blamed for a problem you didn’t cause. It’s not a judgment on your skills.
This guide explains what is true and what is myth for everyday flower and foliage care. You’ll get a clear, step-by-step plan for a practical spider mites on indoor plants treatment approach plus myths that keep outbreaks repeating.
Homes with heat and low humidity make reproduction fast. A small issue can become a whole-collection infestation if you wait for visible webbing. We’ll show how to spot early damage, confirm the pest, isolate and wash the affected plant, and follow a regular plan for follow-up care.
For trusted, beginner-friendly advice and the science behind these steps, see a brief note about our approach at Blotanic’s guide. You don’t need extreme chemicals for most cases, but you do need consistency and careful coverage, especially under the leaves.
Key Takeaways
- Finding pests is common and not a failure of care.
- Outbreaks often start from new plants carrying eggs or tiny adults.
- Act early: identify damage, confirm the pest, isolate, wash, and follow a schedule.
- Heat and low humidity speed reproduction; prevention matters.
- Gentle, consistent care often beats harsh chemicals for home collections.
How to Tell If You Have a Tiny Feeder Problem
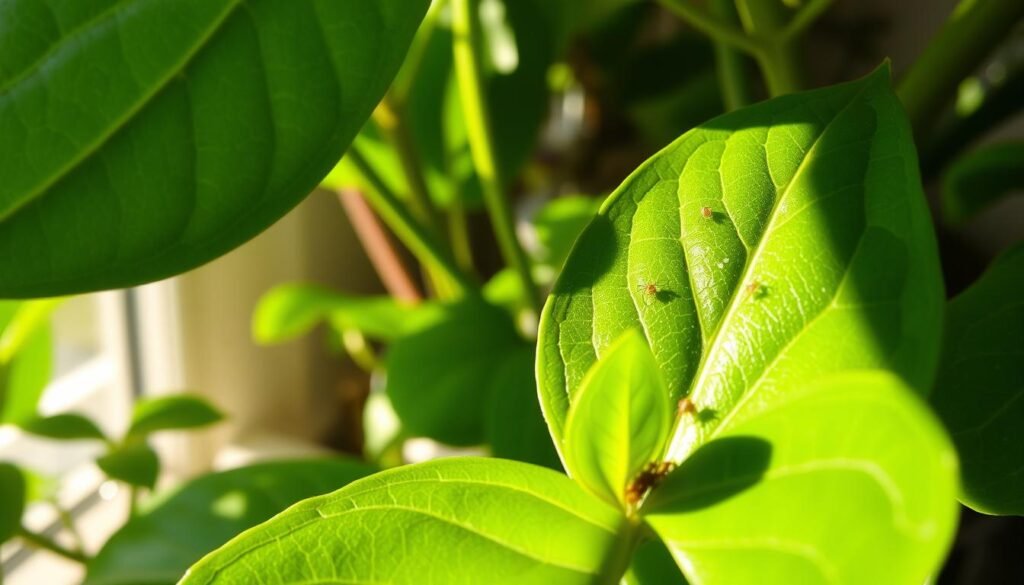
Early leaf damage can look subtle, and many people mistake it for dust or normal aging. Check small pale dots or a sandpapery feel before assuming a watering or light issue.
Early signs: stippling creates tiny pinprick marks, yellowing or brown spots, and a scarred look on affected leaves. These marks differ from sunburn or nutrient loss because they form a fine, stippled pattern across many leaf surfaces.
Where to inspect
Begin with the undersides leaves and then look at the leaf-stem junctions and crowded growth. Eggs and young stages hide where the foliage is dense.
What they look like up close
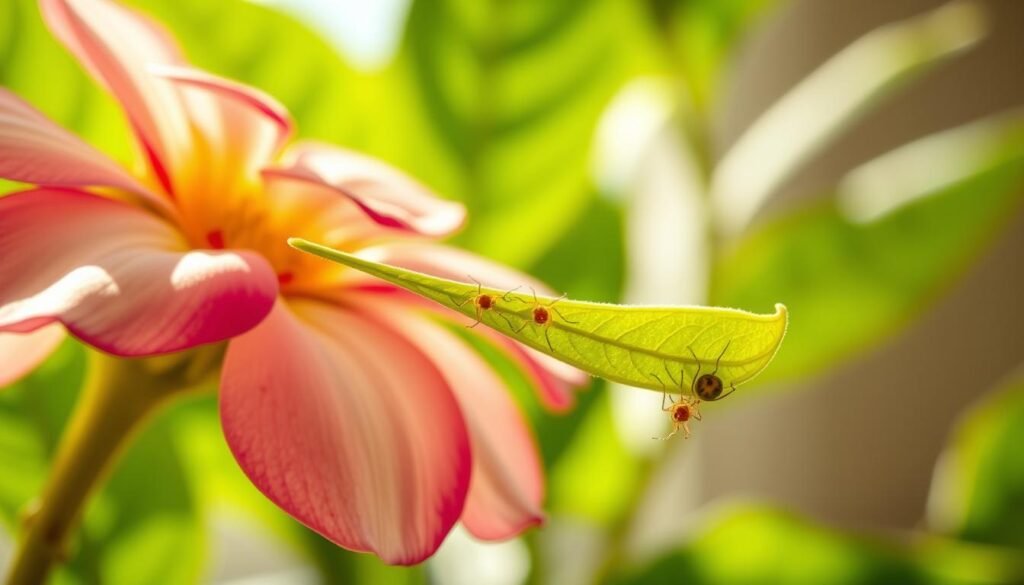
Look for tiny moving flecks; two-spotted types may show two dark marks and can shift color seasonally, sometimes reddish in cooler months. If you need proof, try a quick mist test — damp foliage makes webbing and movement easier to spot.
Confirming the culprit
Use a 40x jeweler’s loupe, a phone macro lens, or a small microscope to count legs: arachnids have eight. If you see stippling plus moving flecks or fine webbing, act immediately rather than waiting for heavy webbing to appear.
What Causes Spider Mite Infestations Indoors (and the Myths to Ignore)
Warm rooms with dry air turn a single egg into a big infestation in a short time. That why now effect explains why many outbreaks happen in winter when household heating lowers relative humidity.
Why winter heating helps
Low humidity and higher room temperatures create perfect conditions for rapid breeding. Under these conditions, the life cycle accelerates and populations can balloon in just a few days.
How they get inside
- Hitchhikers on new houseplants or cut flowers brought into the home.
- Drifting in through open windows near outdoor landscaping.
- Carried on clothing or by pets that brush past garden foliage.
Even careful owners face this — these bugs are common outdoors and indoors, and they are easy to miss until damage appears.
Myth-buster: it’s not the soil
IPM experts agree: eggs and most reproduction happen on the foliage and in crevices, not in potting mix. Focus control where the leaves meet stems and under leaf surfaces.
Stressed houseplants are more vulnerable. Good care and stopping movement through your collection are the first steps before you start detailed follow-up.
Spider Mites on Indoor Plants Treatment: Fast First Steps to Stop the Spread
Immediate isolation buys you time to remove heavily infested leaves and rinse away most of the population. Move the affected plant away from your collection—ideally to another room—so crawling pests cannot cross over leaves, pots, or nearby surfaces.
Quarantine
Place the plant on a disposable tray or sheet and treat neighboring pots as exposed until they are checked. Wipe nearby shelves and windowsills and avoid brushing the sick plant past healthy ones.
Remove the worst damage
Prune heavily webbed or scarred leaves and cut back affected tips and stems past visible infestation. Bag and trash the debris; do not compost. Pruning removes eggs and adults and helps new growth recover faster.
Rinse right away
Take small specimens to a sink or shower and rinse with lukewarm water, aiming the stream under each leaf where they cluster. Optionally, wipe leaf tops and bottoms with a damp paper towel first to lift off dust and hitchhikers.
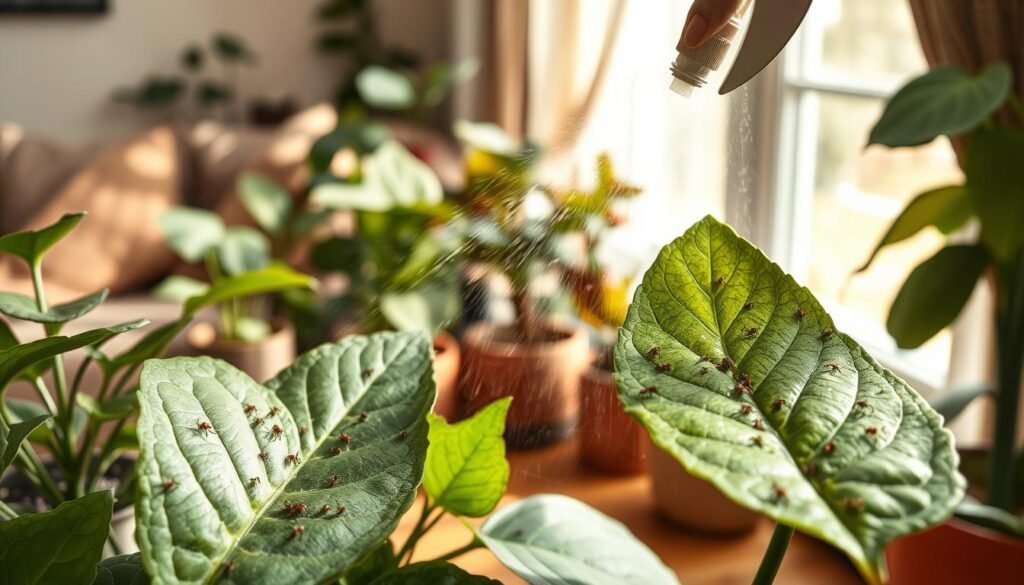
“The fastest way to get rid of them is to stop spread first, then reduce the population with physical removal and rinsing.”
After quarantine, prune, and rinse, plan contact-kill steps in the next 24 hours and schedule repeats. This quick reset makes follow-up sprays or oils far more effective and helps you truly treat the problem.
Best At-Home Treatments That Kill Spider Mites on Contact
Core principle: the most reliable home ways work by making direct contact with pests and eggs. Most options do not provide long-lasting residual control, so coverage and repeat action matter.

Hard water sprays
Use a firm, targeted stream to blast the undersides of leaves and leaf joints. The mechanical force knocks many adults and eggs free.
Repeat rinses every few days until numbers drop.
Insecticidal soap vs. dish soap
True insecticidal soap is made for foliage and is safer. Dish soap mixes can work but raise the risk of leaf burn, especially on thin or variegated foliage.
Test a small area first and avoid spraying in direct sun or onto heat vents to limit damage.
Neem and horticultural oils
Neem oil and other horticultural oils kill by suffocation and can smother eggs. Apply at dusk or on cloudy days and follow label rates.
Avoid heavy runoff into the potting mix to prevent root suffocation.
Rubbing alcohol and diatomaceous earth
Use rubbing alcohol as a spot-spray or with a cotton swab; patch-test a leaf for sensitivity first. Food-grade diatomaceous earth helps around the base and in crevices but must stay dry to work and avoid dusty clouds.
Hydrogen peroxide
A 3% hydrogen peroxide spray kills on contact via oxidation. It works best with full leaf coverage and repeat applications over several days.
“Wash first, then follow with a contact-kill; the combo gives the best chance to get rid fast.”
Quick guide: use water blasts for quick knockdown, soaps or oils for contact kill, and spot alcohol or diatomaceous earth for targeted work. Match the method to infestation severity and leaf sensitivity for best results.
How Often to Treat Spider Mites (Days, Weeks, and What “Be Persistent” Really Means)
Killing adults today doesn’t stop the life cycle if eggs hatch a few days later. Eggs can hatch in roughly 2–4 days, and nymphs mature quickly, so one hard spray rarely ends an infestation for good.
Practical timeline: wash and treat on day 1, then re-treat weekly for at least 3–4 weeks. Check your plants every few days so you catch fresh eggs early.
Why one-and-done fails
Even a heavy application misses eggs tucked under leaf folds. Those eggs can hatch in days and rebuild numbers faster than you expect.
A realistic indoor schedule
- Day 1: isolate, rinse, and apply contact control.
- Days 3–5: inspect for newly hatched nymphs; rinse if webbing returns.
- Weekly for 3–4 weeks: repeat the wash + contact step to hit multiple generations.
How to track progress
Look for fewer moving dots, less webbing, and clean new growth at the tips. Those are clear signs control is working.
Not progress: fresh stippling on new leaves, expanding webs, or spread to nearby pots. If that happens, tighten your schedule and improve coverage under leaves.
“Persistence is short-term effort for a long-term payoff—stick with scheduled follow-ups until the life cycle breaks.”
| Timeframe | Action | Why it matters |
|---|---|---|
| Days (2–4) | Inspect for hatchlings; rinse if needed | Eggs hatch fast; early checks catch new nymphs |
| Week 1–4 | Weekly wash + contact control | Repeated hits disrupt multiple generations |
| Ongoing | Monitor every few days; adjust humidity/temperature | Slower reproduction makes control sustainable |
Preventing Spider Mites From Coming Back in Your Home
Prevention starts by making your home less welcoming to tiny hitchhikers. Small environment tweaks change the welcome mat so pests find the space harder to breed and survive.
Humidity and airflow
Adjust room conditions: raise humidity with a humidifier or group pots over pebble trays without soaking the soil. Keep plants away from heat vents and drafts.
Use gentle fans for steady airflow so foliage doesn’t sit stagnant. These steps make warm, dry conditions less common and slow reproduction.
Leaf hygiene and monthly spritzing
Wipe dust from leaves with warm water; clean foliage photosynthesizes better and hides fewer eggs. Do this every few weeks for houseplants in bright rooms.
For collections with repeat issues, apply a monthly, plant-safe insecticidal soap spray. Focus on undersides and junctions for the best control.
New-plant protocol
Inspect new arrivals for webbing, tiny flecks, and eggs before introducing them. Quarantine new plants for at least two weeks and check them every few days.
Plant health basics and beneficials
Avoid both underwatering and overwatering; keep steady water and balanced feed to reduce stress. Healthy plants resist pests better and recover faster.
For larger collections, consider biological help: predatory mites like Phytoseiulus persimilis or lacewing larvae work over weeks and need contact with active areas to hunt.
“A short neighborhood-watch habit during winter heating prevents small problems from becoming big ones.”
Conclusion
Quick action and steady follow-up are the real keys to ending a pest infestation before it spreads. Confirm the culprit, isolate the affected specimen, and start with a rinse and physical removal.
Then use a plant-safe soap or horticultural oil — neem or neem oil works well — or a careful spray of rubbing alcohol for spots. Shield delicate foliage from sun, follow label directions, and patch-test mixes like dish soap first.
Repeat your routine weekly for 3–4 weeks. Eggs and hidden individuals survive a single pass, so persistence with full leaf coverage is what truly ends the problem and keeps your collection healthy.
Keep leaves clean, inspect new arrivals, and adjust hot, dry rooms so pests find your home less inviting.