Surprising fact: Up to 60% of indoor plant problems start with excess moisture, which makes leaf spots spread fast and lets soil pests multiply in weeks.
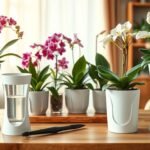
This short guide covers two common headaches for houseplants: visible leaf damage on foliage and soil-dwelling larvae that hatch in damp mix. You can fix both without harsh chemicals or panic.
Start by diagnosing the symptom: are spots on leaves from a spreading infection or stress, and is the potting mix staying too wet? Then stabilize light, airflow, and watering. Finally, address the root cause: excess moisture and organic buildup in the pot.
We feature a species-specific option based on Bti and a simple “Mosquito Bit tea” soil drench you can use alongside normal care. This targets larvae in wet soil while you fix conditions that let problems return.
Quick reassurance: Most infestations are more annoying than catastrophic. With steady steps, leaves often recover and pests stop multiplying.
Key Takeaways
- Leaf spots and soil pests often share one cause: too much moisture.
- Diagnose first, then improve light, airflow, and watering habits.
- Use a Bti-based soil drench (Mosquito Bits method) to break the life cycle.
- Combine soil care with regular plant hygiene to prevent recurrence.
- Most indoor issues respond well to patient, steady adjustments.
Spot the Problem: Leaf Spots, Fungal Issues, or Fungus Gnats?
A quick, focused inspection will reveal whether leaf damage is from infection, care stress, or tiny flying pests.
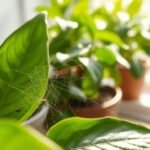
What leaf spots can look like
Look for small brown or black dots, often with yellow halos or irregular blotches. Spots that widen in high humidity or after water sits on leaves usually point to a biological growth or poor airflow.
Tell an adult pest from a fruit fly
Adult plant pests are slender and mosquito-like, while fruit flies look rounder and tend to gather near fruit or sinks. Watch where they hover: plant flyers stick to pot rims and the soil surface, kitchen flies swarm near food sources.
- Lay raw potato slices flat on the soil surface.
- Wait a few hours, then lift a slice and check for translucent, whitish larvae.
- Discard slices immediately to avoid spreading anything.
“Even one flying adult can mean many unseen eggs in the topsoil—early checks save time.”
Next step: if larvae appear, plan a soil-focused response; if spots spread, reduce leaf wetness and boost airflow. Often you’ll do both at once.
Why Indoor Flowers Get Leaf Spots and Fungus Problems
When air stalls and pots stay damp, leaf spots and soil issues can quickly follow.
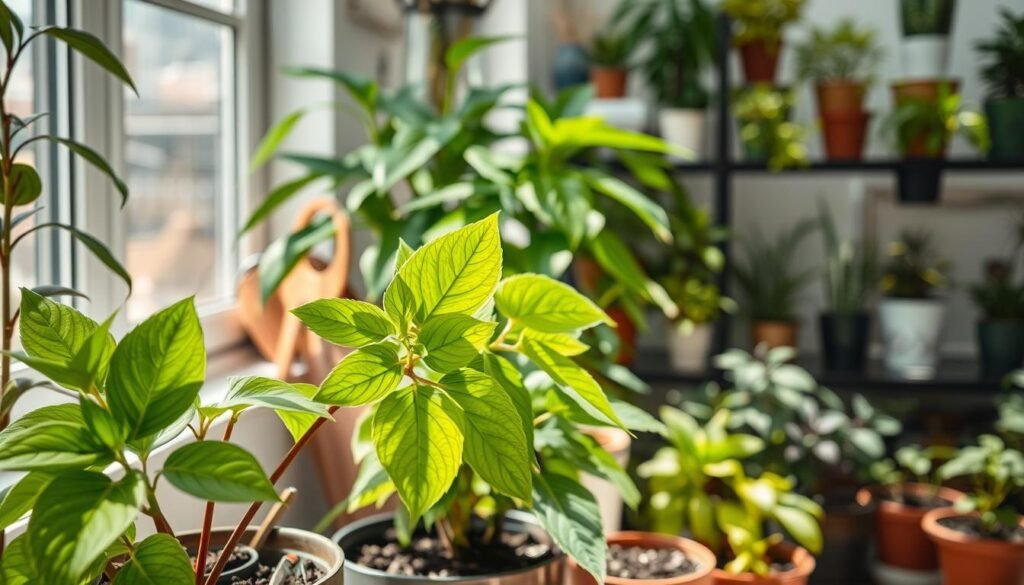
Moisture, airflow, and warm conditions that help growth
Warm indoor rooms, limited airflow, and frequent watering create a steady humid layer around leaves and the pot surface. This microclimate lets biological growth establish and spread on foliage.
Plants grouped tightly, tucked in corners, or placed near humidifiers trap moisture overnight. Those small, humid pockets often match the exact conditions that let spots worsen.

Overwatering and organic matter buildup in potting soil
Overwatering does more than stress roots. It keeps the potting mix damp and raises local humidity, which helps spread leaf issues and encourages soil-dwelling pests.
Old mulch, falling leaves, and decomposing bits on the surface add organic matter that feeds microbes and attracts unwanted visitors. Clean topsoil reduces food sources and risk.
- Quick link: drier topsoil and better airflow cut both leaf spot pressure and breeding sites for soil pests.
- Prevention: smarter watering, removing debris, and spacing plants are simple control steps that lower repeat outbreaks.
“Fix the microclimate first — it often ends two problems at once.”
Immediate Care Steps to Slow Leaf Spot Spread and Reduce Stress
Act quickly but calmly. Move the affected plant away from other plants to limit spore transfer and give yourself room to work.

Isolate and protect the surrounding home area
Place the pot on a tray and wipe nearby surfaces to catch stray debris. Avoid shaking leaves; that can fling spores into the air.
Adjust watering to dry the soil surface faster
Water only when the plant shows need and empty saucers after watering. Skip light, frequent sips that keep the top layer damp.
Clean up debris and boost airflow
Remove fallen leaves and petals from the soil promptly. Space pots apart and gently rotate the container so foliage dries evenly.
When to prune and when to leave leaves
Trim heavily damaged or collapsing leaves to reduce the fungal load. Leave mildly affected foliage if the plant needs it to make energy.
“Fix the microclimate first — it often ends two problems at once.”
Next step: once the area is drier and cleaner, you can safely move on to soil-focused control measures for any remaining pests.
fungus gnat larvae treatment mosquito bits: How to Drench Soil with Bti “Mosquito Bit Tea”
You can make an effective larval drench at home with a measured mix and a short steep. This method uses a labeled product that releases Bacillus thuringiensis israelensis (Bti) into the water. The bacterium is species-specific and works when soil-stage pests ingest it.

Mixing and brew method
Combine 4 tablespoons per 1 gallon of water. Let the mix sit for 30 minutes so the active agent disperses into the water.
Skim off floating granules, or place the granules inside a nylon stocking before steeping for easy removal.
How to apply and schedule
Stir or shake the tea, then top-water so the treated water soaks the upper soil surface where most small pests live.
- Repeat weekly for three weeks to catch successive hatch-outs.
- Expect soil-stage deaths within about 24 hours, though flying adults may persist until the cycle breaks.
- Treat nearby pots if you suspect spread; adults can lay eggs across containers.
Note: This controls soil-stage organisms present at application but does not instantly remove adults in the air. Pair with adult control steps for faster results.
Control Adult Fungus Gnats While You Treat the Larvae
Targeting adult flyers alongside soil work breaks the life cycle far quicker than one approach alone. Pair adult control with weekly soil applications so adults don’t keep laying eggs while larvae are knocked down.

Sticky traps near the soil surface to catch flying adults and break the cycle
Use yellow sticky traps placed just above the soil rim where adults hover. Keep them close to the surface to intercept flyers before they lay eggs.
Pro tip: Move traps between pots and check them daily. Fewer captures over days and weeks is a simple sign your larval work is paying off.
Top watering vs bottom watering during treatment
Top watering is preferred when you use a soil drench because most immature stages live in the upper inch of mix. Apply treated water slowly so that the top surface soaks through.
If you normally bottom-water, soak long enough that capillary action fully wets the surface. Or reserve a cup of treated water to gently wet the top after filling the saucer.
- Two-front strategy: get rid of flying adults and the soil stages at the same time for faster results.
- Monitor progress: traps act as indicators—catch counts should drop in a few days and continue declining over weeks.
- Avoid setbacks: don’t overwater just to treat—apply treated water only when the plant needs it and ensure the top layer receives enough solution to be effective.
For more on proper schedules and when to water each species, see indoor flowering plant watering schedules. Consistent trapping while you follow weekly soil applications finishes the cycle sooner and keeps plants healthier.
Safety and Best Practices for Using Mosquito Bits Indoors
Keep safety front and center when using a biological control around plants and living spaces. This keeps people and animals safe while you address soil and standing water issues.
Bacillus thuringiensis israelensis is a naturally occurring bacterium that targets aquatic and soil-stage pests. It is selective and aimed at larvae rather than broad-spectrum harm.
Where it is safe to use
- Apply around houseplants, in saucers, and in areas frequented by people and pets.
- Safe for use near birds, fish, and other aquatic life in non-drinking water settings.
- Suitable for larger areas like yard containers and small ponds when used per label.
Where not to use
Do not apply to treated or finished drinking water receptacles or reservoirs intended for human consumption.
“Bti works fast—often acting within minutes in water and reducing mosquito larvae within a day.”
| Use case | Rate | Frequency |
|---|---|---|
| Small saucers / containers | 1 teaspoon per 25 sq ft | Every 7–14 days |
| Larger standing water | 1 tablespoon per 75 sq ft | Weekly when organic load is high |
| Indoor soil drench | Follow product label for dilution | Repeat weekly for 3 weeks |
Handling and storage
- Mix only what you will use and avoid inhaling dry dust.
- Rinse watering cans and buckets after use to keep your area tidy.
- Store in the original container in a cool, dry place away from sunlight; keep tightly sealed. Shelf life is effectively indefinite when stored properly.
Conclusion
Close with a simple checklist: identify leaf damage, inspect the soil surface, then act to dry and protect the plant.
Fix the environment first: reduce standing water, clear organic matter from the top, and boost airflow so leaves and the pot dry faster.
For flying adults and soil-stage pests use a two-front approach: treat the soil to cut larvae and use traps or removal to lower adult counts. This breaks the cycle in days and over the following weeks.
Be patient and consistent. Monitor traps, adjust watering habits, and quarantine new arrivals at the first sign of trouble.
Quick checklist: clean debris, improve airflow, change watering, treat the soil, and watch saucers and humid areas nearby.