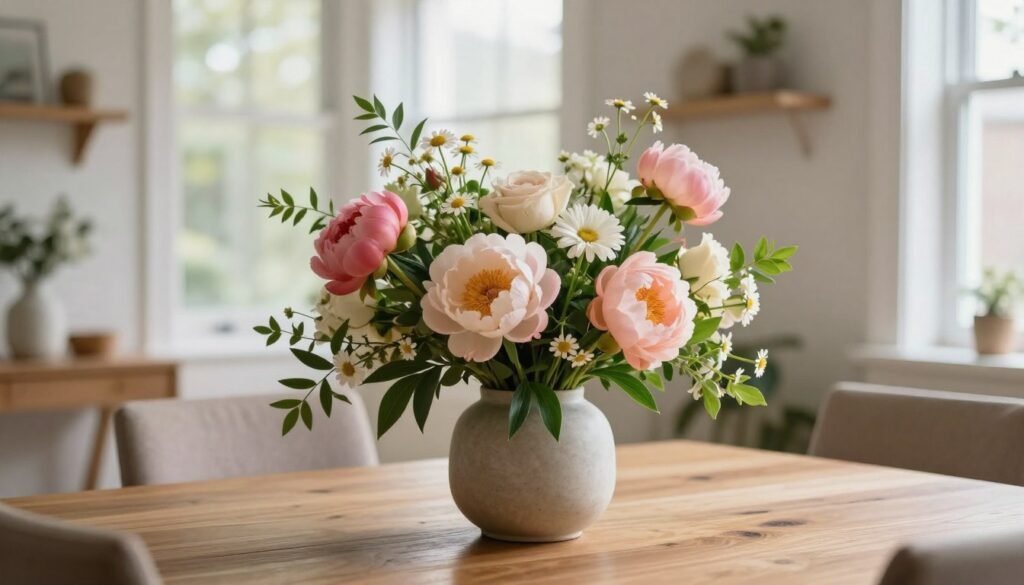

Did you know that bringing a well-made bouquet into your home can boost mood and perceived cleanliness by over 20%? That simple win proves design matters.
We use classic spring picks like tulips and daffodils to teach a clear, professional floral arrangement method you can copy at home. You do not need to be a pro to create a stunning centerpiece.
Our guide walks through inspiration, the essential professional formula, and step-by-step tips that make arranging a relaxing hobby. Studying a skilled florist helps build confidence and your own creative style.
In this short guide, we promise practical techniques so your bouquet looks like it came from a high-end shop. Follow our simple steps and you will bring nature’s beauty into your living space every season.
For a deeper look at our approach and mission, see our about page at Blotanic.
Key Takeaways
- Using tulips and daffodils gives a fresh, classic base for floral arrangements.
- Simple professional formulas yield balanced bouquets for the dining table.
- Learning from a florist speeds up skill and style development.
- Arranging can be a calming, creative hobby for anyone.
- Our steps help you make a shop-quality bouquet at home.
Finding Inspiration for Your Floral Displays
We often look to seasonal makers for ideas that feel both effortless and elegant.
Sarah from Hemlock & Hellebore is a great example. Her romantic, bohemian work shows how texture and height create mood. Many designers also use Pinterest and Instagram to share unique display concepts.
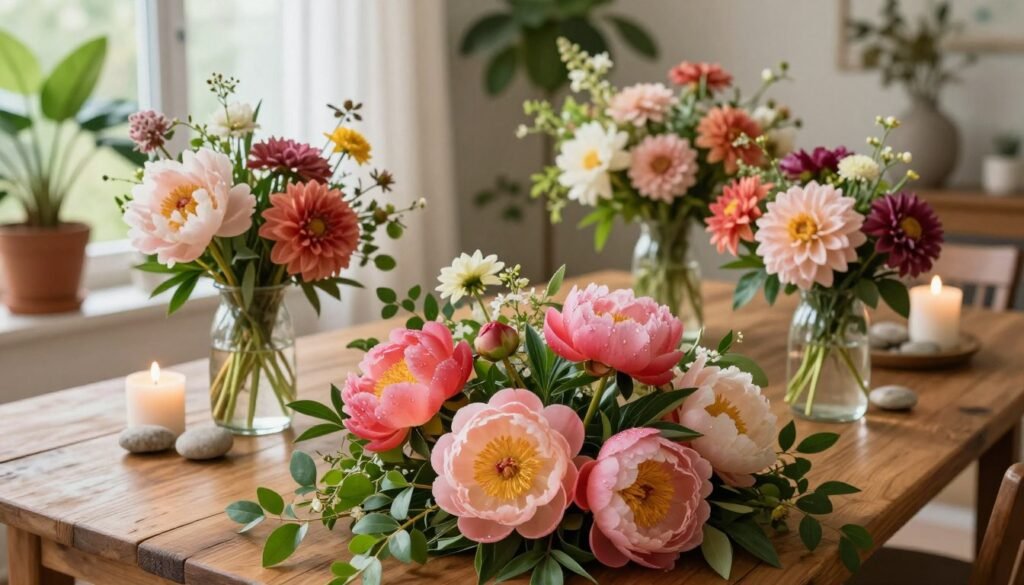
Play with texture, color, and scale so each arrangement has energy and balance. Choose mostly closed buds; fully opened blooms will fade faster and shorten the life of your centerpiece.
“Look at professional displays to learn how pros balance color and foliage.”
- Follow talented creators for romantic and seasonal ideas.
- Include roses and seasonal greenery to add depth and contrast.
- Take your time developing an eye for color groupings and clustering.
| Inspiration Source | What to Learn | Quick Tip |
|---|---|---|
| Instagram (creators) | Texture, mood, styling | Save daily posts to build a mood board |
| Layouts and color schemes | Create a board per project | |
| Local market | Seasonal blooms and foliage | Choose mostly closed buds for longevity |
| Garden or plant store | Fresh stems and textures | Mix a focal rose with varied greenery |
Selecting the Perfect Vessel for Your Arrangement
A vessel can transform simple stems into a polished display. Choosing the right type of vase or container affects scale, stability, and the final look.
We prefer glass vases for their clean lines and the way they let stems show through. A vase with a 3–4″ opening is ideal for most floral arrangements. Keep in mind that wider mouths will need more stems to feel full.
Glass Vases and Pitchers
Glass is sleek and versatile. When you select a glass vase, make sure its size and opening match your plan. Tapered necks give more control and keep stems upright.
Repurposing Household Items
We love repurposing ceramic pitchers or antique soup tureens for a unique look. These items are often heavy enough to hold water and stems without tipping.
“Choose a vessel that supports weight and complements the style you want.”
- Look in thrift shops, online retailers, or your kitchen cupboards for options.
- Make sure the vessel is sturdy and won’t become top-heavy when filled.
- Experiment with size and opening to find what suits your space.
| Vessel | Best For | Quick Tip |
|---|---|---|
| 3–4″ glass vase | Most table arrangements | Use 8–12 stems for a balanced fill |
| Tapered-neck vase | Control and height | Neck keeps stems upright with fewer stems |
| Ceramic pitcher | Casual, cottage look | Heavy base resists tipping; use filler foliage |
| Antique tureen | Statement centerpiece | Wide opening needs more stems or a tape grid |
How to Arrange Fresh Flowers Indoors Using Structural Tools
Simple tools let us control stem placement and create polished displays with fewer stems.
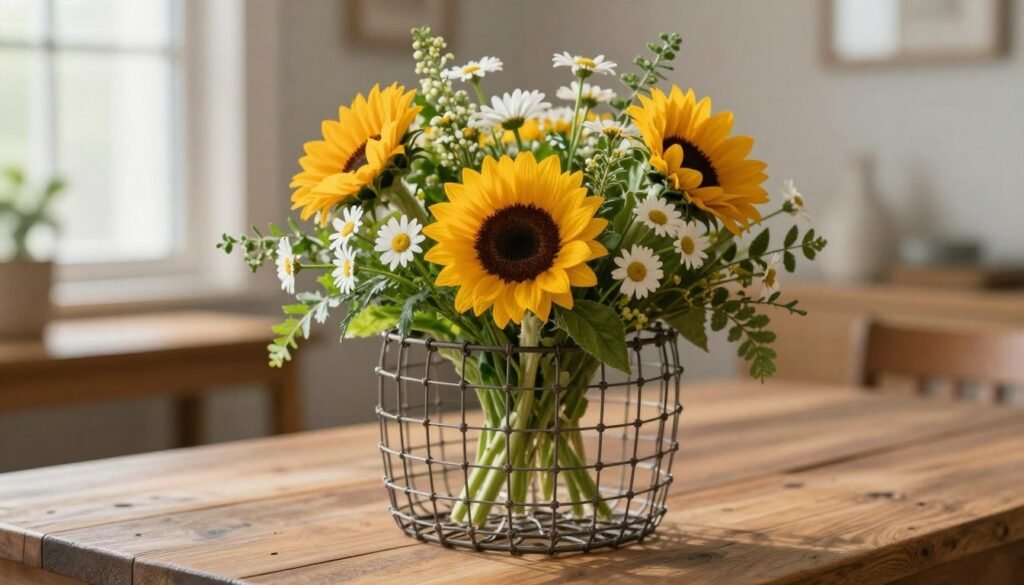
We often rely on two low-cost methods: a chicken wire ball and a tape grid. A 12” square of chicken wire forms a snug ball that fits inside a 3–4″ opening. This gives solid support so stems stay upright.
Why we use wire: it is eco-friendly and reusable. It replaces non-recyclable foam and lets us buy fewer blooms while keeping a full look.
Using Tape Grids
To fill vase openings, make a grid with Scotch tape across the mouth. Tip: fill the vase with water first so the tape stays dry and holds better.
“A simple grid locks stems in place and makes placing color and greenery easy.”
- Wire creates a sturdy base for stems and helps control size.
- Tape grids let us place each flower precisely and fill vase openings cleanly.
- Both tools cut waste and improve balance in arrangements.
| Tool | Best For | Quick Tip |
|---|---|---|
| 12″ chicken wire | Secure stems in vases with 3–4″ opening | Form a ball to hold stems upright |
| Scotch tape grid | Control placement for delicate stems | Fill vase with water before taping |
| Wire + tape | Fewer stems, fuller look | Mix focal flower with greenery for balance |
The Professional Formula for Balanced Floral Arrangements
Start by building a clear silhouette with leafy stems to guide every choice that follows. This gives the piece a reliable frame and makes placement easier.
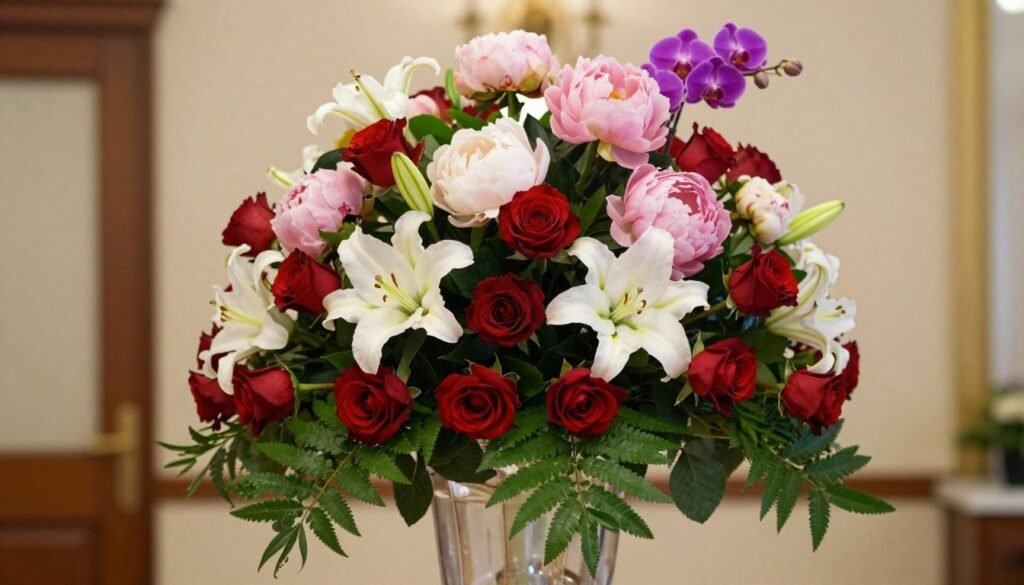
Starting with Foliage
We place woody foliage first to set size and shape. Thicker stems hold form and help the vase support heavier blooms.
Placing Focal Flowers
Next, add focal blooms like roses, tulips, or daffodils. Work in odd numbers—3 or 5—so the arrangement feels natural.
Adding Filler Elements
Finish by filling vase gaps with finer stems and texture. Small filler elements give depth and hide mechanics like tape or grids.
“Use varied stem angles so some flowers face forward; it creates movement and a relaxed look.”
- Tip: Vary angles to avoid stiffness.
- Tip: Make sure woody foliage supports focal stems.
- Tip: Check water level and refill to keep stems hydrated to the end.
Essential Techniques for Clipping Stems and Foliage
How you cut and prep each stem determines how well the arrangement drinks and lasts. We use sharp garden shears to make a clean, angled cut about 1 inch from the bottom of each stem.
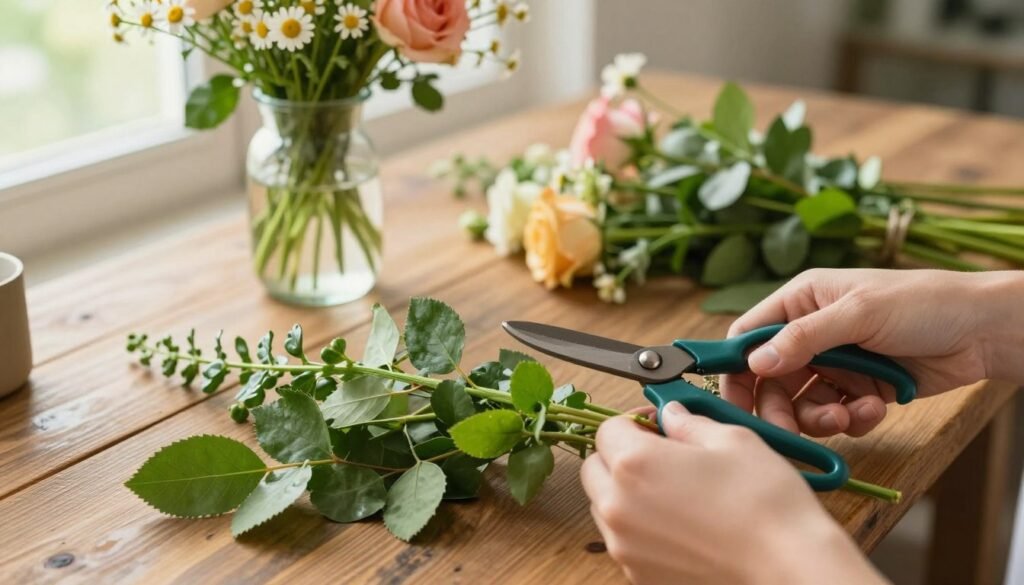
Cutting at an angle increases surface area for water uptake and reduces blockages. Remove any leaves that would sit below the water line. This prevents bacteria that shorten vase life.
For woody stems, we make a small vertical slit at the end to boost absorption. High-quality shears give a crisp cut so the plant can draw water and nutrients more easily.
“Clean cuts and leaf removal are the quiet steps that extend life and keep blooms lively.”
- Use sharp garden shears and cut at a 1″ angle from the bottom.
- Strip leaves that would sit under the water to stop rot.
- For woody stems, add a vertical slit to the end for extra uptake.
| Technique | Purpose | Quick Tip |
|---|---|---|
| Angled cut (~1 inch) | Maximizes water uptake | Use a clean, sharp shear |
| Remove submerged leaves | Prevents bacteria in vase | Check every refill |
| Vertical slit on woody stems | Increases absorption | Use for roses or cutting-grown branches |
Expert Tips for Keeping Your Cut Flowers Fresh
Keeping a bouquet vibrant is mostly about simple care habits you can do in minutes each week. We focus on clean water, a nutrient boost, and removing weak stems so the display lasts longer.
Fully replace the water every 2–3 days. Clean water stops bacteria and helps stems drink. When you refill, re-cut stems at an angle and wipe the vase before adding fresh liquid.
The Importance of Flower Food
Flower food gives a key nutrient boost to keep color and life. Use commercial packets from a florist or mix a DIY ratio of sugar, bleach, and acid. Both options extend vase life when used with fresh water.
“Remove any bloom that wilts to protect the rest of the arrangement.”
- Use flower food in the water to feed blooms and slow bacteria.
- Change water every 2–3 days and re-cut stems to improve uptake.
- Pull and discard wilted flowers so remaining stems stay healthy.
- Keep vases away from heat, direct sun, and drafts to preserve color.
Conclusion
A few thoughtful steps let anyone make a table arrangement that feels like a gift to the room. We find that the hobby is both rewarding and calming, and it brings natural joy to daily life.
Master the professional formula—start with foliage, add a few focal blooms, then fill with texture—and you will see professional balance with minimal tools. Keep stems trimmed, change water regularly, and use quality flower food to extend life.
Don’t be afraid to try different vases, from glass to repurposed pitchers. With practice and patience, we gain confidence and make lovely displays for our homes.