Surprising fact: most household Spathiphyllum are split when root systems fill pots, and proper splitting raises the odds of thriving offspring by over 70%.
This short guide sets a clear goal: explain a safe split method so the parent plant and new sections keep growing instead of stalling or rotting.
Division means separating clustered stems with their roots into distinct pieces and replanting each in fresh mix. This is the right propagation method for this common houseplant when it outgrows its container.
Expect mild transplant shock: slight droop or slowed growth is normal for a few weeks with steady care. Losing a couple of roots or leaves during the process is common and not a sign of failure.
This guide suits anyone whose pot-bound specimen dries fast, grows too large, or needs easier management. You’ll learn timing, prepping tools and pots, careful root separation, correct planting depth, and gentle watering in.
Key Takeaways
- Split Spathiphyllum when roots crowd the pot.
- Use clean tools and fresh potting mix for best results.
- Short-term droop is normal; steady care restores vigor.
- Only separate healthy clumps; keep roots intact where possible.
- Repotting the whole plant can be an alternative if splitting feels risky.
When to Divide Peace Lilies and How to Tell It’s Time
Timing matters: the right season and clear signs help the plant recover faster. Aim for spring as the best time, with fall as a gentle backup when temperatures cool.

Best season and when to avoid it
Avoid summer heat; it adds stress and slows recovery. Winter indoors can work if light and warmth are steady. If your plant is flowering, wait unless the container is overflowing.
Signs it’s time
- Roots emerging from drainage holes.
- Soil dries very fast between waterings.
- Fewer blooms or a top-heavy, crowded look.
Divide versus repot
Repotting moves the specimen into a larger pot and refreshes soil every few years. Splitting keeps the original plant a sensible size at home and creates new plants for your collection or sharing.
| Action | Best season | Main benefit |
|---|---|---|
| Divide | Spring (backup: fall) | Creates new plants; saves space |
| Repot | Spring or fall | Refreshes soil; supports growth |
| Wait | Summer or heavy bloom | Avoids stress and poor recovery |
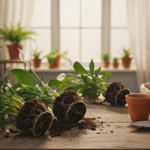
Prep for Peace Lily Division: Tools, Pots, and Potting Mix That Prevent Root Shock
Preparing tools, pots, and the proper mix sets the stage for healthy new plants. A calm setup cuts stress on roots and keeps foliage steady after replanting.

What you’ll need
- Tools: Clean pruners or scissors for snipping damaged leaves and tangled roots. A serrated knife helps split dense root balls when hand-separating won’t work.
- Containers and pots: Choose containers with drainage holes so roots never sit in soggy soil.
- Potting supplies: Use a well-draining houseplant potting soil and fresh potting mix suited for indoor plants.
Hygiene and watering
Sanitize tools with hot, soapy water or a wipe of isopropyl alcohol. Rinse any reused pots before planting.
Water the soil about 24 hours before the work so roots are hydrated and flexible. This reduces breakage and lowers shock.
Prune and pick the right soil
Remove dead, damaged, or diseased leaves so the plant won’t waste energy on declining foliage after separation.
Choose a light, well-draining potting mix made for houseplants. Avoid dense garden soil that holds water and invites root rot.
Easy DIY mix and workflow
Try this recipe: 2 parts potting soil + 1 part perlite + 1 part coconut coir. It balances drainage and moisture for indoor containers.
Pre-fill pots with a base layer of mix so each division spends minimal time with exposed roots. Clean cuts, airy soil, and steady moisture protect roots and speed recovery.
| Prep Step | Action | Main Benefit |
|---|---|---|
| Tools | Pruners/scissors + serrated knife; sanitize | Reduces infection; clean cuts |
| Pots & Containers | Use containers with drainage holes; clean reused pots | Prevents soggy roots and disease transfer |
| Pre-watering | Water soil ~24 hours before | Hydrated roots bend, not break |
| Potting Mix | Well-draining houseplant potting soil or DIY mix | Good airflow; lower root rot risk |
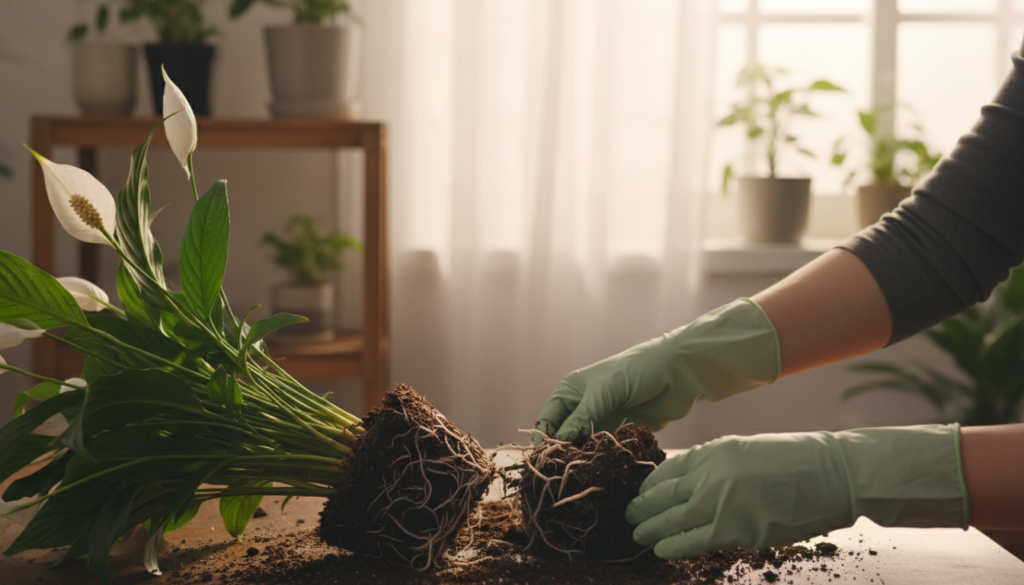
How to Divide a Peace Lily Without Damaging Roots
Begin with a calm, steady removal from the container so roots stay intact. Lay the container on its side and grip the plant at the base. Never pull on leaves or blooms; that can tear stems and harm the plant.

Remove from plastic versus rigid pots
For plastic pots, squeeze the sides to loosen the root ball and slide the mass free. For terracotta or ceramic, run a clean knife around the inside rim, then tip and ease out the root ball.
Expose, inspect, and find natural sections
Brush soil away until you see clusters of stems attached to their own roots. These natural sections make clean division easier and limit damage.
Tease roots first, cut only if needed
Work from the outer edges and the bottom of the ball. Tease roots apart by hand, preserving the main root mass on each section.
If the root mass stays dense, use sharp clippers for stubborn tangles. For a firm split, saw upward with a serrated knife starting at the bottom and working through the mass.
Size, cleanup, and reassurance
Each viable section should have several stems, multiple leaves, and enough roots to hold soil. Trim obviously broken or circling roots, but don’t over-prune.
Remember: losing a couple fine roots or a leaf is normal. Careful division is both propagation and plant care; done gently, it yields sturdy new plants rather than weak cuttings.
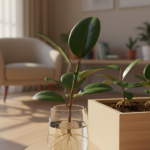
Replanting Each Section: Pot Size, Planting Depth, and Watering In

Choose a pot that gives each root ball about an inch of space; that simple choice sets recovery up well. Aim for containers with drainage so water does not pool under the roots.
Planting depth matters: place each section at the same soil level it had before. Burying deeper invites stem rot and slows new growth.
Step-by-step replant flow
- Add a base layer of potting mix in the pot so the crown sits at the correct height.
- Center the root ball, then backfill with potting soil while holding the plant steady.
- Gently press the mix around roots to remove air pockets without compacting the soil into a brick.
- Water thoroughly until excess drains; this settles the mix and brings contact between roots and moisture.
Aftercare: mild wilting or slight droop is normal. Keep plants in the same bright, indirect light and avoid drafts or harsh sun while roots re-establish. Resist over-pampering; steady conditions help roots expand into the new potting mix faster than constant moving or extra water.
| Task | Action | Benefit |
|---|---|---|
| Pot sizing | ~1 inch clearance around root ball; drainage required | Room for growth without excess wet soil |
| Planting depth | Match original soil level | Prevents stem rot and encourages steady growth |
| Backfill & settle | Use potting mix; press gently; water until drained | Removes air pockets; ensures root-soil contact |
| Immediate care | Keep light steady; avoid overwatering | Reduces transplant shock; speeds recovery |
Want a watering schedule that fits flowering houseplants and new plants? See this watering guide for indoor flowering plants for tailored advice.
Conclusion
When roots spill from the pot, a calm rework often brings faster recovery than upsizing. Dividing is a safe, practical way to manage a crowded plant and keep it healthy long-term.
Three simple rules: pick the right time, keep roots as intact as possible, and replant at the same soil level. These steps cut risk and speed recovery.
Minor root loss is normal; with steady care and steady watering the peace lily usually bounces back. Use division to refresh old soil and give yourself starter plants to share.
Success looks like firmer leaves, less wilting, and new growth within a couple weeks as roots re-establish in fresh mix.