Surprising fact: gardeners who switch to a gritty, low-moisture soil method report root success rates above 70% within a few weeks, with far fewer mushy stems.
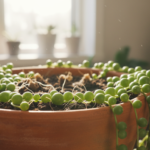
This soil-first, no-rot approach promises a simple path for beginners who want reliable rooting without soggy cuttings. The pearls plant is a trailing succulent with bead-like leaves that looks fuller when you add new plants from cuttings.
You’ll take stem cuttings, prep nodes, pick a gritty mix, and choose a well-draining container. Two practical methods work well: a gentle lay-and-pin and a bury-the-nodes technique. Both aim to keep nodes dry at the crown while letting roots form below.
Core principle: nodes make roots, and airflow plus drainage prevents rot. That means mix choice and a careful watering rhythm beat any miracle product.
Expect visible roots in weeks rather than days. “No rot” here means avoiding heavy mixes, preventing constant wetness, and giving bright, indirect light and warmth. This guide focuses on soil methods because they often cut transplant shock and are easier to manage long term.
Ready? Next, check timing and prep with a quick checklist before the first cut.
Key Takeaways
- Use a gritty, fast-draining mix and a breathable container.
- Take healthy stem cuttings and expose nodes for rooting.
- Choose lay-and-pin or bury-the-nodes methods for reliable results.
- Keep the medium lightly moist and provide bright, indirect light.
- Watch for roots in a few weeks; patience prevents rot.
Why Propagate String of Pearls and When Soil Works Best
Propagation gives you control over length and fullness, turning bare stems into lush strands. Many growers refresh a leggy pot, shorten long trails, or make extras for hanging baskets. Doing this at the right time and in the right medium raises success rates significantly.

Best time of year for rooting success: spring and summer
Rooting is fastest during spring and summer when active growth fuels new roots and faster growth. Cuttings taken in fall or winter will still form roots, but they usually take longer.
If your home stays cool or dark in winter, expect slower progress. Don’t rush with extra water; patience beats soggy medium for good results in low light.
Why soil propagation helps prevent rot compared to water rooting
Soil keeps nodes in an airy, stable pocket, which reduces the chance of stems sitting in oxygen-poor water and developing rot. The goal is a balanced soil water level: lightly moist, never soggy, with bright, indirect light.
“Water rooting can work, but soil often skips the tricky transplant step that stresses tiny roots.”
For more on matching moisture to seasons, read adjusting watering schedules. Gather healthy cuttings, the right mix, and a small pot next — those items make the biggest difference.
Prep for Success: Cuttings, Pots, and the Right Soil Mix
Good prep makes rooting simple. Pick firm, plump pearls and unbroken strands. Avoid shriveled leaves or mushy spots; those show past overwatering.
Cutting length: aim for about 4–6 inches. This size holds several nodes and is easy to place in a small pot. Cut just below a node; the node is where each bead meets the stem and is the main source of new roots.

Mix and container
Use a gritty, fast-draining cactus or succulent mix. If your potting blend feels heavy, lighten it with perlite or pumice. DIY recipe: 2 parts potting mix, 2 parts coarse sand, 1 part perlite.
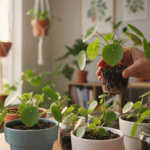
Choose a small pot with drainage holes and leave about 1 inch from soil surface to the rim. Oversized pots hold excess water and raise rot risk. Multiple cuttings can share one container, but give each stem soil contact and airflow around leaves.
| Item | Recommendation | Why it matters | Quick tip |
|---|---|---|---|
| Stem selection | Firm, plump pearls | Healthier stems root faster | Avoid brown or mushy spots |
| Cut length | 4–6 inches | Holds multiple nodes; easy fit | Cut below a node |
| Soil mix | 2:2:1 potting:sand:perlite | Drains quickly; prevents rot | Use pumice if available |
| Container | Small pot with holes | Limits water retention | Leave 1 inch rim gap |
Place the pot in bright, filtered sunlight. Direct hot sun can scorch tender beads. Proper prep—healthy cuttings, the right mix, and a correct pot—wins most rooting battles.
How to propagate string of pearls in soil step by step
Start simple: cut 4–6 inch stem cuttings just below a leaf node. Use clean scissors or pruners so wounds close quickly and lower the risk of root rot.
Let cut ends callus for 1–3 days, longer if your home is humid. A dry, crusted end sits safer against a damp mix and reduces rot.

Expose nodes and strip lower leaves
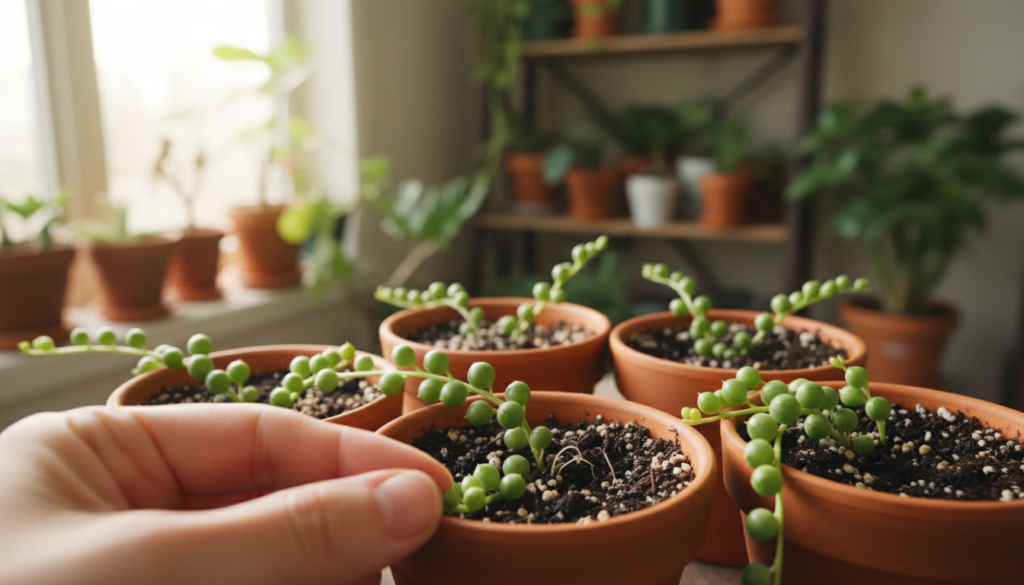
Remove pearls from the lower 1–2 inches so several nodes are bare. Nodes touching the mix are the main rooting points, so clear them for good soil contact.
Method A: lay-and-pin
Lay stems on the surface with nodes against the mix. Use floral pins or bent paper clips to hold stems in place until roots form.
Method B: bury nodes
Make a small hole with a pencil and plant the cut end, burying several nodes. Firm soil gently so the stem doesn’t wobble; optionally dust the end with rooting hormone.
Watering, light and placement
Lightly water once to settle the mix—think a damp sponge, not a wet towel. Keep the pot warm with bright, indirect light and avoid hot direct sunlight that can scorch leaves.
Expect roots in about three to four weeks; new growth at nodes or gentle resistance when lifting the stem are clear signs of success.
- Tip: Resist the urge to overwater—most failures come from excess moisture, not lack of care.
Prevent Rot and Lock In New Growth After Rooting
After roots form, the main task is preventing rot while encouraging steady new growth.
How to tell roots have formed and when to pot up
Look for tiny shoots or fresh leaves at nodes and a firmer feel when you lift the stem. A gentle pull that meets resistance means roots are anchoring.
For water-started cuttings, wait until roots reach about 1 inch before planting in soil. For soil-rooted pieces, pot up once they feel stable and show new growth.

Transitioning watering
Shift from light, frequent dampening during rooting to deeper, less frequent watering once established.
Let the mix dry fully between waterings. In typical US homes, an established plant often needs water once or twice a month, depending on light and heat.
Common rot triggers and fixes
| Trigger | What happens | Fix | Quick tip |
|---|---|---|---|
| Heavy soil | Holds moisture → root rot | Add perlite or pumice | Use a gritty mix |
| Soggy mix | Stems soften | Reduce water; check drainage | Empty saucers |
| Low light | Slow growth; excess moisture | Move to bright, indirect light | Give some airflow |
| Overwatering | Yellow, translucent pearls | Trim to healthy tissue; let dry | Water only when dry |
“New growth at nodes and a steady, firm string are the best proof that roots are doing their job.”
Troubleshooting signals: yellowing or translucent pearls means too much water; shriveling often means underwater or damaged root; black, mushy stems indicate rot and need pruning back.
Use extra rooted cuttings to fill bare areas and make the trailing plant look fuller. Strong indirect light and good airflow help the plant use water and resist root rot.
Conclusion
Finish with a simple no-rot formula: choose healthy stem cuttings, let ends callus, expose nodes, use a gritty mix, keep light moisture, and give bright, indirect light.
Two soil methods work well: lay-and-pin suits long strands and topping a pot. Bury-the-nodes gives quicker anchoring and stability.
Most success comes from resisting extra water and offering steady warmth and light. Expect roots and new growth in roughly three to four weeks.
When new plants are settled, use trimmings to fill bare spots and keep your string pearls plant full and tidy.
Note: water propagation can work, but soil is often the simpler way to avoid transplant stress and soggy cuttings. For watering cues and leaf signs, see watering and leaf clues.