Nearly 40% of common potted blooms show hidden damage from excess moisture before any petals fail. That surprising number shows how often problems start below the soil line and go unnoticed until flowers suffer.
This short how-to links two goals: stronger blooms and fewer emergencies caused by root rot, using a simple month-by-month care calendar. You’ll get quick routines that fit busy lives across the United States.
Prolonged excess water lowers oxygen in potting soil and can suffocate roots, which weakens a plant’s ability to take up water and nutrients and limits flowering. The guide shows fast ways to spot trouble early, confirm it by checking roots, and act with low-stress fixes.
Prevention is mostly about better drainage, the right potting mix, and smart watering timing—not just watering less. You’ll also learn easy hygiene steps for tools, runoff and saucers, plus quick check-ins before seasonal shifts or travel.
Key Takeaways
- Use the monthly calendar to reduce emergencies and boost bloom health.
- Check soil and roots early to catch problems before blooms fail.
- Focus on drainage, mix quality, and watering timing for lasting growth.
- Simple hygiene—clean tools and manage runoff—limits spread of rot.
- For seasonal watering tips, see this guide on adjusting schedules: adjusting watering schedules.
Why root rot happens indoors and why it can ruin blooms
Wet soil and little air turn healthy roots into a weak and vulnerable system. When potting mix stays saturated, oxygen falls and roots cannot breathe. That slows uptake of nutrients and water, so flowers may stall or drop buds.
How excess water and low-oxygen soil “suffocate” roots
Saturated mix reduces air pockets. Without oxygen, root cells fail to respire and die back. Even with plenty of water at the surface, the plant’s below-ground system cannot deliver steady hydration.
Fungal culprits that thrive in wet conditions
Common pathogens include Pythium and Phytophthora (water molds), plus Fusarium and Rhizoctonia. Above-ground symptoms often overlap, so fixing the growing conditions matters more than naming the exact bug.
How spread happens at home
Spores move in shared runoff, bottom-watering tubs, and mutual saucers. Unsterilized tools and fungus gnats can carry disease between pots. Simple hygiene and better drainage create non-ideal conditions for these organisms.
“Prevention is mostly about better drainage, the right mix, and smart watering timing—not just watering less.”

| Pathogen | Favored Conditions | Common Spread Routes | Quick Action |
|---|---|---|---|
| Pythium / Phytophthora | Waterlogged, low-oxygen soil | Runoff, contaminated tools, gnats | Improve drainage; repot with fresh mix |
| Fusarium | Compacted, cool wet mix | Soil fragments, pruning tools | Remove damaged tissue; sterilize tools |
| Rhizoctonia | Persistent moisture and poor airflow | Contact between pots, shared saucers | Separate pots; increase air and light |
root rot signs indoor plants: what to look for above the soil line
Above-the-soil clues often give the first hint that something is wrong beneath the potting mix. Watch foliage, stems, and scent so you can act before damage spreads.

Slow or stunted growth as an early warning
Slow growth is a subtle but important symptom. When the below-ground system weakens, a healthy plant will stop making new leaves or blooms even in good light.
Wilting even when soil is moist
Wilting while the potting mix is still wet is a classic contradiction. That happens because damaged roots cannot move water up into the foliage.
Yellowing, browning, and leaf drop patterns
Look for yellowing on older leaves first, then browning at edges and sudden leaf drop. These leaf patterns can mimic other issues, so rule out pests and nutrient gaps, but don’t ignore a cluster of symptoms.
Soft stems, water‑soaked lesions, and smell
Feel the crown and lower stem for soft, mushy tissue or dark, water-soaked spots. A foul smell from the soil after watering—often compared to rotten eggs—is an urgent cue to check roots.
If several of these symptoms appear together, it’s time to inspect the root zone to confirm and treat the problem before it gets worse.
How to confirm root rot by checking roots, soil, and smell
Confirming a below‑ground problem only takes a couple of careful steps. Start with the easiest checks: feel the topsoil and inspect drainage. If the mix stays wet for days or water pools on the surface, the pot likely traps too much moisture.

Quick confirmation workflow
- Check soil moisture with your finger or a meter and look for standing water in saucers or a decorative cover.
- Inspect drainage holes for blockages; tiny or absent holes stop proper drainage.
- If above‑ground symptoms persist, carefully remove plant pot and examine the below‑ground system.
Healthy vs. rotting tissue
Healthy roots are firm, cream‑to‑white, and hold together when handled. They have no bad odor and feel springy.
Rotting roots look brown to black, feel mushy, and may slough their outer layer. A foul smell often accompanies severe decay and confirms the diagnosis.
| Check | Healthy | Problem |
|---|---|---|
| Color | Cream / white | Brown / black |
| Texture | Firm, springy | Mushy, water‑soaked |
| Drainage | Drying between waters | Soil stays soggy; holes blocked |
A two‑minute inspection often prevents weeks of guessing. If you confirm damage, the next step is to remove wet mix, trim affected tissue, and repot carefully. For seasonal watering adjustments, check this watering schedule.
How to fix root rot fast without stressing your plant more
Certain immediate steps raise recovery odds while keeping shock low. A steady, quick response gives the best chance to save a weakened container favorite.
Unpot safely and remove wet potting mix
Gently support the stem base and slide the root ball from the plant pot. Remove as much saturated potting mix as you can to get damaged tissue into fresh air.
Rinse roots with lukewarm water to reveal damage
Rinse with lukewarm water to clear soil and reveal what needs trimming. Warm (not cold) water helps you see which roots are firm versus mushy.
Trim rotting roots with sterilized scissors and protect healthy roots
Use sterilized scissors to cut away every soft, brown section. Cut back into healthy tissue by a small margin. Sterilize tools between cuts to avoid spread.
Optional treatments and repotting choices
Consider a labeled fungicide for Pythium/Phytophthora or use 3% hydrogen peroxide to sanitize the container and scissors. Take a cutting now as an insurance copy if recovery fails.
Repot and water with care
Repot plant into fresh, well-draining potting mix and choose a slightly smaller pot or the same size if many roots were lost. Water to settle the mix, let excess water drain fully, then wait until the mix shows drying before the next drink.
| Step | Action | Why it helps |
|---|---|---|
| Unpot & clean | Remove wet mix and expose roots | Stops low-oxygen conditions and limits spread |
| Trim & sterilize | Cut mushy tissue with scissors; sanitize tools | Removes infected tissue and prevents reinfection |
| Repot & water | Use fresh potting mix; drain fully after watering | Provides air space and prevents excess water drain |
Prevention basics that support healthy roots and stronger flowering
A few simple habits cut risk and help flowering remain consistent through the year.
Water wisely: Only water when the top inch of soil feels dry or a moisture meter shows lower readings. Use the finger test in winter when drying slows.
Choose pots and protect drainage
Pick containers with clear drainage holes and check that holes are not blocked. Never let water sit at the bottom of a saucer or a decorative cover.
Improve the potting mix
Add chunky amendments like perlite, pumice, or orchid bark to increase air space. A looser mix drains faster and gives roots oxygen for steady growth.
Fine-tune the environment
More airflow, brighter light, and moderate warmth speed drying. A small fan or a grow light can help in low-light rooms and reduce moisture risk.

Prevent cross-contamination
Don’t reuse runoff water or bottom-water multiple pots in the same tub. Keep saucers separate to avoid moving pathogens between containers.
Watch for gnats and act fast
Fungus gnats indicate overly moist soil and can carry disease. Use sticky traps for adults and BTI products like Mosquito Bits to kill larvae.
“Healthy roots equal steady blooms—simple care today prevents big repairs tomorrow.”
| Action | What to do | Benefit |
|---|---|---|
| Water checks | Finger test or moisture meter | Prevents overwatering and stress |
| Drainage | Use pots with holes; empty saucers | Stops waterlogging at the bottom |
| Mix upgrade | Add perlite/pumice/bark | Improves air space and drainage |
| Gnat control | Sticky traps + Mosquito Bits (BTI) | Reduces disease spread and larvae |
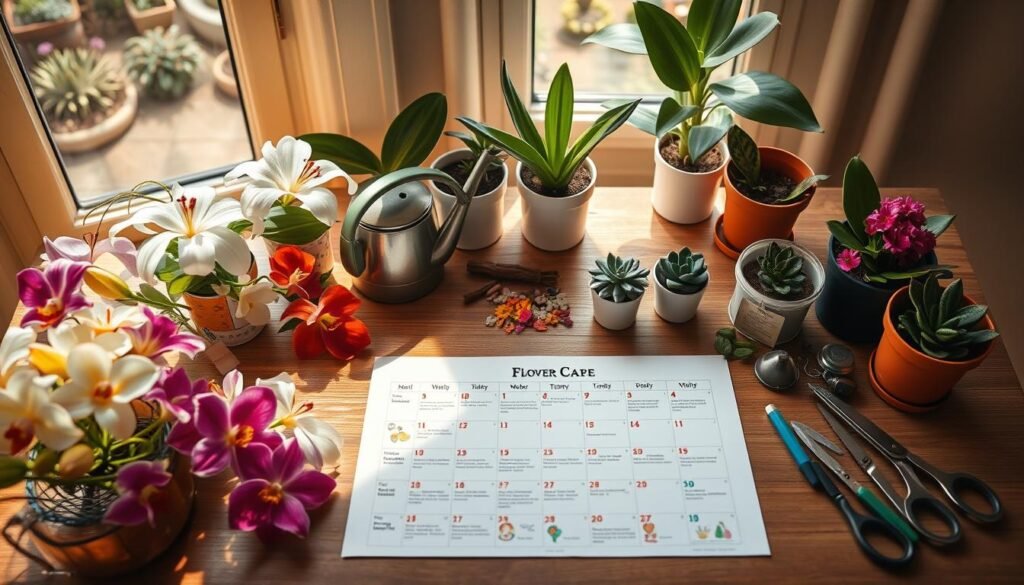
Indoor flower care calendar: monthly tasks to prevent root rot year-round
A simple month-by-month rhythm keeps common moisture problems from sneaking up on your containers. Use this calendar to build small habits that cut overwatering, improve drainage, and catch trouble before blooms suffer.
January
Audit drainage for each pot, empty saucers weekly, and reset winter watering because mix dries slower in low light.
February
Check moisture habits with quick finger tests across your collection and inspect for fungus gnats as an early red flag of overly damp mix.
March
Refresh compacted mix by top-dressing or plan full repotting. Make a repot list to swap in fresh, airy mix for pots that stay wet.
April
Repot rootbound specimens and right-size containers. Oversized pots hold extra moisture and can invite recurrence after spring growth.
May
Increase airflow and light to match new growth. Brighter placement or a grow light helps the mix dry more predictably and supports bloom set.
June
Watch fast-drying pots (terra cotta, small containers) and water deeply only when the mix is ready, not on a clock.
July
Do a heat-and-humidity check. Warm rooms speed drying, but high humidity can leave mix soggy—move pots or boost airflow where needed.
August
Tool hygiene month: sterilize scissors and snips, tidy spilled mix, and clean work areas to reduce spread when pruning or dividing.
September
As growth slows, stop sharing runoff or bottom-watering tubs and re-check saucers so pathogens don’t travel between containers.
October
Do a pre-winter scan for stunted growth or yellowing leaves. Spot-check a few containers by easing them from their pots if above-ground cues suggest trouble.
November
Scale back watering frequency, confirm pots drain freely, and watch cooler windowsills that slow drying and increase wet time.
December
Before holiday travel, spot-check for odd smell, mix moisture, and leaf drop. Leave a simple care plan so helpers don’t overwater while you’re away.
Conclusion
Healthy roots = stronger blooms. Healthy flowering starts with managing moisture so soil stays aerobic and supportive.
Above‑ground cues like wilting, yellowing, or a foul smell should prompt a quick check of the below‑ground system before a small issue becomes root rot.
When rescue is needed, act fast: unpot, remove wet soil, rinse and trim damaged sections, optionally treat, then repot into a well‑draining mix and only water when the mix is ready.
Keep simple monthly habits—check drainage and drainage holes, time your waterings, clean tools, and avoid shared runoff—to make serious rot far less likely.
Use the calendar as a repeatable routine to cut guesswork and keep your flowering favorites resilient and blooming.