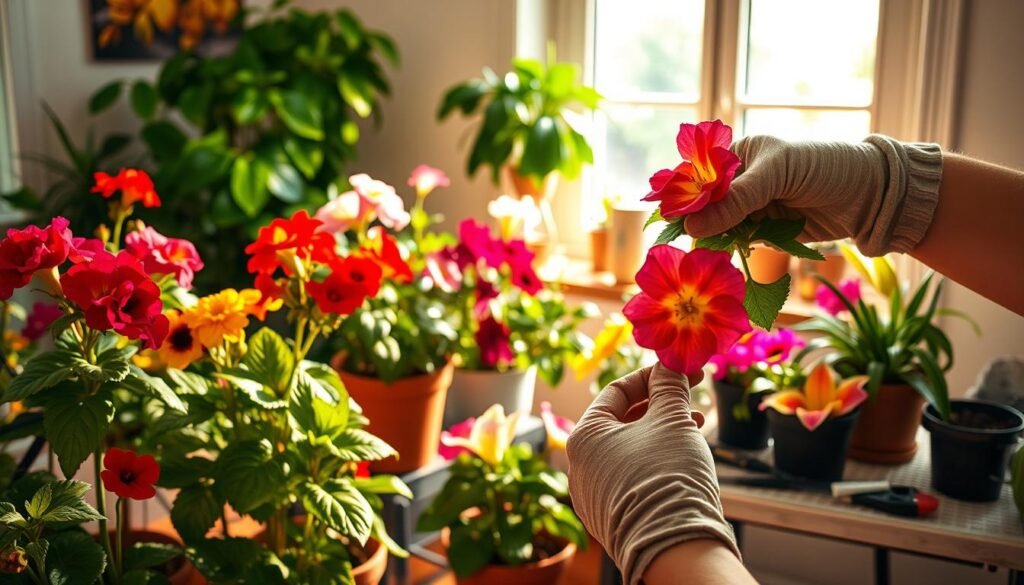

Deadheading means removing wilted or faded blooms so a plant sends energy toward new buds instead of seed. This quick task keeps plants tidy and can spark another round of flowering for many popular houseplants.
A few minutes, clean snips, and the right cut make the job simple. For some species this produces a clear second flush. For others it mainly improves appearance by removing shriveled stalks and dropped bits.
In this guide you’ll find a step-by-step method for cutting spent blooms, tips on where to cut stems without harming buds, and ways to handle long spikes and tough stalks. I’ll also cover tool care and a short safety note so your plants stay vibrant.
Quick plant-health tip: Clean, sharp cuts reduce stress and infection risk. Disinfect tools between plants and avoid tearing stems.
Key Takeaways
- Removing spent blooms helps redirect energy into new growth.
- Use fingers or snips based on stem toughness.
- Clean tools and neat cuts keep plants vigorous.
- Some species rebloom; others get a cosmetic lift.
- A few minutes every week keeps pots looking great.
What deadheading means for indoor plants and why it helps flowers keep blooming
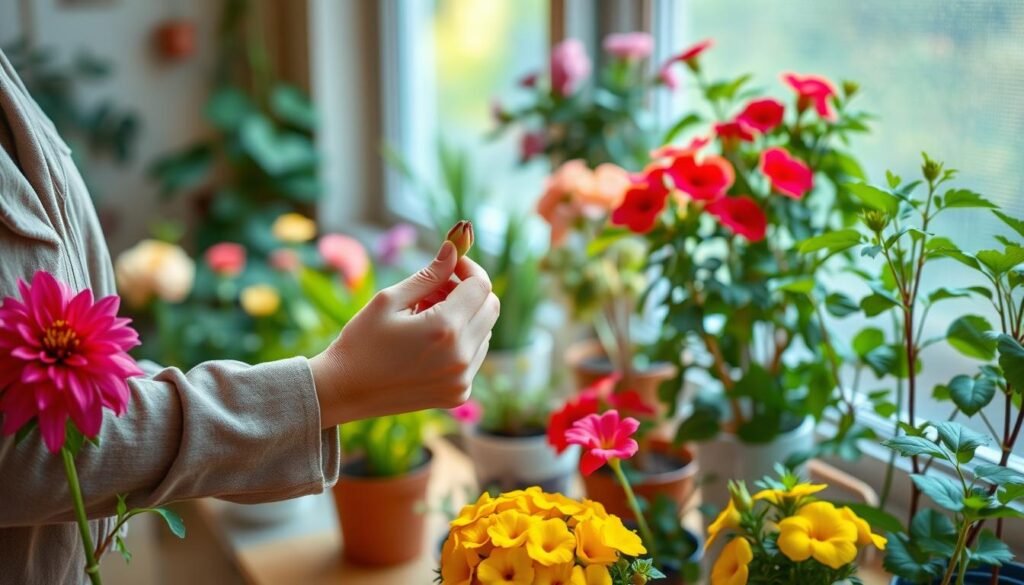
When faded heads are removed promptly, many houseplants return that energy toward new buds and fresh color. This simple act removes the spent flower and the base that becomes a seed pod so the plant does not shift into seed-making mode.
Deadheading versus pruning
Deadheading focuses on worn blooms. It is a light, regular tidy that keeps plants blooming longer.
Pruning is broader. It reshapes, controls size, and promotes overall growth and health.
Where the plant’s energy goes
When a seed begins to form, a plant moves energy away from new bud production. Removing the spent bloom interrupts seed development and redirects nutrients into fresh growth and more flower production.
Indoor benefits for home care
Routine cleanup means fewer fallen petals on surfaces and less sticky decay on leaves. Spent blooms left on foliage can trap moisture and invite mold or damage, so regular attention reduces that risk.
| Action | Primary effect | Indoor benefit |
|---|---|---|
| Remove spent bloom + seed base | Stops seed set; boosts new bud formation | Cleaner pots, more frequent blooming |
| Pull off loose petals only | Seed head may still mature | Mess persists; fewer new buds |
| Prune stems and shape plant | Controls size; improves airflow | Better long-term health; less disease risk |
- Common mistake: removing petals but leaving the seed structure — cut the whole spent piece.
- Technique varies by stem type and bloom shape; later sections cover soft versus woody stems and spikes.
When to deadhead indoor flowers for the best blooms (and when to stop)
Watching for dull color and crisp petals gives a clear cue that a spent head should be removed.
Look for wilting, browned edges, or a papery collapse — these are simple visual signals that it’s time for a tidy.
Best timing cues
Do it now when color fades, petals droop, or a head browns.
Remove the whole faded piece rather than just loose petals.
That prevents the plant from shifting energy into seed formation.
Seasonal rhythm and when to ease up
Spring and summer are the active season for most plants.
Growth and new buds appear faster, so weekly checks work well.
In winter, light drops and the plant slows.
You can tidy for neatness, but don’t expect many new blooms.
Some gardeners leave seed heads for a dried look or hips at the season’s end.
- Quick habit: a five-minute weekly check keeps tasks small.
- Always look just below the spent bloom for fresh buds before you cut.
Tools and quick prep for clean cuts on stems and flower spikes
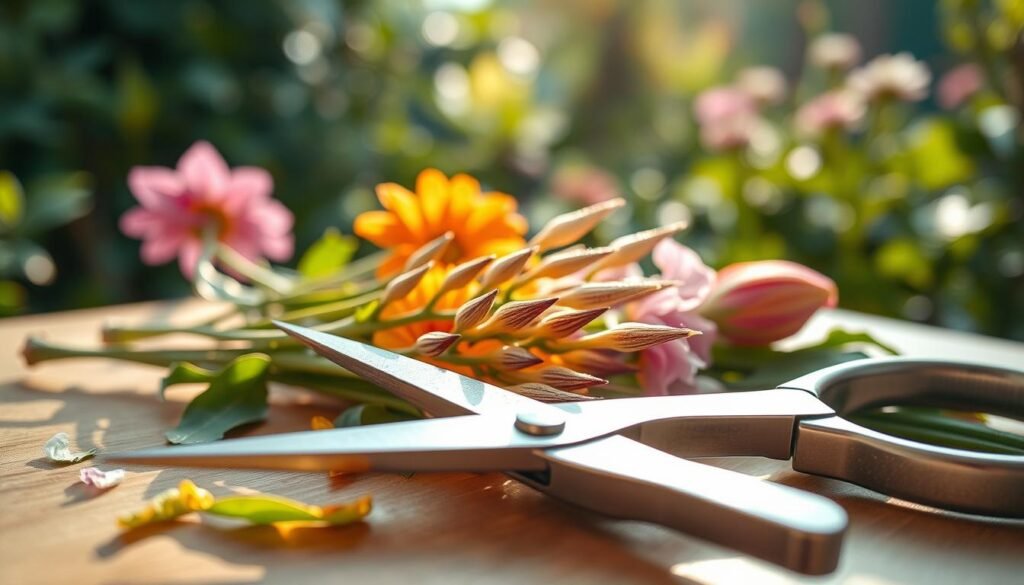
Using the right blade for each stem type saves tissue and encourages new growth. Start with a small kit: scissors, floral snips, and a pair of secateurs. Keep tools sharp and nearby so maintenance becomes a quick habit.
Pick the right tool
- Finger pinch for tender stems; it’s fast and gentle.
- Scissors or floral snips work well for most houseplants and neat cuts.
- Secateurs suit woody or thick stems where pinching would crush tissue.
Sanitize and avoid crushing
Wipe blades with rubbing alcohol before starting and between plants. This simple step reduces spread of pests and disease in low-airflow rooms.
“Clean, decisive cuts heal faster and keep the base neat.”
What to check before you cut
- Scan for nearby buds and new leaves at nodes.
- Look for developing seed pods or seed heads and remove them with the spent piece.
- For long spikes, consider a lower cut back before pods set at the base.
Quick tip: Support the stem with fingers, cut decisively, and never yank when a head resists. Proper prep preserves foliage and helps plants rebloom.
How to deadhead indoor flowers step by step
A few clear cuts and quick checks make the job fast and effective.
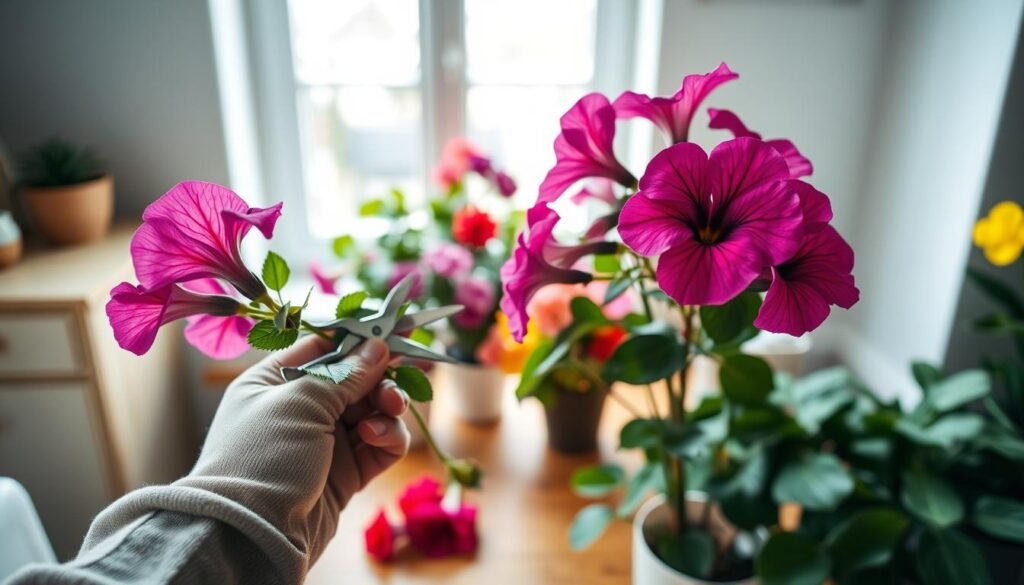
Find the spent parts
Step 1: Look for faded petals and the swollen area behind the bloom where seed can form. Remove that whole piece, not just loose petals, so the plant sends energy back into growth.
Place the cut right
Step 2: Use snips and cut just above the first leaf or growth point below the flower head. This encourages branching and new flowering shoots.
Long stems and spikes
Step 3: For long-stem blooms, trace the stalk down and cut low near the base without nicking leaves. For spikes, cut back the stalk before seed pods form at the base to protect future blooms.
Quick tidy for mass bloomers
Step 4: Give mass bloomers a light “haircut” with snips across the plant. Shear faded heads evenly and tidy bare stems to encourage bushier growth and more blooms.
| Action | When | Effect |
|---|---|---|
| Remove whole spent head | Color fades, seed forms | Redirects energy; faster rebloom |
| Cut above leaf/node | Any single bloom | Promotes branching and growth |
| Cut stalk low (long stems) | Tall single blooms | Neat base; protects leaves |
Do: cut decisively and clear debris from the soil. Don’t: crush stems or remove tight buds that will open soon. Return the plant to good light so it can use that encourage new signal and keep blooming.
Deadheading methods by plant type: soft stems, woody stems, and more
Match the method to the stem. Soft, tough, and woody species each need a simple, specific approach. Follow the right move and your plant will waste less energy on seed and keep producing buds.
Tender, soft-stem plants
Pinch spent heads gently with thumb and forefinger on geranium-style stems. This quick action removes the base that forms seed and avoids bruising the stem.
Woody or thicker-stem bloomers
Use sharp snips or secateurs and cut back to a visible growth point. A clean cut at the node keeps the branch from ragged tearing and supports healthy pruning for long-term flowering.
Repeat-blooming species with tough stalks
Remove the old head just below the bloom or just above the first leaf. That removes the seed-forming part and encourages another flush without leaving an awkward bare stem.
Plants that don’t need attention
Some modern varieties are self-cleaning or sterile and do not need deadheading for continuous bloom. Tidy browned petals from foliage for appearance, but you can skip frequent trims if you like.
When not to cut
If you prefer dried accents, leave a few seed heads or spikes for winter interest. Avoid heavy removal when a plant is stressed; light work keeps blooms coming without causing shock.
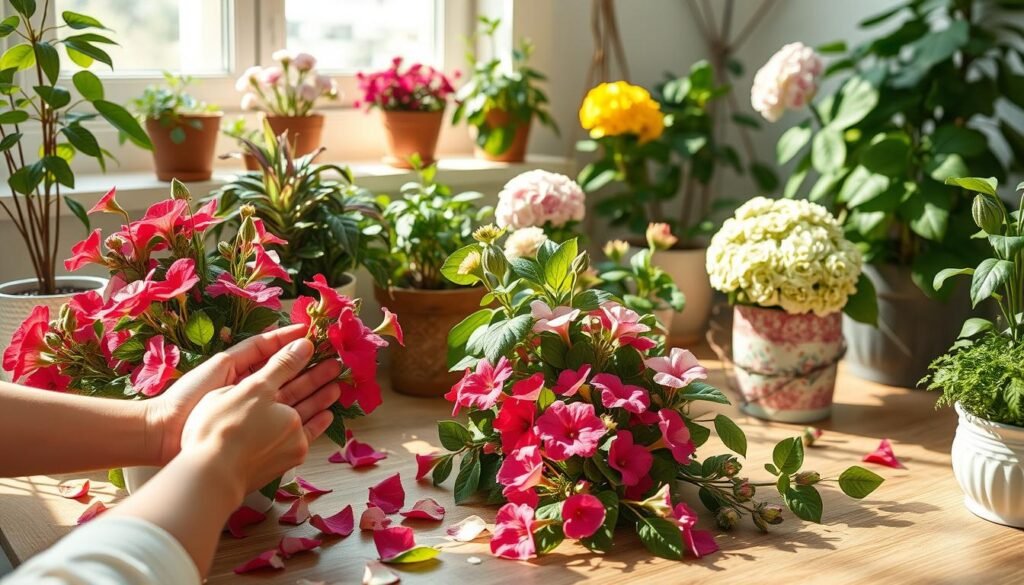
| Stem type | Method | Why it works |
|---|---|---|
| Soft stems | Pinch at base | Prevents bruising; removes seed base quickly |
| Thick/woody stems | Snips to growth point | Clean cut heals faster; supports pruning |
| Repeat bloomers | Cut above first leaf | Encourages branching and another flush |
| Self-cleaning species | Light tidy only | Good looks with minimal effort |
Quick tip: gardeners who sort plants by stem type finish tasks faster and protect buds for better flowering.
Conclusion
, A weekly five-minute check is the simplest way to keep plants busy making new buds.
Deadheading is a small, repeatable habit that helps many plants keep blooming longer and look neater. Remove the developing seed part, not just petals, so the plant can encourage new growth.
Use the right tool and aim the cut above a leaf or growth point. Pinch soft stems and snip tougher stems for clean results. During spring and summer be prompt; in winter ease up as the season slows.
Keep foliage and pots clear of decaying bits to lower mold risk. A brief weekly tidy saves time over the year and makes gardening feel effortless. With practice you’ll spot spent blooms faster and make this a normal part of caring for indoor plants.