
Salt build-up in container plants can look like burned leaf tips, stunted growth, or pale flowers. These minerals come from fertilizer, hard tap water, and some mixes. They dissolve in water and gather near the pot rim.
This guide explains a simple, same-day reset that uses a large volume of water to dissolve and carry excess mineral ions through drainage holes. Good drainage and clear runoff are key. Don’t confuse this with just watering a bit more.
The article will cover why build-up happens, quick signs your plant needs help, a step-by-step rinsing method, and how to test that you removed excess minerals. This routine suits most indoor pots, flowering houseplants, and plants fed often or watered with softened or hard tap water.
Safety note: avoid harsh home remedies. Plain water plus steady drainage is the core method here.
Key Takeaways
- Mineral salts are common ions from fertilizer and tap water, not just table salt.
- A heavy rinse with lots of water removes built-up minerals and can stop leaf tip burn.
- Good drainage and letting runoff escape are essential for success.
- This is a reset, not a replacement for proper fertilizer dosing and routine care.
- Best for potted indoor plants, flowering varieties, and regularly fed specimens.
Why Salt Build-Up Happens in Potted Plants
In a container, dissolved minerals and leftover fertilizer don’t disappear — they gather and harm growth. This is the classic “container effect”: a limited volume traps what would dilute in a garden bed.
Fertilizer ions and leftover minerals
Many fertilizers supply nutrients as soluble ions so roots can absorb them quickly. What roots don’t take stays in the mix and piles up each feeding.
Tap water and softened water adding dissolved solids
Tap water often carries 200–300 ppm total dissolved solids. Softened water can raise that number. Over time, those dissolved minerals add to the pool of ions around the roots.
Evaporation, under-watering, and poor drainage
As water leaves by evaporation, minerals remain and concentrate near the surface and pot edges. Light or uneven watering fails to create enough runoff to carry excess minerals away.
How excess ions disrupt roots and nutrients
“Too many dissolved ions can slow water entry into roots and even pull moisture out of the plant.”
High mineral levels can raise pH and trigger nutrient lockout, so plants show deficiency signs even when you have fertilized. The process to correct this is simple: run enough water through the pot to dissolve and remove built-up mineral ions via drainage.
Signs Your Plant Needs a Flush Right Now
You can often tell a plant needs a deep rinse by simple, visible clues. Spotting the pattern helps you avoid misdiagnosis and wasted effort.
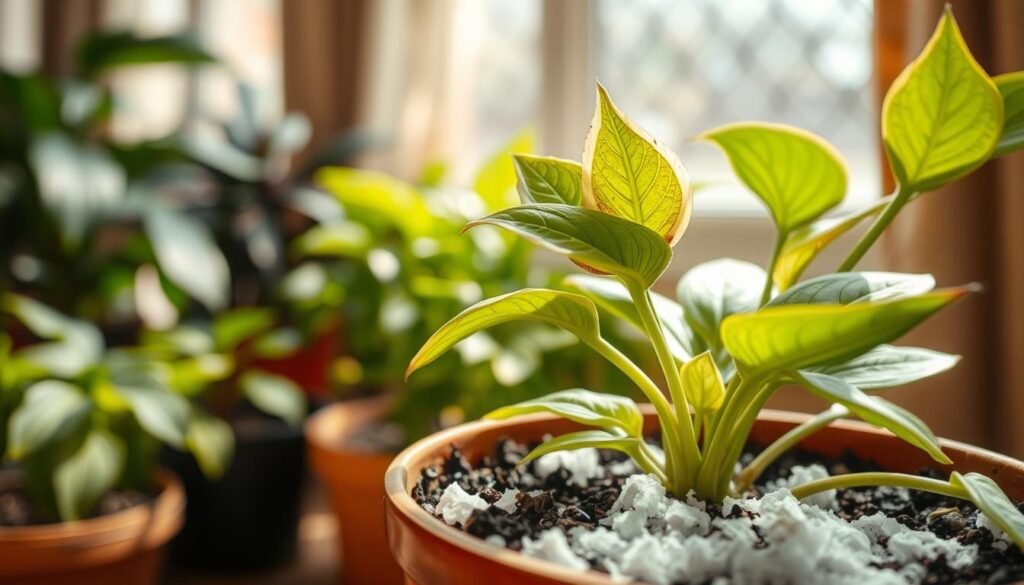
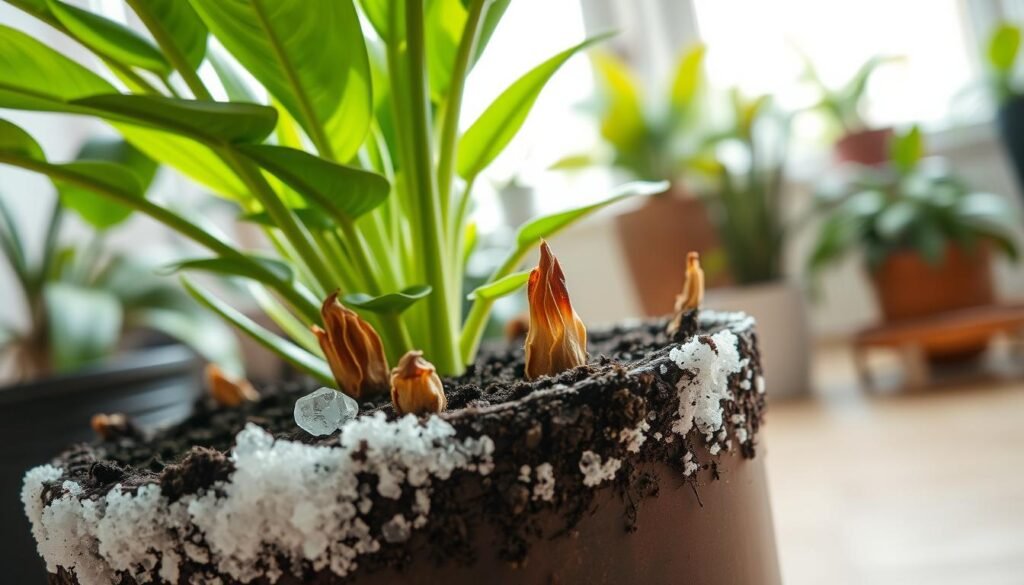
White, chalky crust at the pot rim
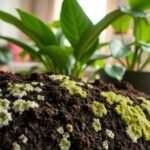
What to look for: a pale, crusty band on the surface or around the pot edge. This residue forms when dissolved minerals in water evaporate and leave behind a visible layer.
Leaf tip burn, yellowing, and slow new growth
Brown, crispy tips and margins often mean excess fertilizer or mineral stress rather than a single missed watering. Yellow leaves and a drop in new growth are common when roots struggle to access nutrients.
Wilting even when the soil is moist
If foliage wilts while the mix still feels damp, roots may be unable to move water. High mineral levels can block uptake, so the plant looks thirsty even though water is present.
Quick checks: confirm drainage holes are open and the pot wasn’t recently repotted into fresh mix. If crust + tip burn + poor growth appear together, taking action with plenty of water is a sensible next step.
| Symptom | Visible Clue | Likely Cause | Quick Action |
|---|---|---|---|
| Crust | White ring on surface or rim | Mineral buildup (tap water, fertilizer) | Remove top layer; check drainage |
| Leaf tip burn | Brown, crispy edges | Excess fertilizer or salts | Reduce feed; rinse if paired with crust |
| Wilting when moist | Droopy leaves despite damp mix | Roots stressed by high ion levels | Ensure free drainage; use clean water |
How to flush salts from potting soil
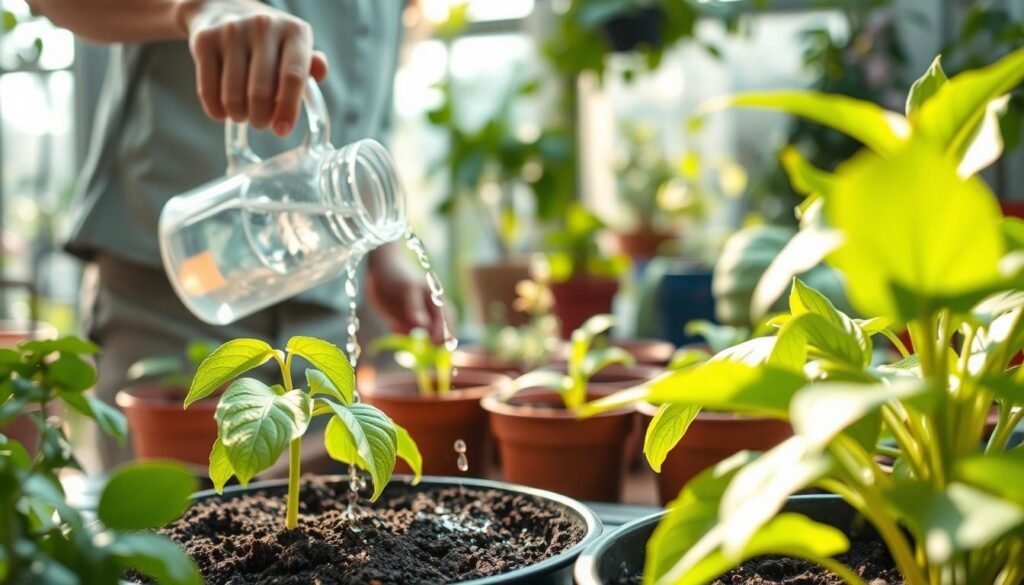
Start by setting up a clean, drain-friendly spot. Place the pot in a sink, tub, shower, or outdoors where runoff can disappear without soaking a saucer or floor. This step makes the leaching process simple and tidy.
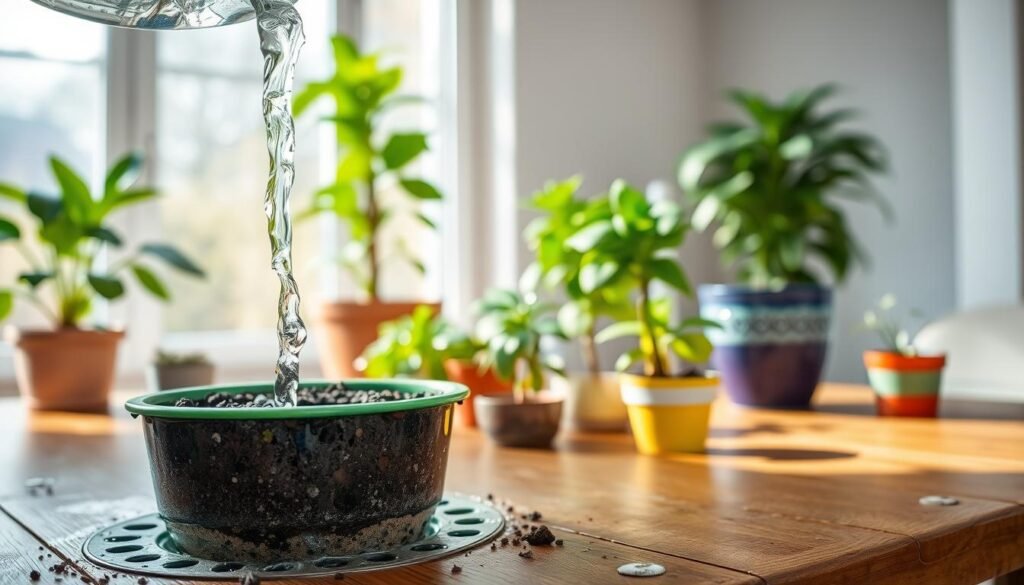
Make sure drainage holes are open and remove any saucer so runoff cannot wick back up. Gently scrape off visible white crust, taking only a thin layer—about 1/4 inch for most pots, up to 1/2–1 inch in large containers if roots are safe.
Use tepid or warm water and pour slowly in an even pattern to avoid channeling. Aim to use about twice the pot’s volume of water (a 3 L pot needs roughly 6 L total). Pour part of that amount, let it drain fully, then continue. Repeat the cycle if symptoms were severe.
Cleanup and recovery
After leaching, clean the pot rim and clear the holes. Wash the saucer in warm soapy water so dried mineral deposits do not return. Top-dress with a small amount of fresh mix and water lightly to settle the surface.
Aftercare: Pause fertilizer for the next watering cycle so roots can reset. If water won’t drain or the mix stays swampy, improving drainage or repotting is the next step—leaching won’t fix compacted or poorly draining media.
| Step | Purpose | Amount |
|---|---|---|
| Prep area & remove saucer | Prevent reabsorption of runoff | N/A |
| Remove crust | Expose surface for even leaching | ≈1/4 inch (small pots) |
| Slow pour with warm water | Dissolve and carry away excess salt | ~2× pot volume (total) |
| Drain & repeat if needed | Improve removal of excess salts | Repeat full cycle once for severe cases |
How to Know You Actually Removed Excess Salts
Leaves won’t always recover fast, so visual change is a poor test. Damaged tips stay brown even after levels drop. To make sure the excess ions left the pot, measure runoff directly.
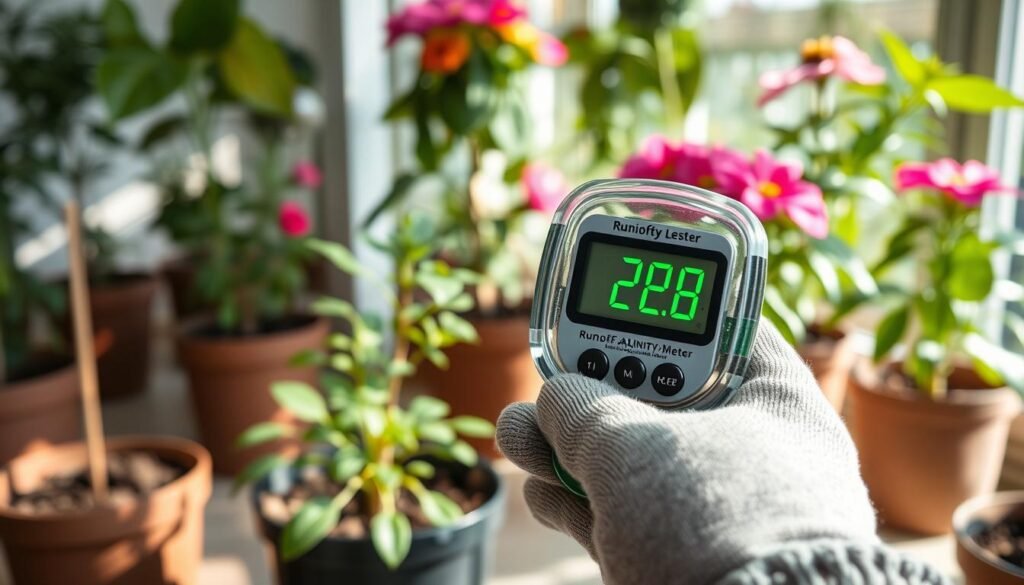
Measure runoff with an EC/TDS meter and compare input water vs. drainage
Use a handheld EC or TDS meter to read your starting water and the runoff you collect. If you use quality RO, the input may read ~0 ppm. Typical tap water often reads ~200–300 ppm.
Runoff after a heavy rinse often spikes to ~500–600 ppm at first as minerals wash out. That higher reading shows the process worked. Repeat a smaller pour and test again; readings should trend lower on the second pass.
Choose the right water for flushing: RO/ion-free vs. tap ppm
Practical note: RO or ion-free water gives the clearest result. Tap water can add ions, so you may need more water and a few checks to see levels drop.
| Sample | Expected ppm | What it shows |
|---|---|---|
| RO / ion-free input | ~0 ppm | Baseline; any runoff rise = salts leaving pot |
| Typical tap input | 200–300 ppm | Baseline includes tap ions; expect higher runoff |
| Initial runoff | 400–600 ppm | Indicates minerals and ions being carried out |
| Follow-up runoff | Lower than initial | Trend shows levels falling — good result |
Tip: You don’t need lab precision. Regular meter checks help you dial fertilizer strength and rinsing frequency so the plant stays healthy without repeat buildup.
Conclusion
A short, routine rinse can restore water and nutrient flow for most container-grown plants.
Core takeaway: mineral build-up is common in containers, but a measured flush removes excess ions and helps roots take up nutrients again.
Remember the simple recipe: remove surface crust, pour about 2× the pot volume slowly, let it drain fully, and never let the pot sit in runoff. This stops re-absorption and speeds recovery.
Success may look slow—damaged tips won’t green up—but new growth and stronger flowers should follow in weeks. For prevention, plan a routine rinse every 4–6 months; heavy feeders may need it sooner.
Fertilizer best practice: follow label rates and avoid extra feedings. Good drainage and timely runoff are the long-term aspect that prevents most problems.
Act when you see crust, tip burn, and stalled growth. With the right water, steady drainage, and this simple guide, you can keep potted plants healthy year after year.