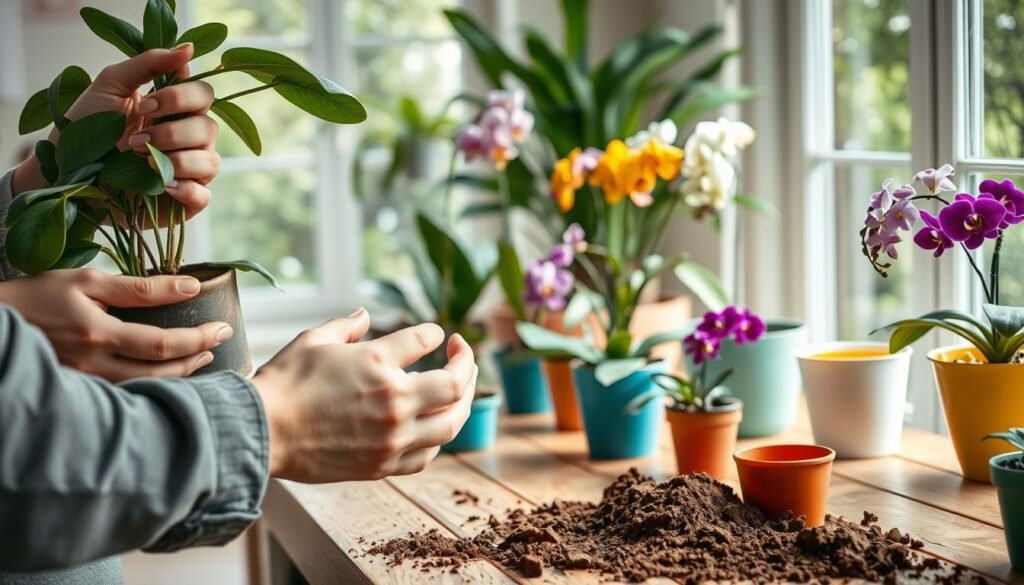
Repotting flowering houseplants means more than moving a plant to a bigger pot. It is a chance to refresh soil, check roots, and give plants a cleaner start for better blooms and stronger roots under typical U.S. indoor conditions.
Follow simple steps and you will learn how to spot the best time to work, pick a pot about 1″–2″ larger, and water thoroughly right after transplant to cut stress and speed recovery.
This guide previews common mistakes—overpotting, poor drainage, and watering too much after transplant—and shows how fresh mix and root inspection often act as the real reset. The steps apply to many common examples like African violets, begonias, kalanchoe, and peace lilies, and they also work for foliage plants with small tweaks.
Repotting can seem intimidating, but broken into clear steps it becomes straightforward. Expect practical tips that help plants rebound quickly and keep vigor over the long run.
Key Takeaways
- Do work when plants resume active growth in spring or early fall to reduce shock.
- Choose a pot 1″–2″ larger to avoid overpotting and poor root development.
- Use fresh potting mix and ensure good drainage for healthier roots.
- Water thoroughly after transplant, but avoid repeated heavy watering soon after.
- Inspect roots during the move and trim only when necessary.
- Steps suit many common indoor species; adjust slightly for size and needs.
When to Repot Flowering Houseplants and How to Spot the Signs
Spotting clear signs that a plant needs a bigger pot prevents long-term stress. Look for root, water, and growth cues before you pick a new container. These clues make the decision less guesswork and help the plant recover faster.
Root-bound clues
Root-bound means the roots have filled the pot so tightly that water, air, and nutrients struggle to get in. Visual clues to check:
- Roots coming out of drainage holes or visible at the surface.
- Roots circling the bottom when you slide the plant out.
- Roots pushing up above the soil line.
Water behavior red flags
If water runs straight through, there may be too little soil left to hold moisture. Fast-drying mix can mean roots have taken most of the space. Both signs show the container no longer buffers water and nutrients well.
Growth and balance signals
Top-heavy wobble often points to an undersized pot. Plants that stall, yellow, or wilt despite care usually need more room. The simple rule of timing: act when a plant clearly outgrows its container, not just because it’s been a while.
Best season and timing
Early spring and fall are ideal time windows. Temperatures are milder, light is gentler than midsummer, and plants settle before low-light winter periods. If your home stays stable, you can work when needed, but avoid heat waves in summer to reduce stress.
Once you’ve confirmed these signs and chosen the best time to repot, the step-by-step process becomes predictable and less risky.

Repotting flowering houseplants step by step
A steady, checklist-style approach cuts stress and speeds recovery for potted plants. Follow these concise steps while you work so the move is calm and safe for roots and stems.
Choose pot size & drainage setup
Pick a new pot only 1″–2″ wider in diameter than the current plant pot. This inch guideline helps avoid excess wet soil and weak root growth.
Drainage holes are essential for most flowering plants. For a decorative option, use a plastic nursery pot as an insert inside a cache pot to control watering and drainage.
Prep before you work
Water the plant a day before or 1–2 hours ahead so the root ball slides out easily. Gather fresh potting soil, a clean container, a saucer, and sharp scissors or pruners.
Remove the plant safely
Tip the pot sideways, support stems near the soil line, and tap the bottom. If stuck, gently run a butter knife around the rim or squeeze a flexible plastic pot to loosen the root ball.
Loosen and inspect roots
Tease circling roots apart to encourage outward growth. Healthy roots look firm and pale; cut away soft, dark, or rotted roots with clean scissors.
Optional: trim up to one-third of the root mass if you need to keep the plant in the same pot size.
Set planting height & settle soil
Place a base layer of potting mix so the crown sits about 1/4″–1/2″ below the rim. Fill evenly around the root ball and gently firm the soil without compacting.
Tapping the bottom of the container helps soil settle and removes air pockets.
Final watering
Water thoroughly until runoff appears from the bottom holes. Let the excess drain for about 30 minutes, then empty the saucer so the plant does not sit in a puddle.

| Step | Quick action | Why it matters |
|---|---|---|
| Choose pot | 1″–2″ larger, drainage holes or insert | Prevents overpotting and standing water |
| Prep | Water before, set tools & fresh potting soil | Reduces stress and speeds removal |
| Remove & inspect | Loosen edges, tease roots, trim rot | Encourages healthy outward root growth |
| Plant & settle | Set crown 1/4″–1/2″ below rim, firm gently | Improves watering and prevents sinking |
| Water | Soak until runoff, drain saucer | Settles soil and prevents root rot |
Potting soil, pot size, and drainage details that prevent root rot
Good soil and the right container cut the chance of root problems before they start.
Root rot often began when soil stayed waterlogged, oxygen fell, and roots weakened. Plants then declined fast even under regular care.
Why overpotting backfires
A too-large pot held excess wet soil while the smaller root system could not drink it fast enough. That left the plant sitting in moisture longer than it could handle and raised the risk of root rot.
Simple rule: size up only 1″–2″ and focus on better mix and drainage rather than a dramatic jump in container size.
Picking a high-quality mix
High-quality potting soil meant a lighter texture, good air space, and reliable drainage with added nutrients to support recovery. Avoid garden soil indoors — it compacts, reduces airflow, and holds too much water.
Flowering plants did best with consistent moisture but breathable soil, not bone-dry mix.
Drainage holes and inserts
Make sure the pot has drainage holes. If the decorative container lacks holes, use a plastic nursery pot insert. Inserts made watering easier: lift the pot to water in a sink, let it drain, then return it to the cache container.

“A breathable mix and proper drainage are the simplest defenses against soggy roots.”
| Problem | Fix | Why it helps |
|---|---|---|
| Excess wet soil | Smaller size increase, fresh potting soil | Reduces waterlogged zones and encourages root spread |
| Poor airflow | Light mix with perlite or bark | Improves oxygen around roots and drainage |
| No drainage | Use pots with holes or a nursery insert | Makes watering control easy and prevents trapped water |
Conclusion
A calm aftercare routine often makes the difference between stress and recovery for potted plants.
When repotting went well, most people chose the right time, avoided a too-large pot, used fresh mix, and kept drainage a priority. That simple approach helped the plant settle and use its new space.
Water thoroughly once, then wait. Check pot weight and soil feel before you water again — more soil holds moisture longer at first. Keep the plant in a stable spot with steady light and temperature, and avoid drafts or summer heat.
Wait about a month before resuming fertilizer, then return to normal care. With these tips and a little patience, most houseplants bounced back and returned to healthy growth.