Surprising fact: up to 40% of hobby growers report seeing color change during bloom, and most are unsure if it signals real trouble.
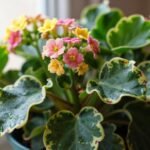
Chlorosis is simply when chlorophyll is interrupted and foliage starts to lose its green. This yellowing leaves symptom can mean normal aging of lower foliage or a care issue that needs action.
During bloom, plants divert energy to flowers. That makes small problems show up fast as turning yellow spots on older parts. The two big buckets are easy to check: natural shedding of old foliage, or a care problem such as watering, root trouble, light, nutrients, or pests.
This section offers a quick triage and friendly fixes that protect new growth and blooms. Aim to stop spread and protect what matters, not to save every old leaf. Note: the most common cause is watering patterns, but look at which leaves change, how fast, and what else you see to find the real cause.
Key Takeaways
- Chlorosis means lost chlorophyll; it’s a symptom, not a final diagnosis.
- Blooming shifts energy, so aging lower foliage may turn color normally.
- Check watering first—it’s the most common cause of stress.
- Look at pattern and speed of change to tell normal shedding from problems.
- Quick triage and targeted tips can protect blooms without heavy intervention.
What yellowing during flowering can mean for indoor plants
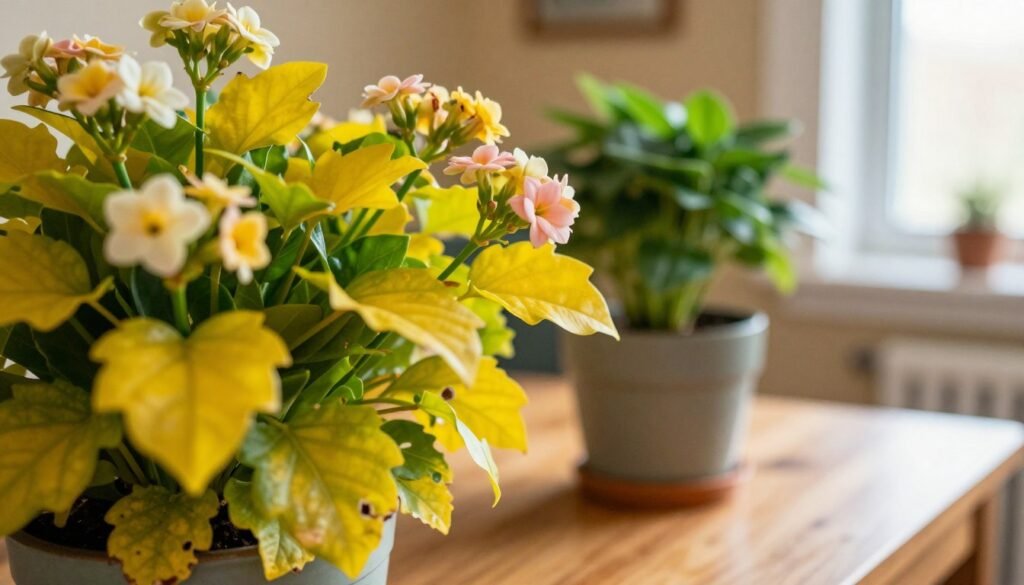
Bloom time triggers a resource reshuffle: older foliage may be deprioritized. Flowers and new growth often pull nutrients and water first. That can make the bottom leaves fade even when care is otherwise fine.

Normal aging vs. stress signals: how to read foliage and growth
Start by noting which leaves change. Lower leaves aging slowly over weeks are usually normal. New top leaves staying green and the plant still producing buds are good signs.
If yellowing appears in the canopy or on new shoots, treat that as a stress clue. Rapid spread, wilting, spots, or deformed new growth mean chlorosis may be a call for help.
Why timing matters and a clear comparison
During bloom, minor stress can escalate fast because the plant invests in flowers. Watch the pattern, pace, and extra signs to find likely reasons without guessing.
“One or two lower leaves yellowing over weeks is not the same as many leaves yellowing in days with slowed growth.”
| Situation | Pattern | Likely interpretation |
|---|---|---|
| One or two lower leaves | Slow change over weeks | Normal aging; minimal action |
| New or canopy leaves affected | Fast spread over days | Stress or nutrient issue; investigate |
| Yellowing + spots/wilting | Rapid, multiple leaves | Pests, disease, or root trouble; act now |
- Check position: older vs. new leaves tells you a lot.
- Inspect pattern: even, between veins, edges, or patches gives diagnosis clues.
- Note growth: active bud set and steady growth reduce urgency.
Bottom line: Pattern + pace + extra signs narrow the probable cause and point to the best first steps.
Quick triage: signs you can ignore vs. signs you should act on today
A simple same-day check will help decide whether to act now or wait. Start by counting how many leaves are affected, timing how fast they turn, and checking new growth for normal color and shape.

Red flags that need same-day action
- Widespread yellowing or rapid leaf drop across many branches.
- Wilting that persists after a proper water check.
- Visible spots, browning margins, or deformed and stunted new growth.
- Patterns that suggest pests or nutrient deficiencies (mottling, interveinal discoloration).
Signs you can usually ignore (for now)
Older, lower leaves turning pale slowly over weeks while new shoots stay green and buds hold steady are often normal shedding.
| Check | Quick test | Action |
|---|---|---|
| How many leaves | One–few vs. many | Monitor vs. investigate same day |
| Speed of change | Weeks vs. days | Likely normal vs. urgent |
| New growth | Healthy vs. deformed | Ignore vs. treat for stress or pests |
Do a moisture check before changing care: probe the top inch of soil and water only if dry at the correct level. Inspect undersides for pests — many infestations mimic watering problems. Remove fully pale foliage if it helps you focus, but prioritize stopping progression and stabilizing the immediate environment.
Fixing yellow leaves while flowering indoor plant by correcting watering and drainage
Most cases of pale foliage during bloom start with a simple water mismatch at the pot. Improper watering is the No. 1 cause of yellow leaves and wilting. Roots need oxygen; waterlogged soil suffocates roots, and drought stops nutrient uptake.

Why watering mistakes trigger quick yellowing
Overwatering floods air pockets and invites rot. Underwatering prevents the root from moving nutrients, so tips fade and growth slows. Both stress buds and blooms.
Do the finger test
Insert your index finger 2–3 inches into the soil. If it feels cool and moist, wait. If the top feels dry and slightly warm, it’s time to water. This avoids watering on a calendar and reduces swings from soaked to bone-dry.
Overwatering vs. underwatering: quick comparison
| Sign | Overwatering | Underwatering |
|---|---|---|
| Early | Soft, drooping, pale areas | Dry, crisp tips, curling |
| Progression | Brown spots, moldy soil | Wilting, slow growth |
Drainage checklist & thorough watering
- Confirm pots have drainage holes and empty saucers after watering.
- Avoid sealed cachepots that trap runoff.
- Use a well-draining potting mix so water flows through, not pools.
- Water deeply until runoff, discard that runoff, then wait until the top inches are dry.
“Correcting watering is often the fastest fix for yellowing without risking blooms.”
Check roots and the pot for hidden problems
Roots are often the silent cause behind persistent discoloration and slowed growth. If yellowing keeps returning after you fix watering, or the soil stays damp too long, it’s time to inspect the root zone.

How to slide the root ball out safely
Water lightly the day before if the topsoil is dust-dry. Support the stem at the base, tip the pot sideways, and ease the root ball out with gentle wiggles. If stuck, tap the pot rim and avoid yanking.
Healthy roots vs. root rot
Healthy roots are pale, firm, and slightly springy. Rotten roots go dark, feel mushy, and often give off a foul smell. Use sterilized scissors to cut clearly dead material.
Rootbound, compacted roots, and why leaves turn
Cramped, circling roots can’t move water, oxygen, or nutrients effectively. That causes yellowing and slows growth, especially during high-demand periods.
Repotting stress and next steps
Repotting can cause temporary yellow leaves even when done right. After potting, keep light steady and water at the correct level. Skip fertilizer for a short settling period.
- Suspect roots if soil stays wet, wilting repeats, or yellowing persists after fixes.
- Trim only clearly dead roots and refresh compacted soil with a well-draining mix.
- Do next: stabilize conditions, water carefully, and give roots time to re-establish.
“Fixing hidden root issues often protects new growth faster than surface treatments.”
Light and environment: common indoor triggers near a window or vent
A plant’s immediate setting — light, airflow, and humidity — shapes how it copes during bloom. Small differences in exposure at a window or near a vent often show up first on older foliage. Read the cues and make gentle adjustments to avoid shocking buds.
Too little light: clues and a gentle rotation fix
Diagnose low light by watching for fading on the far side from the window and a lean toward bright areas. Lower parts fade first because upper growth shades them.
Rotate the pot a bit each week so all sides get even exposure. If blooms stall and several leaves are turning, move the specimen gradually to brighter light instead of a sudden full-sun change.
Cold drafts and AC airflow: what to watch for
Strong air from vents or winter drafts can cause drop and color loss. Tropical houseplants show this quickly; you may see pale, almost transparent spots after intense cold exposure.
Keep pots away from direct drafts. Use simple barriers or reposition to a more stable zone to stop rapid decline.
Dry indoor air and simple humidity tips
Low humidity raises transpiration and adds stress during bloom, even when watering is correct. This can worsen pale foliage and slow bud set.
- Run a humidifier nearby for steady moisture in the air.
- Group houseplants to create a shared humid microclimate.
- Use a pebble tray, but avoid letting the pot sit in standing water.
“Stable light and steady air moisture near a window or vent often resolve recurring discoloration without drastic measures.”
Nutrients and pH: how to spot a deficiency from yellowing patterns
When basic care checks pass, hidden nutrient issues are the next likely cause of discolored growth. Once water, light, and roots look good, specific nutrient signs become easier to read. A simple soil test cuts guesswork and points to the right correction.
Soil pH and nutrient lockout: pH controls availability. Many common species prefer about pH 6.0–7.0. Acid-loving types do better nearer 4.5–6.0. If pH is off, essential nutrients may be present but locked out.
Common deficiency patterns
- Nitrogen: overall yellowing starts on older, lower leaves.
- Potassium: bright yellow edges with green centers, then browning.
- Magnesium: yellow patches between veins on older leaves.
- Iron: interveinal yellowing on young, top leaves.
- Sulfur: newest leaves turn yellow throughout.
| Deficiency | Which leaves first | Quick clue |
|---|---|---|
| Nitrogen | Older leaves | Uniform fading |
| Iron | New growth | Vein contrast on tops |
| Magnesium | Older leaves | Interveinal patches |
| Potassium | All ages later | Edge yellowing → brown tips |
Fertilizing during bloom: go slow. Use label rates and avoid large dose changes. Overcorrecting can create new imbalances and stress buds.
“Correct diagnosis beats blind feeding — test pH, adjust gently, and watch new growth over weeks.”
Next steps: run a soil test, correct pH if needed, apply modest, balanced nutrients, and monitor new growth for recovery.
Pests, disease, and other causes that mimic care issues
Pests and pathogens often imitate care problems, making diagnosis tricky for growers at home.
Start with a quick inspection routine in good light. Check undersides, leaf joints, and new growth for webbing, sticky residue, or tiny moving insects.
Spider mites and aphids: splotchy damage, webbing, and sap loss
Spider mites and aphids suck sap. They cause splotchy pale patches and weaken tissue. Dry indoor conditions increase risk.
Treatment path: isolate the affected specimen, rinse foliage gently if blooms allow, and apply insecticidal soap according to the label.
Viral infections: blotchy spreading patches and discolored blooms
Viruses show blotchy, spreading patches and often deform leaves, stems, or flowers. Symptoms may not improve with insect control.
Important: viruses are often incurable; early containment protects the rest of your collection.
Containment and realistic home steps
- Quarantine the affected specimen away from others.
- Sterilize pruners, pots, and surfaces with isopropyl alcohol between uses.
- Avoid sharing soil or tools until the issue is resolved.
| Cause | Key sign | Action |
|---|---|---|
| Spider mites | Fine webbing, stippled patches | Rinse, insecticidal soap, raise humidity |
| Aphids | Clusters, sticky residue | Prune, rinse, treat with soap |
| Viral infection | Blotchy spread, malformed growth | Quarantine; consider disposal if rapid decline |
“When symptoms worsen despite isolation, discarding one specimen may save many.”
Conclusion
A short, calm check each morning saves time and keeps issues from growing. Note the number of changed leaves and look for other signs before you act.
One or two lower leaves fading can be normal, but rapid, widespread change or deformity means intervene. Use the pattern, speed, and extra signs to guide your choice.
Troubleshoot in order: check soil moisture and watering habits, confirm drainage, inspect roots, then review light and environment, test pH/nutrients, and finally scan for pests or disease.
Be patient: most fixes show via healthy new growth over time, not by re-greening old tissue. Remove fully yellow leaves with a clean, sterile tool if it helps focus resources and tidies the specimen.
Consistent, gentle care beats quick fixes — steady routines cut repeat problems and protect blooms next time.