Surprising fact: up to 40% of home blooms drop buds or flowers when basic water rhythm or humidity shifts, yet most recover with a few simple checks.
Quick note: brown tips and dropped buds are usually stress signals, not a lost cause. They often stem from water imbalance or root strain—either too much or too little moisture, or excess fertilizer limiting root uptake.
This guide shows a clear path: spot the browning pattern, test soil moisture by finger, check drainage and roots, then steady watering and room conditions. Many common problems can be confirmed in minutes with a finger test or a saucer check.
Be careful: fast fixes like heavy watering on soggy soil can make root rot worse and speed up browning. Instead, follow the step-by-step method below and consider a moisture meter to avoid watering on autopilot.
For quick bud-drop help and practical checks, see our short guide to quick bud-drop fixes, which covers humidity, light balance, and root rescue.
Key Takeaways
- Brown tissue means dead tissue, but the rest can recover once the root issue is fixed.
- Use the finger test, review pot drainage, and peek at roots to diagnose fast.
- Stabilize temperature, raise humidity, and keep watering steady to protect buds.
- Too much water can be as harmful as too little; don’t add water blindly.
- No fancy tools required—though a moisture meter helps prevent errors.
Spot the Browning Pattern Before You Change Anything
Before changing care, study the symptom pattern; the shape of damage guides the fix. Pause and look closely. Different marks point to different fixes, so read the foliage like clues before you water or repot.

Whole foliage browning vs. tips and margins
When an entire leaf goes brown and drops, it often signals drought stress or heat. This usually shows first on lower foliage.
By contrast, brown tips or margins typically point to water balance issues, salt buildup, or low humidity. Keep an eye on how the tip tissue feels.
Middle browning, spots, and yellowing
Browning in the middle of a leaf commonly links to overwatering and low root oxygen. Spots with yellow halos can indicate fungal diseases, while yellowing before browning often follows temperature or light mismatch.
Quick touch and bruising check
Touch problem areas: crispy tips mean dry stress or salts; soft, mushy patches suggest rot. Check high-traffic spots where pets or people brush past to rule out bruising.
Tip: Don’t assume pests or diseases at first—wrong changes can make the problem worse.
Indoor plant leaves turning brown causes you can confirm in minutes
You can confirm the likely reason for tip damage with a quick, hands-on check. Spend five minutes and you’ll often know whether the problem is watering, roots, or the room.

- Feel the top 1–2 inches of soil and lift the pot to judge weight.
- Note the plant’s window exposure and any strong midday sun.
- Check for HVAC vents, drafty windows, or low humidity in winter.
- Recall the last watering and whether you fed it with fertilizer recently.
- Look for white crust or salt on the soil surface or saucer.
Quick guide: Crispy tips near vents usually mean heat or underwatering; soft, limp brown tips with wet soil point to root shutdown from overwatering.
Underwater and heat stress make tips the first to lose water because they are farthest from the roots. Overwatering can produce similar tip browning when soggy mix starves roots of air and leads to rot.
Low humidity—common in winter—causes crisp edges on tropical species, while too much direct light scorches upper growth. Tap water minerals and excess fertilizer build up salts around roots and trigger persistent tip burn over months.
Next step: The most accurate confirmation comes from testing soil moisture, drainage, and inspecting roots, which we cover in the next section.
Investigate Soil Moisture and Drainage in the Pot
A quick hands-on check of the soil and pot will tell you if watering or drainage is the issue.

How healthy potting mix should feel
Feel the top 1–2 inches of soil and note temperature and moisture. Healthy potting soil feels cool and evenly moist, never swampy.
If the mix is dripping wet or heavy, roots lack oxygen. If the surface is hard and pulls away, water may run down the sides and miss the root zone.
Drainage holes and saucer habits that prevent “wet feet”
Drainage matters: roots need air. Waterlogged pots or a saucer full of water create “wet feet” that lead to rot and browning.
Water until you see drainage, wait a few minutes, then empty the saucer so the pot can dry from below as well.
When soil becomes hydrophobic
Very dry potting mix can repel water and send it down the pot sides. Break any crust, press soil back to the pot wall, and water slowly until fully soaked.
Make sure drainage holes are clear. Decorative outer pots can trap runoff—check them every time you water.
Tip: Improving soil structure with a quality potting product helps stabilize moisture and supports root health over time.
| Check | Healthy sign | Warning sign | Quick fix |
|---|---|---|---|
| Surface feel | Cool, slightly damp | Very wet or powdery dry | Adjust watering and re-wet crusted areas |
| Pot weight | Light to moderate when dry | Heavy and waterlogged | Empty saucer and improve drainage |
| Drainage holes | Flow when watered | Clogged or blocked | Clear holes; avoid trapping in cachepots |
| Water behavior | Evenly soaks in | Runs down sides (hydrophobic) | Break crust, water slowly until saturated |
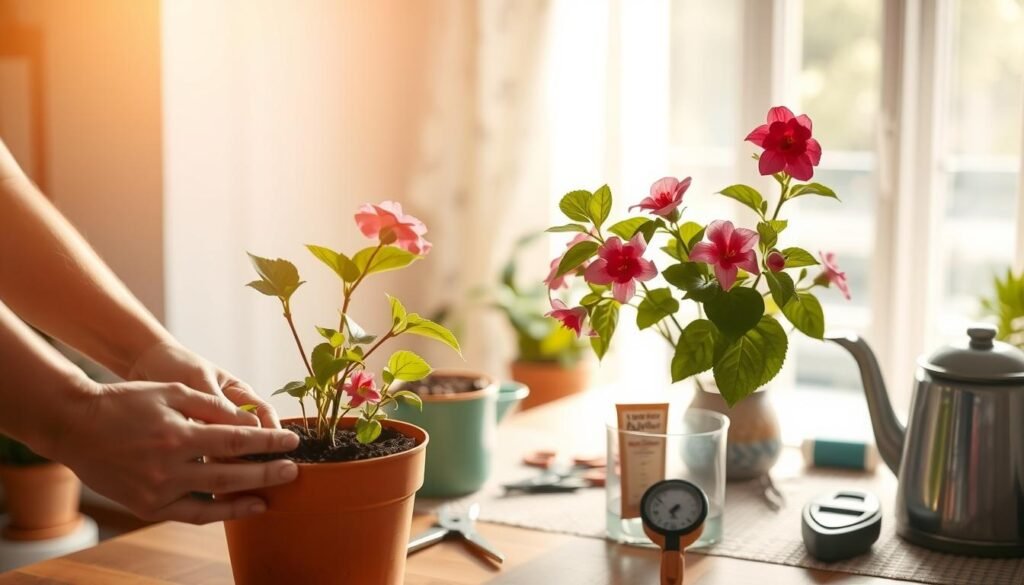
Check Plant Roots for Stress, Rot, or Being Root-Bound
A close look at the roots reveals whether stress comes from water, crowding, or rot. Root inspection is the fastest way to confirm problems because top symptoms can be misleading.
How to remove a pot safely: tip the pot on its side, support the stem at the soil line, and gently slide the root ball free. Never yank on stems.
Healthy versus rotten cues
Healthy plant roots are mostly white and firm and smell fresh and earthy. Soft, gray, brown, or black roots with a foul odor mean rot. Those roots cannot deliver water to growth tips.
What to do if you find rot
Trim away mushy roots, rinse the remaining root ball, discard old soil, and repot into fresh potting mix in a pot with clear drainage holes. Adjust watering to let new roots form.
Root-bound warning signs and repot tips
Look for circling roots, roots through drainage holes, or water that rushes straight through the pot. Loosen circling roots by hand, move up only one pot size, and rebuild a balanced soil-to-root ratio.
Tip: When possible, repot during active growth. In severe rot cases act immediately to save time and recovery chances.

| Check | Healthy sign | Warning sign | Quick action |
|---|---|---|---|
| Root color | White to pale cream | Gray, brown, or black | Prune rotten roots; repot with fresh soil |
| Texture | Firm and flexible | Soft, slimy, or mushy | Trim and dry; improve drainage |
| Root arrangement | Evenly distributed in soil | Circling or through drainage holes | Loosen roots; move up one pot size |
| Water behavior | Soaks in slowly | Rushes through | Add soil to restore moisture holding |
Fix Watering Mistakes Without Making the Problem Worse
A careful watering method stops common errors that worsen root stress and tip damage. Follow a few clear steps and you’ll avoid pushing a struggling root system into rot.
Deep, thorough watering until it drains — then empty excess water
Deep watering: water slowly until the entire soil is moist and water runs from the drainage holes. Let the pot drain for a few minutes, then empty the saucer so the pot doesn’t sit in runoff.
How often to water in different seasons
Growth months need more frequent water because plants use more. In winter, metabolism and light fall, so soil stays wet longer — reduce how often you water.
Use the finger test or a moisture meter
Stick a finger down one inch to check soil. If it feels damp, wait. If it’s dry at that depth, water deeply until drainage appears.
Quote: “Water when the soil needs it, not on a calendar.”
Consistent, correct watering supports new growth and lowers the chance of future leaf-tip damage. When tips show stress, confirm soil moisture before increasing water.
Adjust Humidity, Light, and Room Conditions to Stop Browning
Once watering is steady, the room environment is the next big lever. Fixing humidity, moderating light, and eliminating drafts often stops stress signals and keeps blooms from dropping.
Raise humidity without creating stale air
Humidifier: Place a small humidifier near groups of plants to keep humidity steady during winter heat.
Pebble tray: Fill a tray with water under pots, keeping water below the top of the pebbles so roots don’t sit in water.
Misting: Use light misting as a short-term boost, but pair it with other methods since misting is temporary.
Manage light carefully
Bright winter windows tempt many people to move pots close to glass. Shade-loving species can scorch in harsh midday sun.
Filter strong light with sheer curtains or pull specimens 1–3 feet back from intense sun to prevent yellowing and burnt edges.
Block drafts and sudden temperature drops
Common draft zones include entryways, leaky windows, and HVAC vents. Sudden cold drafts trigger leaf stress and flower drop.
Keep foliage away from panes and vents, and avoid cold water splashes or aerosol sprays that can spot foliage.
Balance airflow to cut disease risk
Higher humidity should not mean stagnant air. Gentle circulation lowers mildew and oedema risk while keeping conditions healthy.
Quote: “Raise humidity—but keep the air moving for steady, healthy growth.”
Micro-moves today: rotate specimens for even light, move them a few feet from bright glass, and set a humidifier timer for consistent humidity. These small steps reduce browning, steady leaf condition, and cut stress-related bud loss.
For flowering varieties that tolerate vents, check our guide to resilient blooms and air vents for room-placement tips that match airflow needs.
Prevent Brown Tips From Tap Water, Salt Buildup, and Too Much Fertilizer
Small white crusts on the surface are a common clue that dissolved minerals are at work in the soil. Over time, salts and minerals from tap sources or heavy feeding collect in the potting mix. These salts pull moisture away from fine roots and create an artificial drought. The first sign is often burnt-looking tips and edges.
Better water options and simple checks
Letting tap water sit overnight can reduce some volatile chemicals. For cleaner water, try filtered or distilled water, or collect rain when you can. These options lower the chance of salt buildup.
How to spot and flush salts safely
Look for a white crust on the soil surface, saucers, or porous pots. That is a direct sign of salts.
- Flush routine: place the pot in a sink or shower, water until saturated, let it drain, then repeat 2–3 times. Always empty collected runoff.
- When to flush: do this if crust appears or after several feedings in a row.
Fertilizer rules to prevent tip burn
Too much fertilizer creates salt build-up that mimics drought at the root zone. Dilute fertilizer to half strength, apply only to damp soil, and pause feeding in winter unless you see active growth.
Tip: Trim off dead brown tips with sharp scissors following the natural shape. That’s a cosmetic reset while new, healthy growth returns.
Conclusion
Conclusion
Prioritize the root zone first. Check the pattern of damage, confirm soil moisture and drainage, then inspect roots. Healthy roots support new growth; rotten or root-bound roots need prompt attention.
Follow this order: observe symptoms → test soil → check roots → correct watering → adjust humidity, light, and temperature → manage salts and fertilizer. Most tip and bloom problems are care and conditions issues, not mysterious diseases.
Keep a simple monthly rhythm: check soil before you water, note how fast pots dry, and change routines with the seasons. Trim dead tips for appearance, repot if root-bound, and keep houseplants in stable spots away from drafts and harsh sun. The same basics work for home containers or a small garden setup.