Good drainage is the single most important habit that keeps house plants healthy. When roots sit in excess water they lose oxygen and begin to rot, which stops a plant from taking up nutrients.
This guide explains what a proper system looks like at home: a way for extra water to leave the root zone while keeping roots oxygenated. You’ll see three common setups you can choose: holes with a tray, the cache pot (sleeve) approach, and a liner method for no‑hole planters.
We focus on containers where water cannot escape into the ground and on avoiding big mistakes like letting a pot sit in runoff or trapping moisture at the bottom. The best setup depends on planter style, pot material, and how you like to water — sink, shower, or in place.
Promise: plan your system now and you can water deeply and confidently, reducing fungus, odors, and root failure.
Key Takeaways
- Proper drainage keeps roots oxygenated and prevents rot.
- Choose from holes + tray, cache pot, or liner setups.
- Protect floors and furniture when using decorative planters.
- Avoid letting a pot sit in runoff or trapping water at the base.
- Pick the setup based on pot style, material, and watering method.
Why drainage matters indoors: how “wet feet” leads to root rot
When the mix around a plant stays soaked, roots lose access to air and problems start below the surface.
What happens when roots sit in excess water
Wet soil fills the tiny air pockets that roots need. Without air, root tissue weakens and can die back or rot. This decay often spreads and kills the whole plant.
Why holes make “water until it drains out the bottom” safer
Holes give excess water an exit. A thorough soak then becomes a way to flush salts and fully wet the root ball without leaving the mix soggy for days.
Indoor containers vs. outdoor soil
In a garden, earth pulls water away. A closed container has fixed walls and a bottom, so water can pool beneath the roots. Stagnant moisture in saucers, cache vessels, or sealed planters also attracts gnats and smells.
- Slow growth or yellow leaves
- Musty smell around the base
- Soft stems or collapsing crowns

| Problem | Cause | Quick sign |
|---|---|---|
| Oxygen loss near roots | Saturated soil after heavy watering | Leaves yellow, slowed growth |
| Fungal rot | Long-term standing moisture | Musty smell, soft stems |
| Stagnant reservoir | No exit for excess water | Gnats, foul odor |
Drainage for indoor flower pots: choose the right setup for your planter style
Pick a setup that fits your routine and the container you love. The goal is to give excess water a clear path out or a safe place to drain so roots stay healthy.
Pots with drainage holes and a drip tray
Best low‑risk solution: use plant pots that have drainage holes in the bottom and set a saucer beneath. This lets you water deeply and then let excess finish draining into a tray you can empty.
Decorative planters used as cache pots (sleeves)
Keep the plant in its lighter nursery grow pot and slide that into the decorative container. Lift the inner pot to water and let it drain fully before returning it to the sleeve.
When you should avoid potting directly into a no‑hole planter
Avoid planting straight into a sealed planter if you can’t inspect or remove pooled water easily. If you tend to overwater, this is not the right solution.
Rule to remember: if you can’t remove excess water each time, don’t pot directly into a no‑hole container.
| Planter Type | How to Water | Risk Level |
|---|---|---|
| Pot with holes + tray | Water in place; empty saucer | Low |
| Decorative sleeve (no hole) | Remove inner grow pot to water | Medium (if you remove to drain) |
| Potted directly into sealed planter | Water in place; hard to check bottom | High |
Check your pot and planter materials before you start
Before you buy, check what the container is made of—material affects how quickly a mix dries.
Materials change water behavior. Some containers breathe and dry fast, while others hold wetness longer. That affects how often you need to water and how you manage excess water.

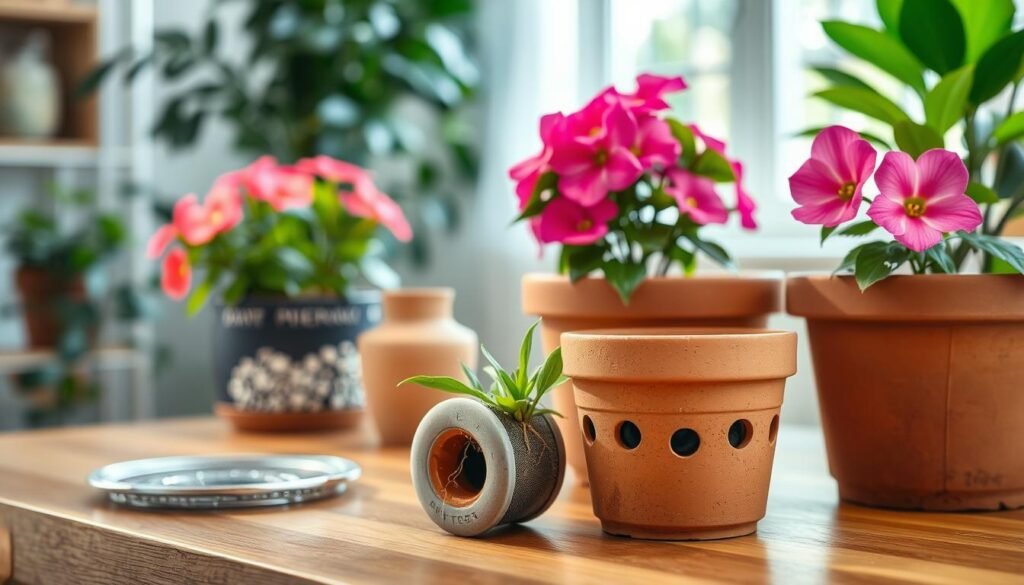
How porous terracotta helps wick away moisture
Unglazed clay is very porous. A terracotta pot will pull tiny amounts of water through its walls. That wicking often lowers the risk of a constantly wet mix.
Terracotta suits plants that like a drier surface between waterings. But it is not a substitute for an exit path; you still need a plan to handle excess after a deep soak.
Non‑porous decorative materials and waterproofing risks
Glazed ceramic, metal, fiberglass, and many composites do not breathe. They can hide standing water at the bottom of a container and trap moisture near roots.
Watch for waterproofing issues: some decorative planters are not built to hold water long-term. Staining, seepage, or finish damage can occur if liquid sits against the material.
- Match material to your watering habits: heavy waterers should use inner grow pots or holes + tray.
- Use a liner or removable pot inside decorative planters to keep the look but add safety.
- Consider plastic or clay inner pots when you want easy changes and checks.
| Material | How it behaves | Best use |
|---|---|---|
| Terracotta (clay) | Breathes, wicks moisture | Plants that like drier surfaces |
| Glazed ceramic / metal | Non‑porous, holds water | Use with liner or grow pot |
| Fiberglass / composite | Lightweight, often sealed | Good for tall planters with liners |
How to set up a pot with drainage holes (the classic, low-risk method)
A basic pot with holes gives you the easiest path to healthy roots and quick fixes when something goes wrong.

Match hole size to mix and plant
Pick hole size based on the potting mix. Chunky mixes with bark and perlite work fine with smaller openings. Finer mixes can clog tiny holes, so use a few medium holes instead.
Add a saucer and keep soil in place
Place a saucer slightly wider than the base to catch excess water and protect floors. Cover the holes with a coffee filter or thin cloth so water can pass while soil stays put.
Watering that keeps roots healthy
Soak evenly until you see water come out the bottom. Let the pot sit and fully water drain before returning it to its display. Empty the tray soon after to avoid wet feet.
| Issue | Recommended hole size | Potting mix |
|---|---|---|
| Chunky mix | Small to medium holes | Bark, perlite, coarse mix |
| Fine mix | Two-medium holes or one larger hole | Peat, coco, fine compost |
| Large plant, heavy soil | Multiple medium holes | Well-structured potting mix |
Do this, not that: do water until a steady stream flows from the bottom and empty the tray. Do not let the pot sit in standing water for hours. This visible method is low-risk because you can see and correct how much water the plant holds.
How to use a decorative pot with no drainage holes (cache pot method)
A decorative sleeve can hide the real pot, letting you keep style without masking what the plant needs.
What the cache pot method is: the outer planter acts as a cover while the working grow pot holds soil and roots. Set a saucer inside the decorative planter and place the grow pot on it. The inner pot provides the actual exit path for extra liquid and lets you inspect the bottom easily.
Simple watering routine:
- Slide the grow pot out of the sleeve.
- Water thoroughly in a sink until it drips, then wait until dripping stops.
- Return the grow pot to the decorative planter and empty any collected liquid from the inner saucer.
This routine reduces mess and guessing. You avoid soil spills and can check if excess water has pooled where you can’t see it.

Raise short plants in tall planters
If the plant sits too low, add a pebbles layer or hydro granules at the bottom to lift the grow pot to display height. Use a stable ring of pebbles so the inner pot sits level.
Safety tip: never let the grow pot sit in standing liquid inside the sleeve. Empty the saucer when you spot collected moisture. This method also makes it easy to swap planters seasonally without disturbing roots, a neat styling benefit and a practical way to care for plants.
How to install a pot liner for cleaner pot drainage in no-hole planters
A trim-to-fit liner turns a decorative vessel into a removable inner container that keeps soil and moisture off the outer shell.
What a liner does and when it’s worth it
Use a soft plastic sleeve when you want protection without altering an expensive planter. Liners work best with tall planters, heavy specimens you won’t lift often, or pieces you want to keep pristine.
Build the base and add a proper layer
Raise the liner on non‑compressing void fill like polystyrene chunks so the liner stays stable and does not sink over time.
Place a 2–5 cm drainage layer of hydrogranules or clay balls at the bottom. This small reservoir soaks up minor excess water and reduces pooling under the root ball.
Repot and maintain
Use indoor potting mix, not garden soil. Garden soil can compact and carry pests or disease.
If water smells or pools, lift the liner, dump and rinse it, and replace the hydrogranules to reset the system.
| Step | What to use | Why it matters |
|---|---|---|
| Base fill | Polystyrene pieces | Height and stability without compacting |
| Drain layer | Hydrogranules / clay balls (2–5 cm) | Buffers small overwatering events |
| Potting choice | Indoor potting mix | Light, disease-free, drains well |
| Maintenance | Refresh layer when stagnant | Prevents odors and root decline |
Best drainage materials: what to put in the bottom (and what to skip)
A smart mix of reservoir media and lightweight fill saves potting mix and helps plants recover from overwatering.
What to buy and why:
- Hydrogranules and clay balls — baked, expanded clay that soaks up excess water and releases it slowly. Great as a small reservoir in liners or tall planters.
- Perlite — keeps the mix light and increases air pockets. Use it in blends to stop compaction.
- Vermiculite — holds water and helps retain nutrients. Use it where you want more retention than perlite provides.
- Sand — an inexpensive bulk filler for very large planters. It reduces the amount of potting mix needed and does not hold water like organic fill.
- Pea gravel or small gravel — place near holes to stop soil washing out and to support the base.
- Coffee filters or cheesecloth — act as soil screens above the bottom layer so soil stays put.
- Recycled plastics and packing foam — lightweight fill that saves mix, provided pieces won’t compress or dissolve.
Myth to avoid: a thick gravel layer directly under soil can trap water at the soil interface and leave roots wetter, not drier. Use a thin reservoir of hydrogranules or clay balls instead.
| Material | Primary role | Best use |
|---|---|---|
| Hydrogranules / clay balls | Reservoir / buffer | Tall liners, reset after overwatering |
| Perlite | Air / lightness | Mixes needing more aeration |
| Vermiculite | Water & nutrients retention | Pots that need steady moisture |
| Sand / pea gravel | Fill / support | Large planters, soil control near holes |
DIY drainage holes: how to drill a hole safely in ceramic pots
If you love a ceramic planter but need a true exit for excess water, drilling a clean hole is a simple fix. With the right bit, steady hands, and a little water, you can add a reliable opening without cracking the base.
When to drill: choose this when you want the look of a ceramic piece but prefer the safety of a real exit rather than emptying collected liquid each time.
Tools and setup
- Diamond‑tipped or ceramic drill bit — best for hard glazed surfaces.
- Power drill, rubber mat, marker, mask, and a small container of water.
- Safety first: wear a mask and eye protection to avoid dust.
Step-by-step technique
Place the pot upside down on a rubber mat to stop slipping. Mark the center where you want the opening.
Keep a small puddle of water on the mark to cool the bit and cut dust. Start drilling gently. If using a hole saw, begin at about a 45° angle to score an edge, then shift the drill to 90° once the bit has a seat.
Apply light, steady pressure. Let the bit do the work; forcing it raises the risk of chips or cracks.
“Start slow, stay wet, and change angle only after the bit has a firm groove.”
Size and finish
Pick a size that drains well without weakening the base. Smaller pots need smaller openings; larger pots can take wider holes.
Rinse away dust, smooth any sharp edges with a file or sandpaper, and test the new opening with a little water before you add soil or a plant.
| Task | Why it matters | Quick tip |
|---|---|---|
| Mark center | Prevents off‑center drilling | Use a felt marker |
| Keep area wet | Reduces dust and heat | Pour small amounts as you drill |
| Start at angle | Helps bit bite without slipping | 45° then 90° |
Conclusion
A clear exit for extra liquid keeps roots healthy and makes watering less stressful. Give excess liquid a planned route out of the root zone so it does not pool unseen and cause rot.
Choose the approach that fits your routine: holes with a saucer, a cache sleeve with a grow liner, or a fitted liner with a small reservoir. There’s no single perfect option—pick what you will maintain.
Best habit: water deeply, let the plant drain fully, and never leave the container sitting in runoff. Avoid planting directly into a sealed vessel unless you can remove trapped moisture quickly.
Quick check today: look for standing liquid, empty trays, feel the mix for airflow, and adjust the setup before problems start. A tidy system protects roots and your home from mess and pests.